See how photographer Shai Franco used fylm.ai for ESTEE LAUDER Israel campaign
Producer
Nofar Abouharon
Creative
LDRS Group
Photographer
Shai Franco
Post Production
Shai Franco Studio
Gaffer
Ran Kushnir
Styling
Mazal Hason
Beauty
Neta Szekely Avishay Masty
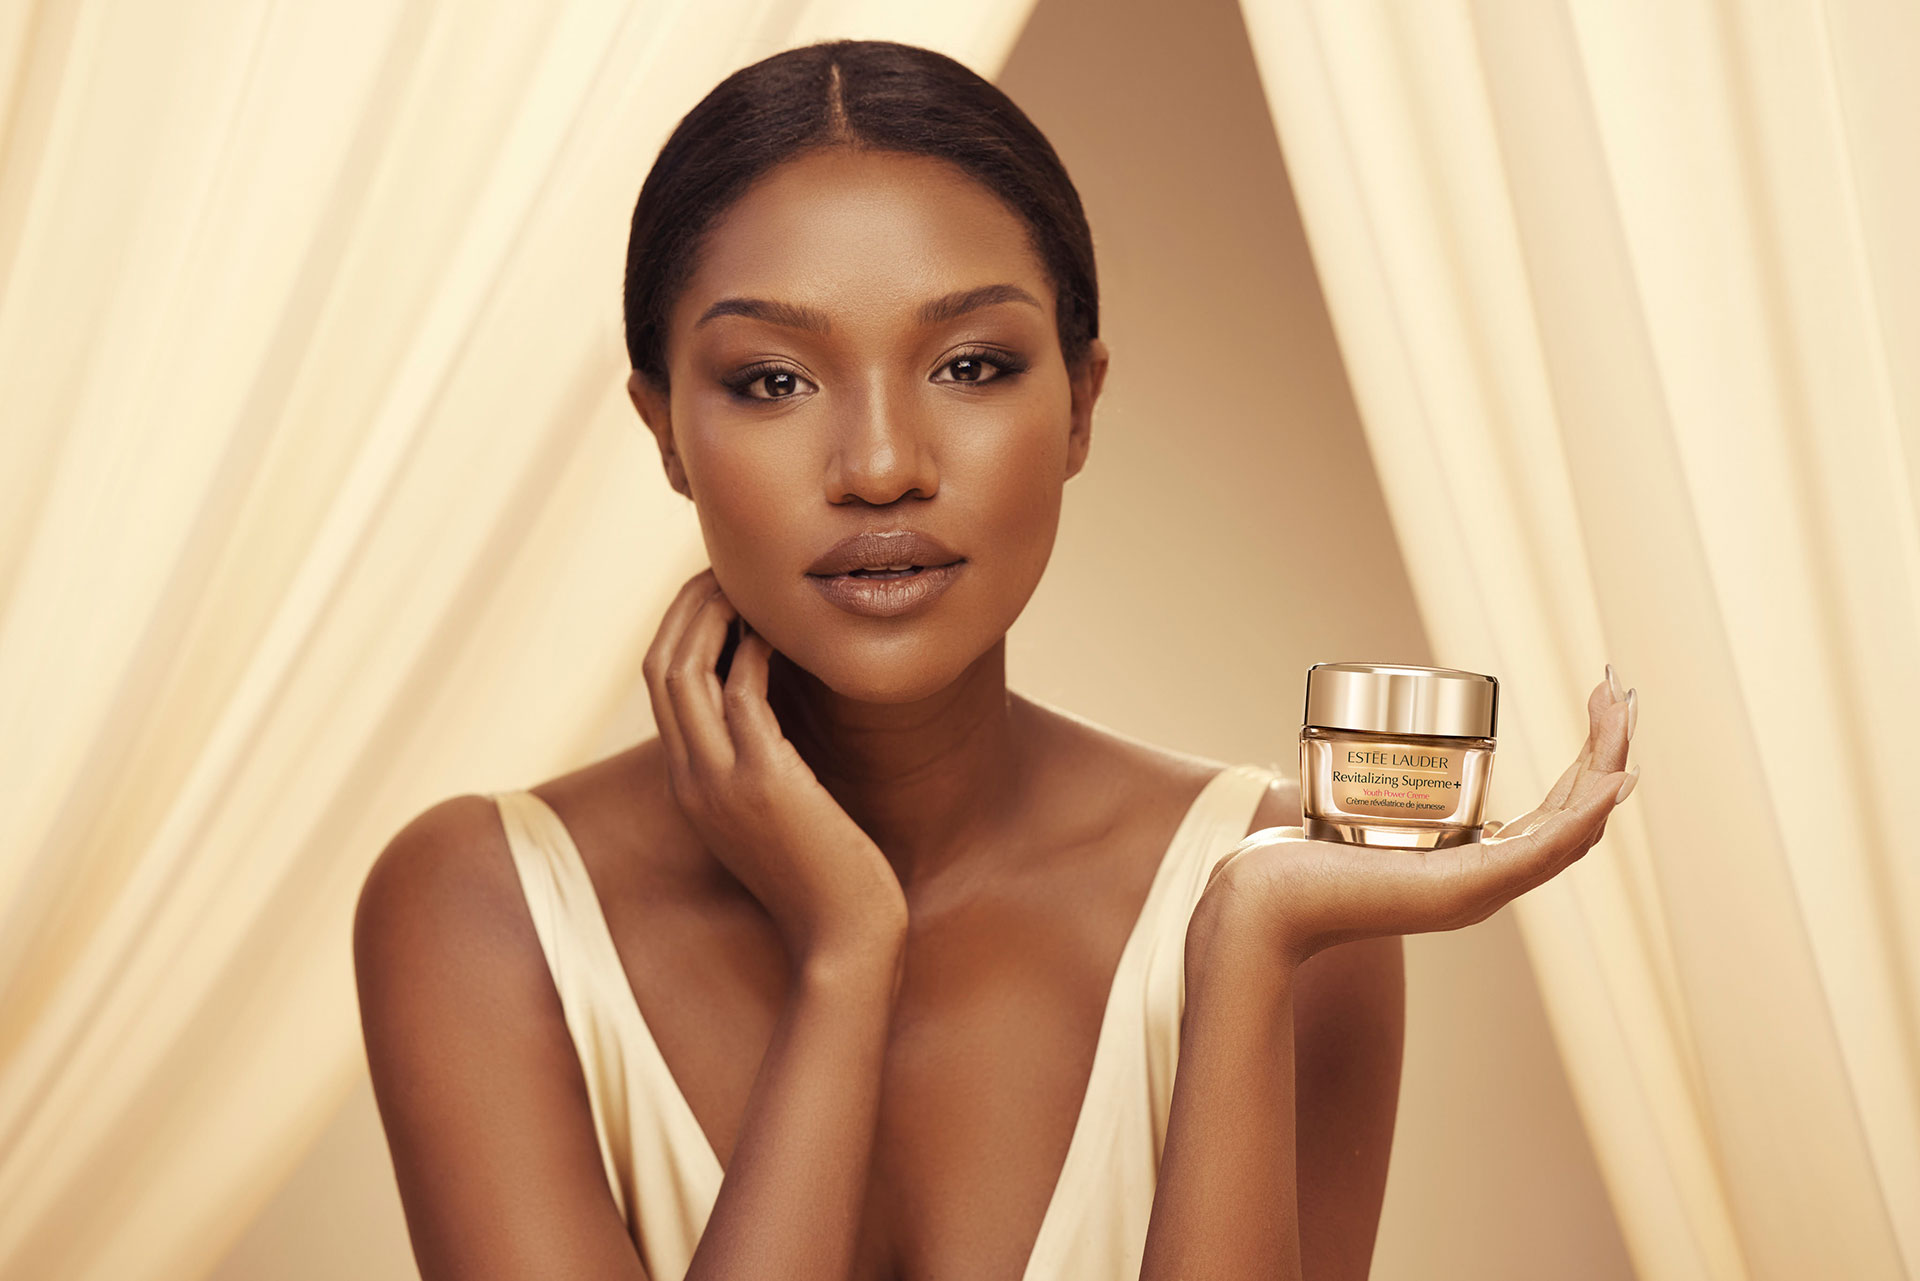
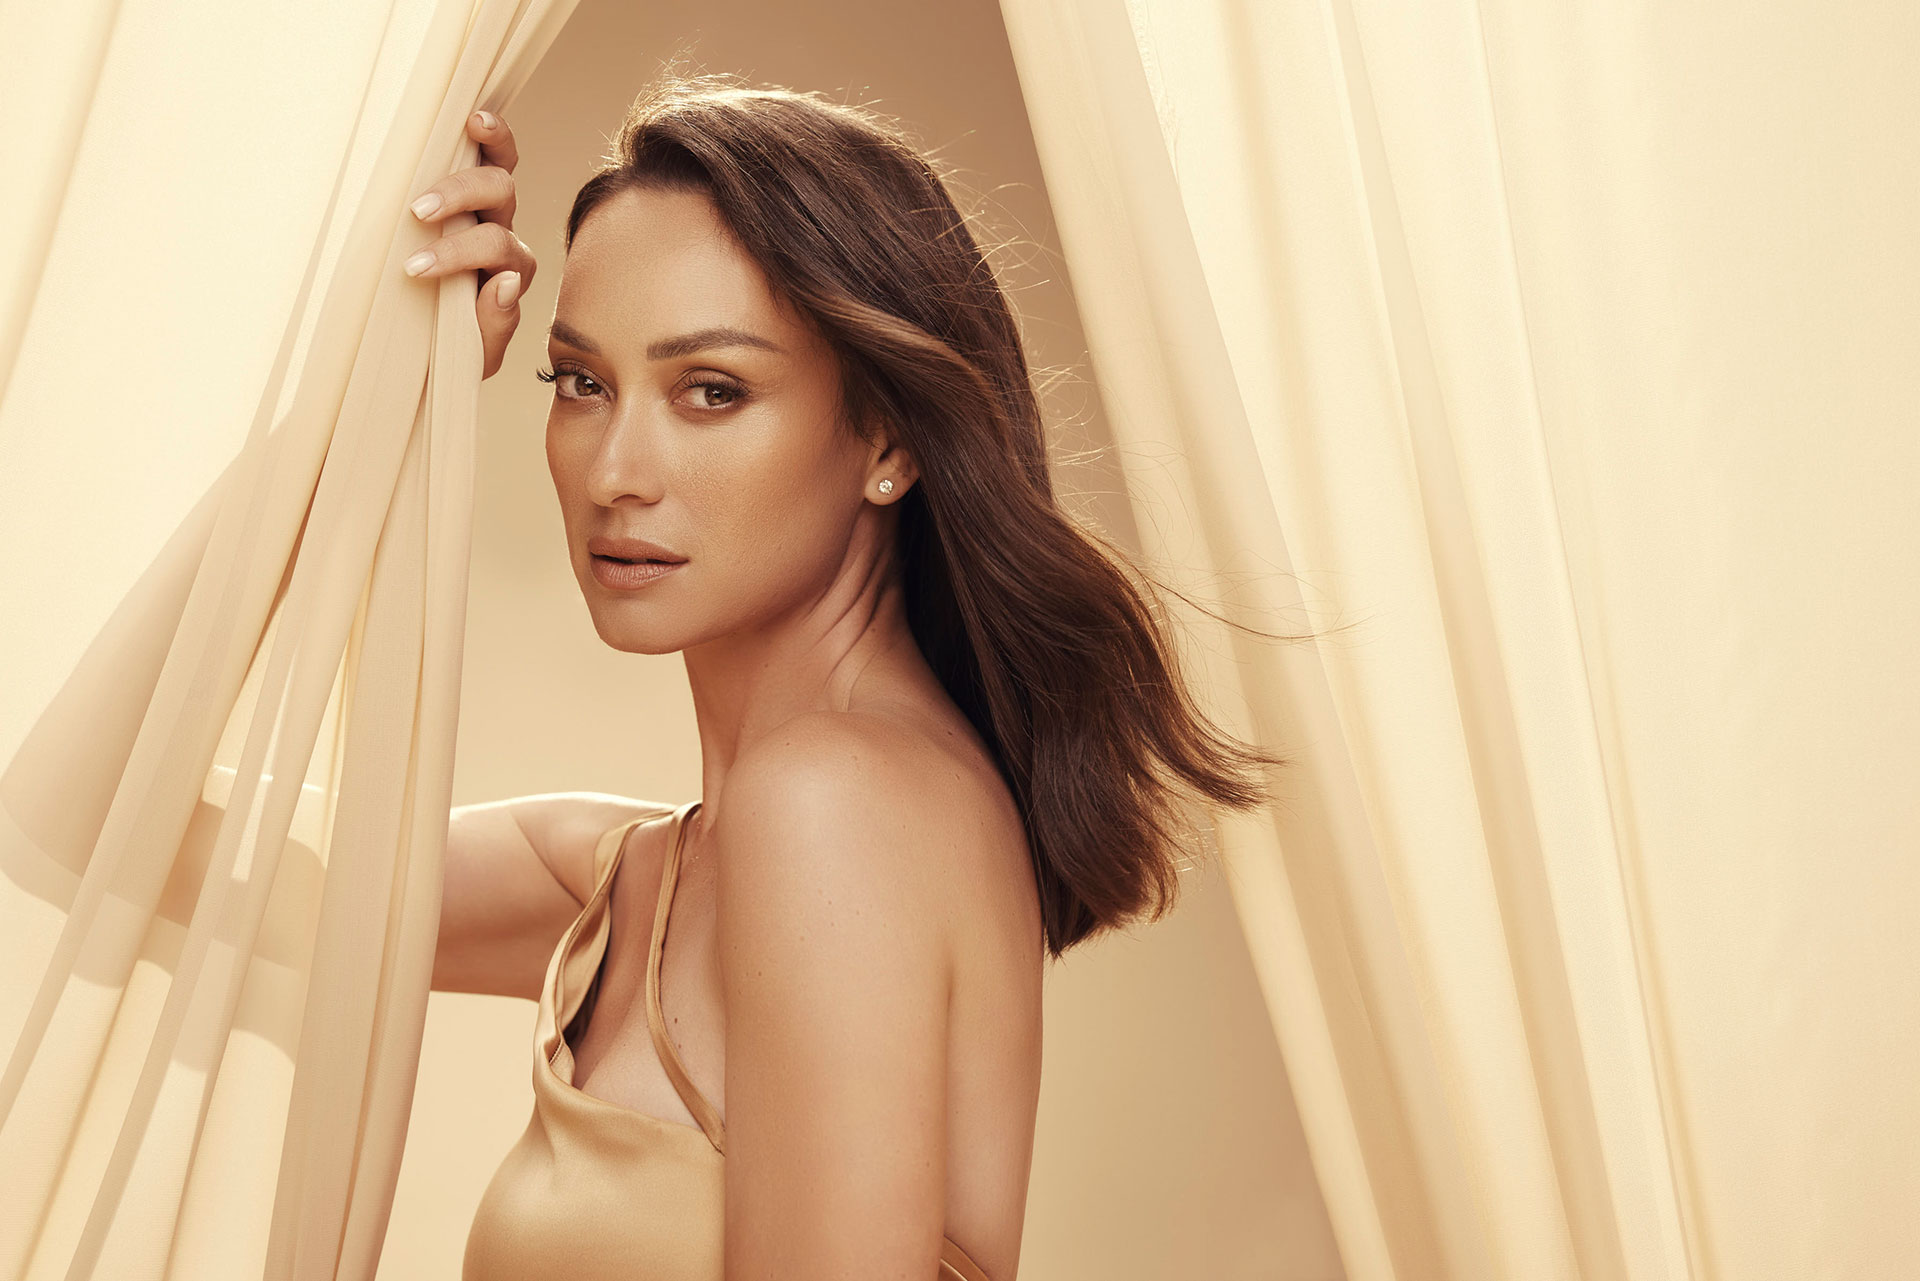
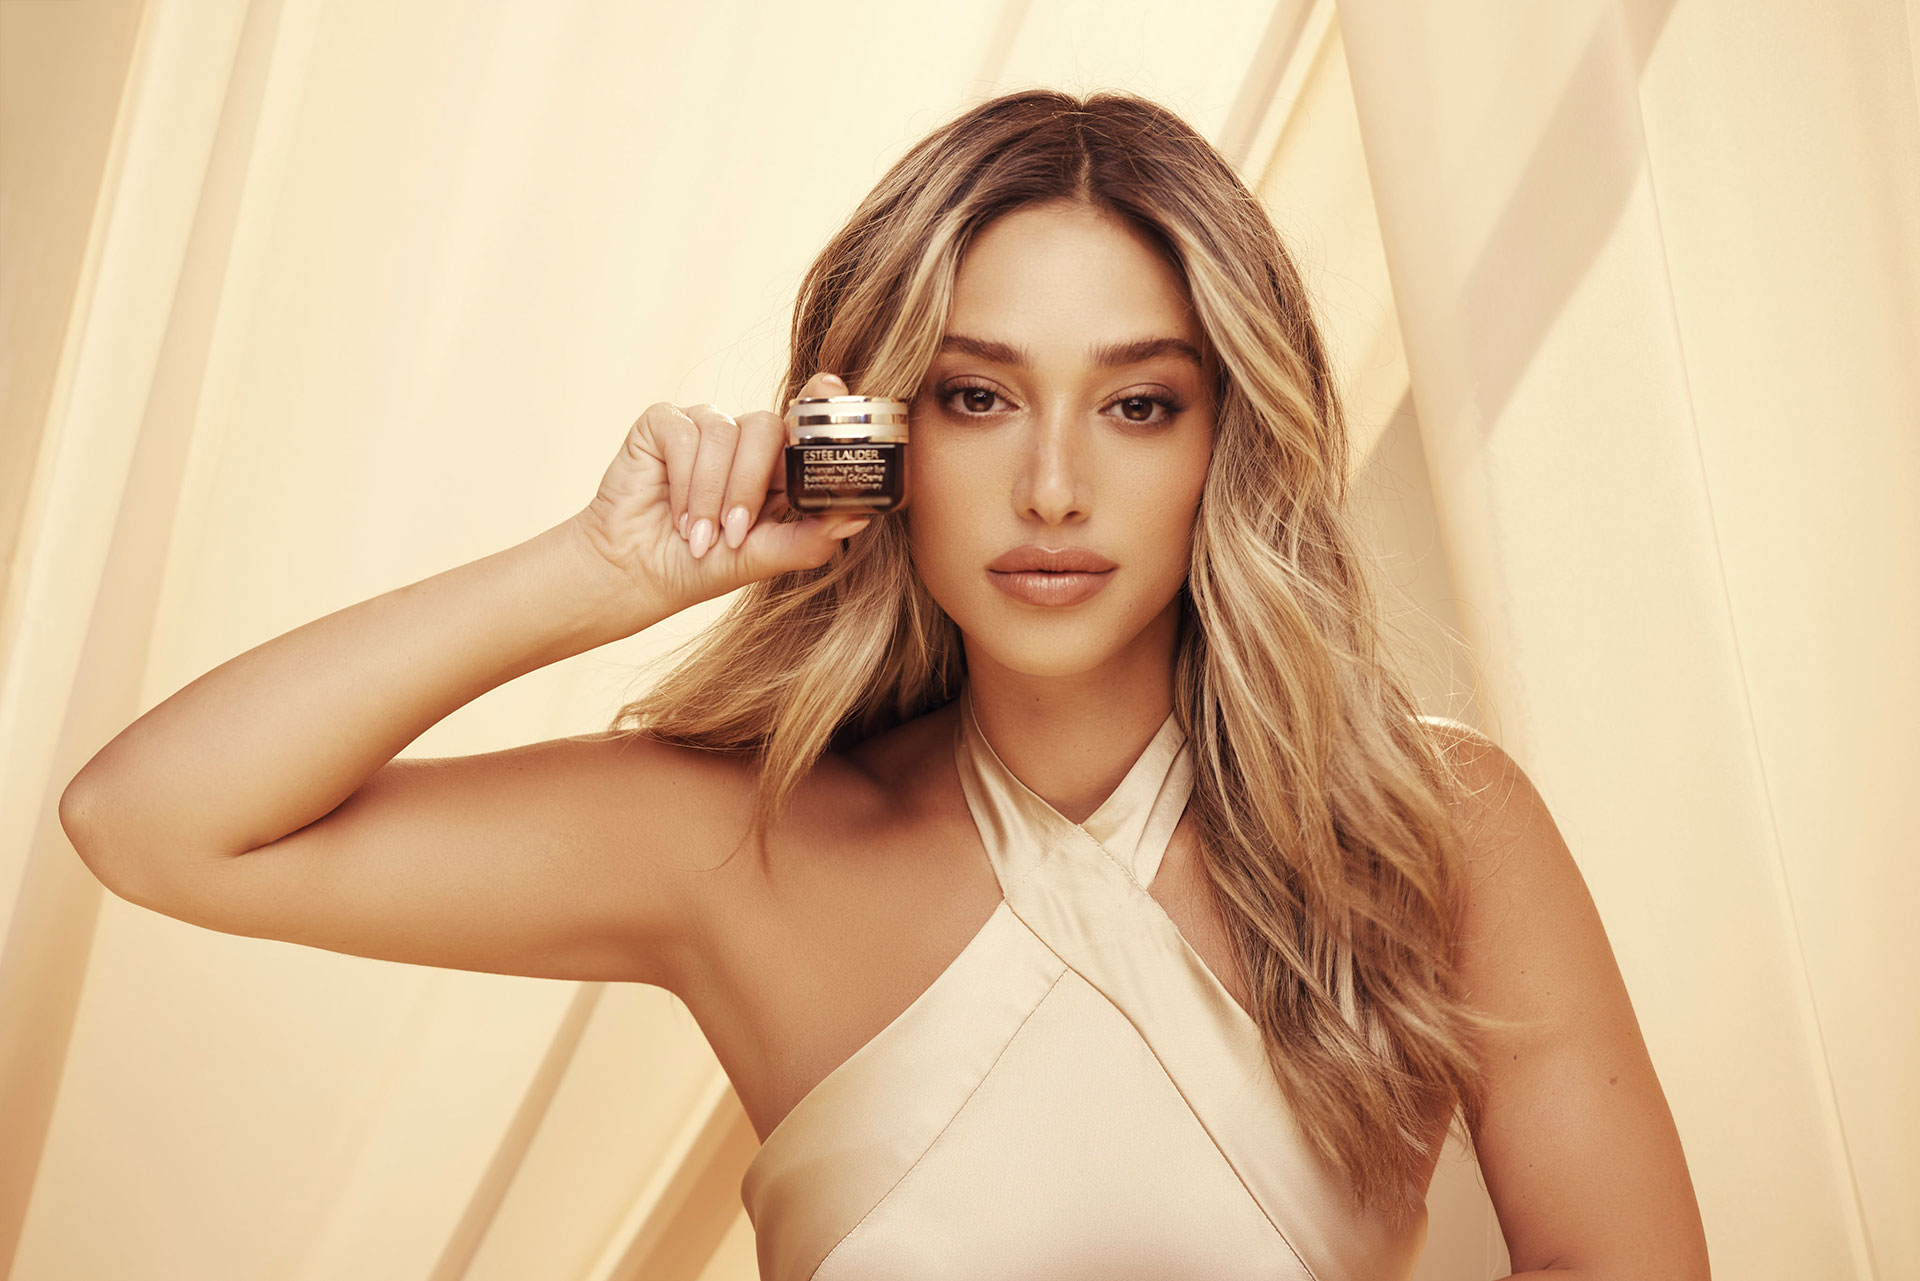
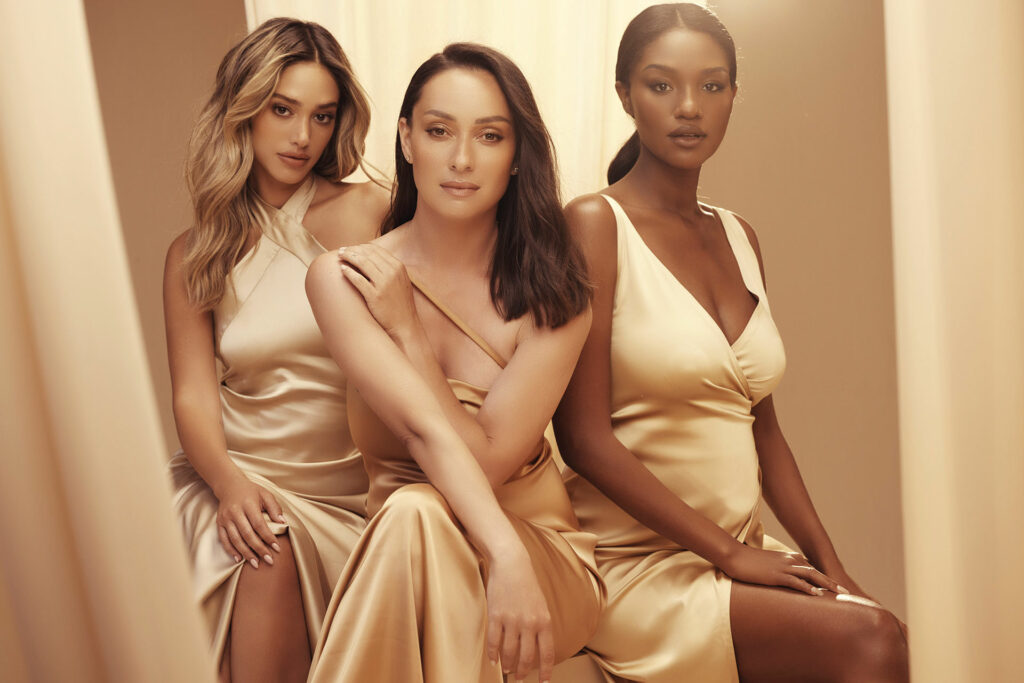
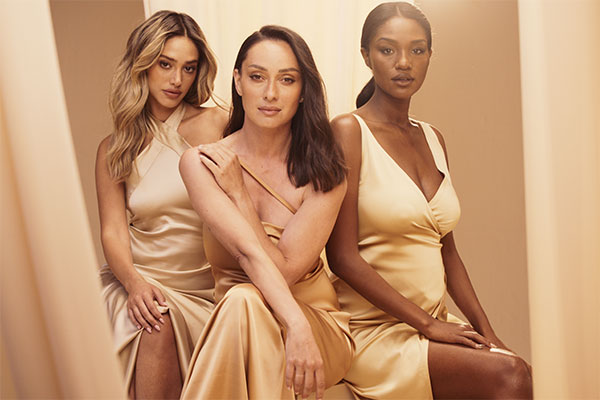
For the launch of the 2022 Holidays campaign, ESTEE LAUDER Israel enlisted three local icons: Anna Aronov, Titi Aynaw and Danit Greenberg. The idea behind the campaign was to communicate the brand’s values while adhering to the same meticulous visual principles and standards of the worldwide campaign.
Shai Franco, a Tel Aviv based, leading Israeli fashion and commercial photographer was tasked with the job of shooting and grading the campaign.
Lighting
From the very beginning it was clear that Shai had to adhere to the high visual standards of the global ESTEE LAUDER campaign.
I knew that I had to recreate the feeling of the global campaign and since we were working on a tight schedule together with the video crew, I've chosen to opt for continuous lighting, for better compatibility with the video materials.
The lighting was fairly simple, but very calculated. Since Shai had group shots as well, he had to use larger light sources, something he might not have used if there were no group shots.
I really like punchy contrast and colours so my preference is usually working with harder, more contrasty lighting. It has more of a 3D effect and to my taste better resembles the way I see things.
Main light source was Arri SkyPanel 120 at slightly varying distance, directly above camera pointing at the talent at about 45 degrees.
Above the talent, and slightly to the back, Shai used a series of Arri SkyPanel 60 and 30 light sources shooting through a full grid cloth frame.
To control the contrast of the scene, Shai used two options for the fill light. He altered between using smaller Arri SkyPanel light sources and using a combo of bleached muslin and reflectors.
These were positioned from the front, slightly below the talent, effectively wrapping the talents around with reflective light. Whenever even lower contrast was needed, Shai would dial-in the front-facing Arri SkyPanels.
Developing the Raw file
Usually Shai develops his still Raw files in Capture One. But since release 1.1, Shai told us he has been experimenting with debayering the Raw files in fylm.ai and that he liked the results.
I'm really happy with the way fylm.ai debayers Raw files. There's something very organic and pleasing to it, especially when I debayer my file into ACES 2065-1. After adjusting the exposure, I find it easier to nail the colour grade if I debayered the file in fylm.ai.
For this work, Shai decided to use Capture One for tethering and a real-time preview of approximate colour grade (for which he used LUTs from the Lutify.me Professional package) but to establish the final look in fylm.ai from scratch staying in the fylm.ai eco system.
By default, fylm.ai will develop your Raw file into ProPhoto RGB colour space which is a wide colour space suitable for colour grading. It will also automatically colour manage your file so that it fits into the ACEScct workflow which fylm.ai uses internally.
Explore fylm.ai advanced features.
With features such as AI Colour Extract, AI Colour Match, AI Auto Correct, Subtractive Colour model, ACES Print Film Emulations and much more, fylm.ai makes colour grading a breeze.
After debayering the file, Shai started working on establishing the look.
First I adjusted the exposure and contrast. White balance was already pretty spot on so I didn't need to change that. Then, I based my look off of Cine Look 4 from the Cine Looks category. After that, I proceeded to manipulate the shadows, mid tones and highlights separately and for that I used the Log Primaries control. I added some reds and a touch of magenta to the shadows and a bit of yellows to the highlights. All that was left was to adjust the contrast once more after these changes.
AI Tools
We were curious to know if Shai had used any of the fylm.ai AI tools for the creation of the look. Here’s what he had told us.
To be honest I didn't use any of the AI tools, simply because I assumed it would not produce the right result. Boy I was wrong! After I finished establishing the look and had the graded materials, I decided to see how well the AI would perform. I saved my manually graded image as a Match and fed it to the AI Colour Extract tool to extract the grade from it for me and apply it to my ungraded image. This was just a quick test to see how well the AI handles a reference grade, but the result shocked me. I could have saved myself a lot of time if I used the AI Colour Extract tool to establish my look from the beginning!
Manually graded image (Image is retouched)
Original, graded with AI Colour Extract from reference (No retouching applied)
How does AI Colour Extract work?
AI Colour extract tool requires two images. Original image that needs to be graded and a reference image from which to extract the colour grading.
First, a reference image is saved as a Match so that it can be fed to the AI Colour Extract tool. Then, the reference image is selected from within the AI Colour Extract tool.
Let’s see a practical example from a different shoot. Here is the original image as it was shot which we would like to grade. The following image was shot by Victoria Strelka and is taken from Pexels.com.
For comparison, here are both images side by side.
Original image
Original image graded with AI Colour Extract
Take a look how easy it is to extract a colour grade using the AI Colour Extract tool.
Collaboration
Colour grading is probably one the more important aspects of a photo shoot simply due to the fact it can alter the appearance of the final image drastically. Because of that, it is extremely important that anyone that should be involved in the creation of the look is involved.
Sharing results through email is cumbersome and unoptimized. Luckily, fylm.ai has a built in collaboration option which keeps the entire conversation in context, allows anyone with appropriate permissions to offer and make suggestions and it is simply faster since there’s no back and forth outside of the colour grading app.
Gathering the necessary feedback form the agency and the client was a breeze. I shared two options with them in fylm.ai, they picked the one that they think is better and asked for some minor changes. I made it instantly and shared a new version. Look approved. That's all there is to it really.