In this tutorial we will learn how we can match digital to film using the Colour Match tool in fylm.ai.
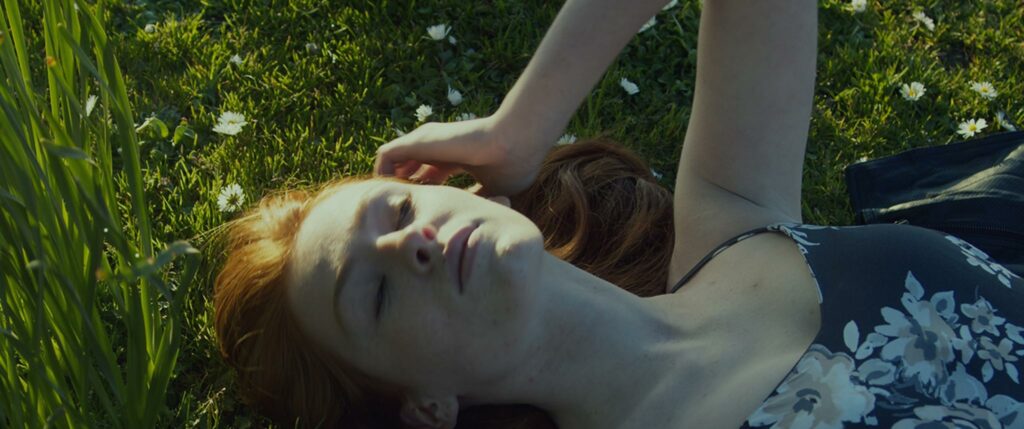
Let’s begin by opening our film scan. This is a Kodak 5207 film stock.
As the very first step, we need to properly color manage our work which means selecting the appropriate ACES Input and Output Transforms in fylm.ai. In case of a film scan the correct Input would be either ADX10 or ADX16 depending if the source material is 10-bit or 16-bit. In this case, we will select ADX10 as that matches our 10-bit Cineon film scan. Output Transform should match our monitor characteristics, so in this case sRGB.
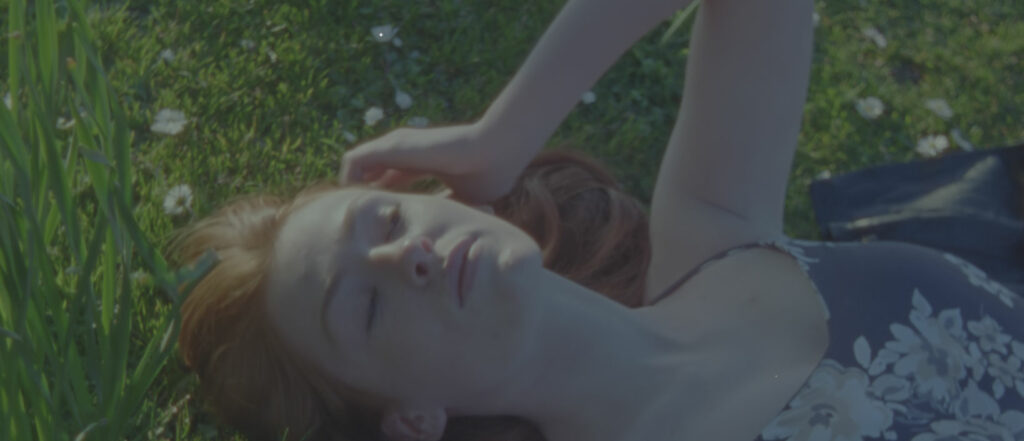
After we select the appropriate ACES Input Transform, our image looks like this.
The green overall cast is rather typical of film scans and needs to be corrected. Also, we will first perform some basic corrections on our film image before we match our digital material to it.
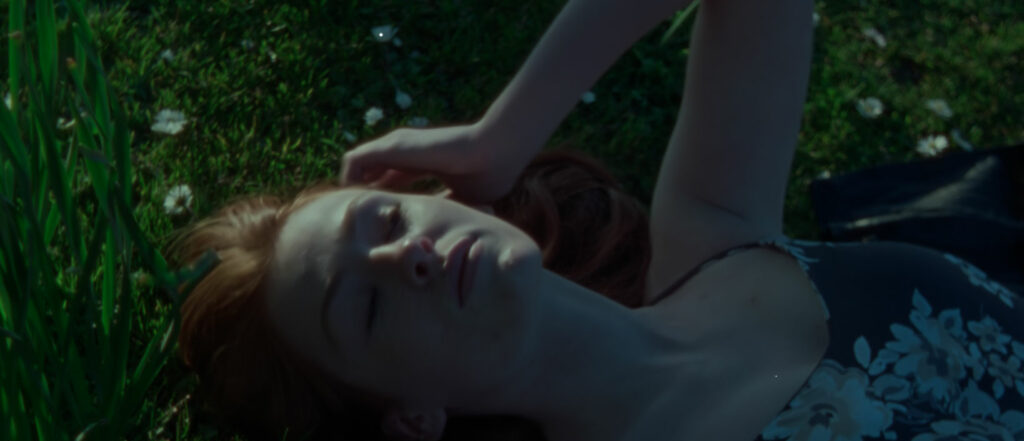
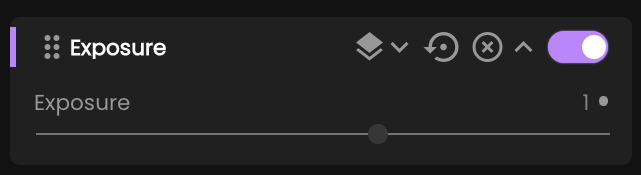
Let’s begin by adjusting the exposure of our image. To do that I’ll go to Add Tool > Exposure and dial in an exposure change of about one stop.
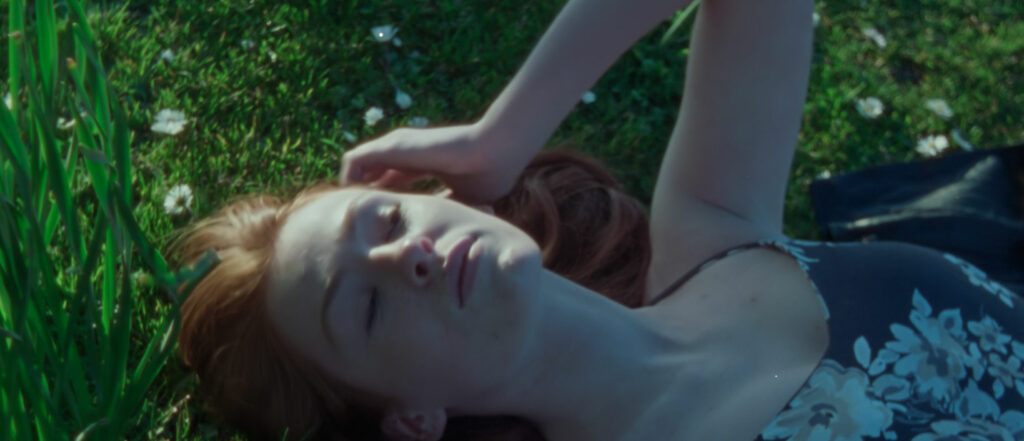
This is looking much better now.
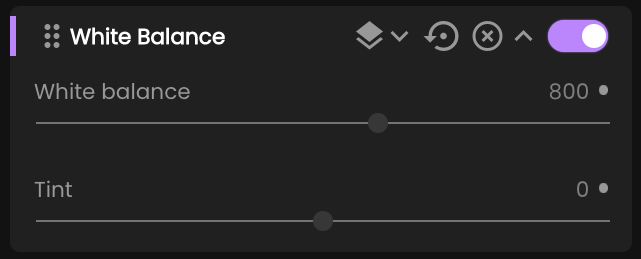
Let’s continue by correcting the white balance. To do that, I’ll go to Add Tool > White Balance and warm up our image a bit. Of course you could also change the Tint of the image.
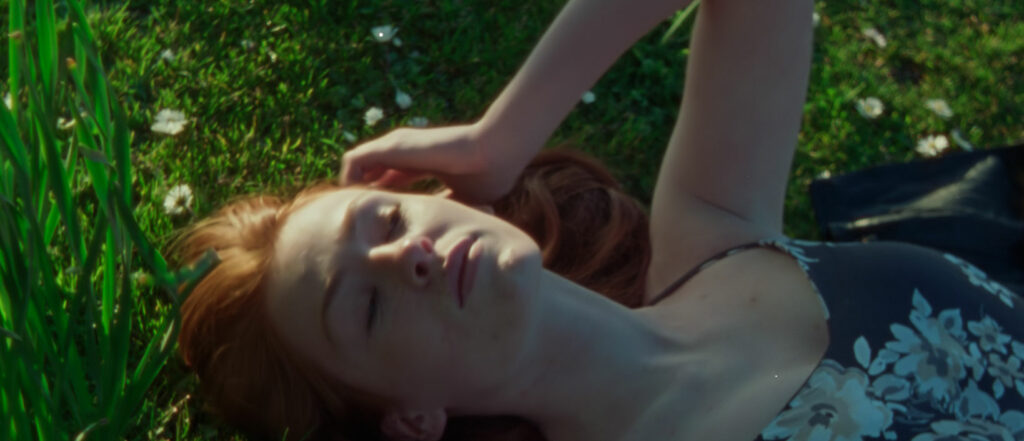
This is how our film scan looks after these two corrections.

Finally let’s add some contrast and slightly increase the saturation. To do that I’ll go to Add Tool > Contrast and Add Tool > Hue/Saturation.

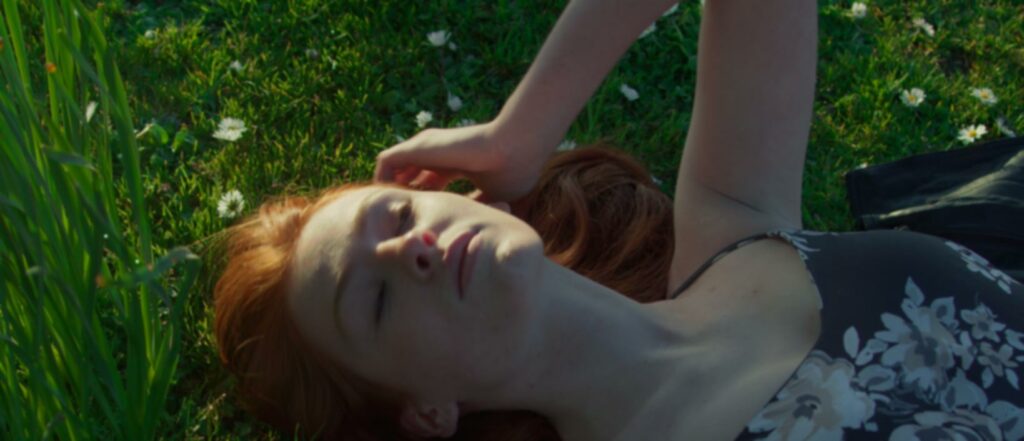
This is how our film scan ended up looking.
Before we continue, here is a quick reminder of how our film scan looked originally.
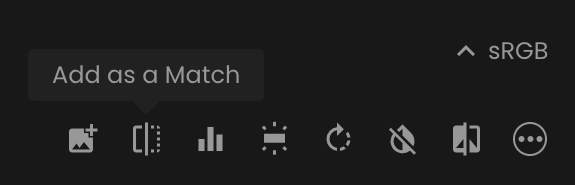
Now, we are ready to match our digital material to our film scan. First, we need to save our film scan as a Match so that we can match digital shots to this one. We will save it as a Match using the Add as a Match button.
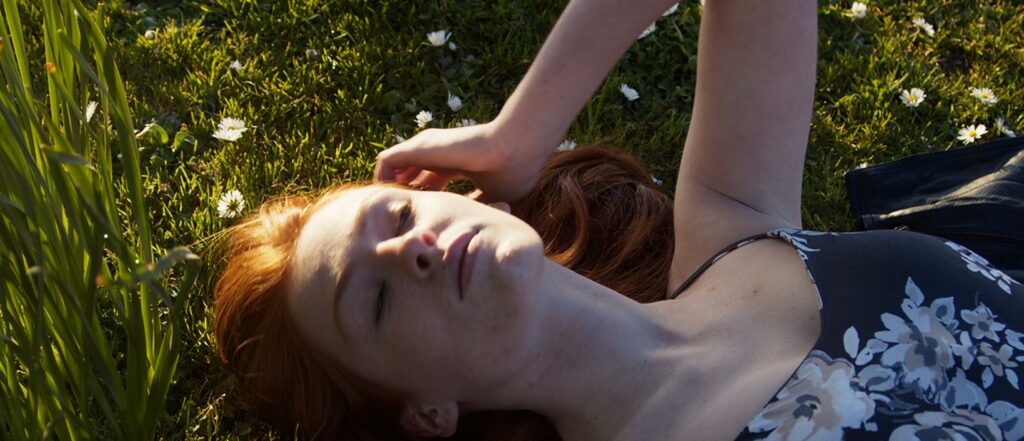
Once we have our film scan saved as a Match we are ready to match our digital material to it. To do that we will be gin by opening the digital shot.
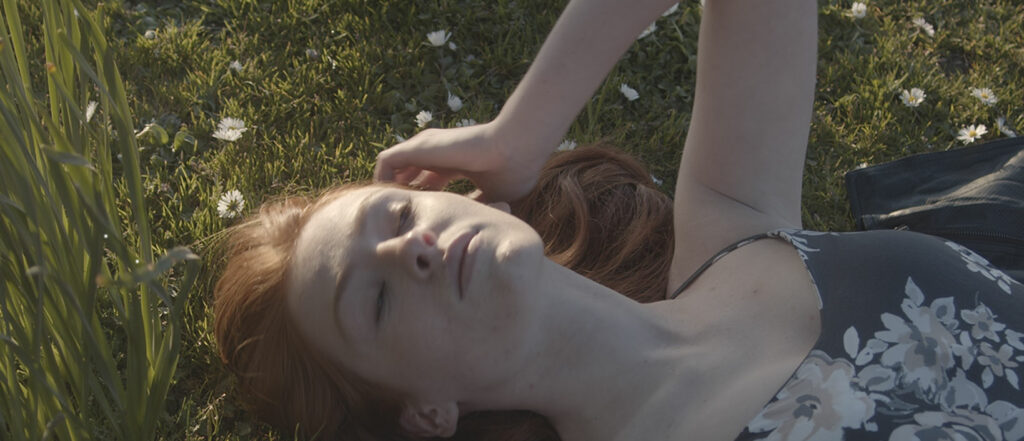
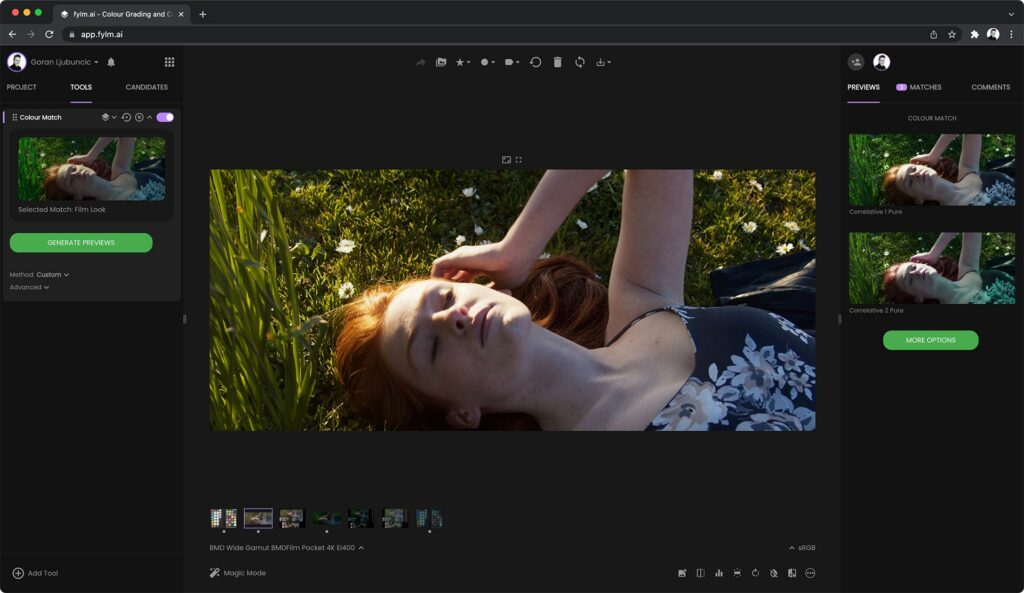
Again, we will begin by applying the correct ACES Input and Output Transforms. In this case the correct Input would be BMD Wide Gamut BMDFilm Pocket 4K EI400. Output is sRGB. Here is our image after the correct Input and Output have been applied.
Let’s just quickly compare it to our film scan as that is the look we are aiming to achieve for our digital shot.
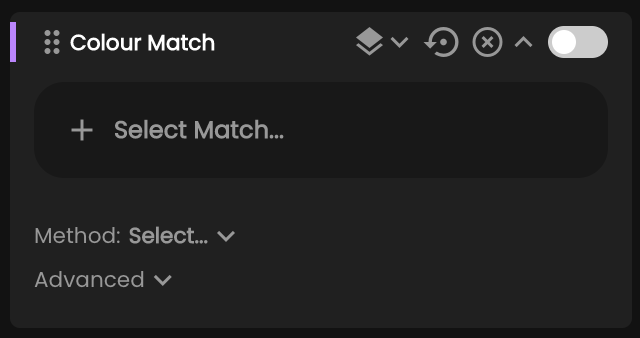
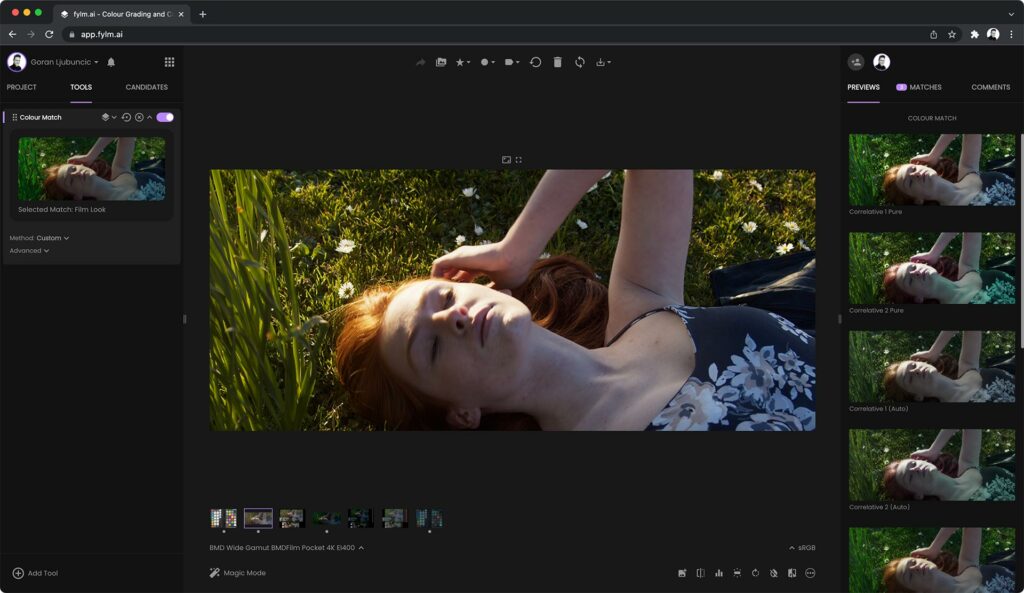
To match the two we will use the Colour Match tool. To add the Colour Match tool we will go to Add Tool > Colour Match.

Next, we will click on the Select Match button and select our previously saved Match.

After we click Apply we will get two previews on the right hand side in the Previews tab. These are called Correlative 1 Pure and Correlative 2 Pure. They both represent two different matching algorithms. Depending on the source and reference images, one will usually work better than the other.
However, if neither is exactly what we are looking for, we can access additional algorithms by clicking the More Options button.
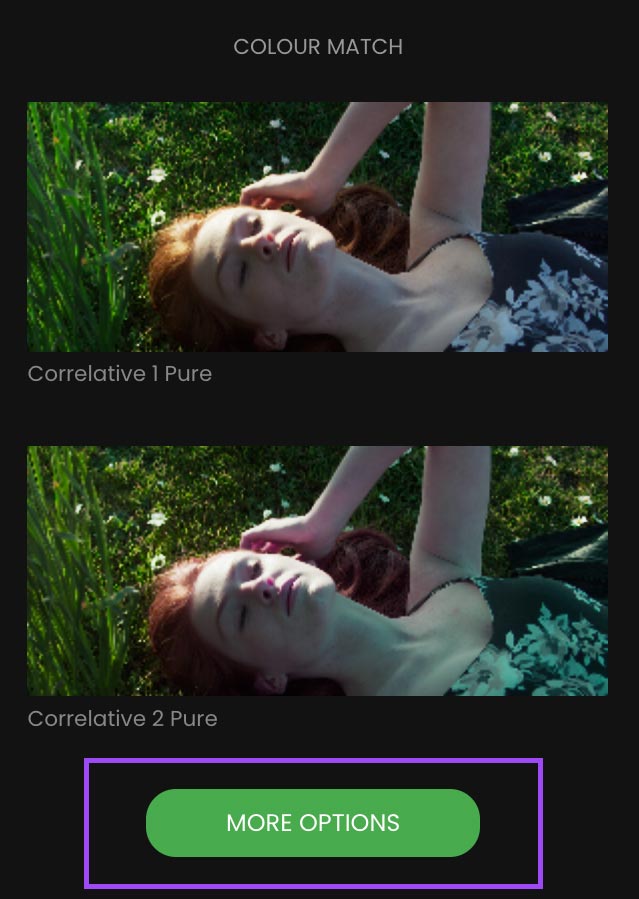
This will generate additional 8 previews for a total of 10 different options.
In this case, we will scroll down a bit and select Linear 1 as it offers the best starting point for the match. Let’s have a quick look at what we have so far.

As you can see, out of the box, Linear 1 offers a very good match and an excellent starting point. Just for comparison, here is a match between our digital shot and the film scan in a 3rd party popular software.
We can clearly see that Linear 1 option offers a significantly better match and a starting point for further editing.
Before we add additional tools and continue to fine tune our match, we can also make some adjustments to the colour matching algorithm we just selected. To adjust the matching algorithm parameters on the left hand side of fylm.ai under the Tools tab, click on the Advanced drop down to reveal additional options.
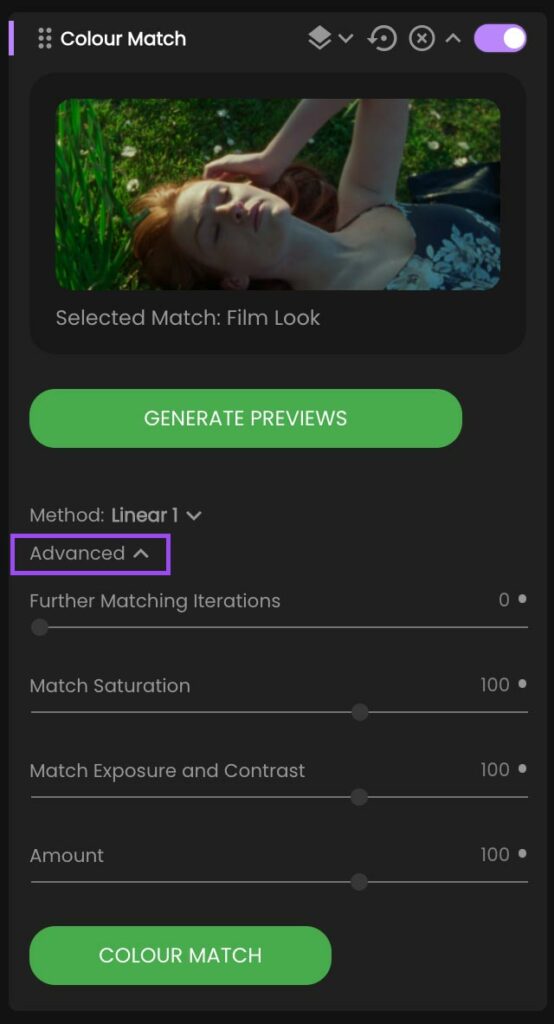
Let’s quickly explore these options:
- Further Matching Iterations – by default fylm.ai will perform one analysis of the source and reference images in order to calculate the match between the two. If you wish, you may perform additional calculations. Please note, more calculations does not always mean a better result. While in some cases, additional calculations may improve the result, in other cases they actually may make it slightly worse. We suggest that you explore this option cautiously.
- Match Saturation – the amount by which fylm.ai will try to match the reference saturation.
- Match Exposure and Contrast – the amount by which fylm.ai will try to match the reference exposure and contrast.
- Amount – overall intensity of the created look.
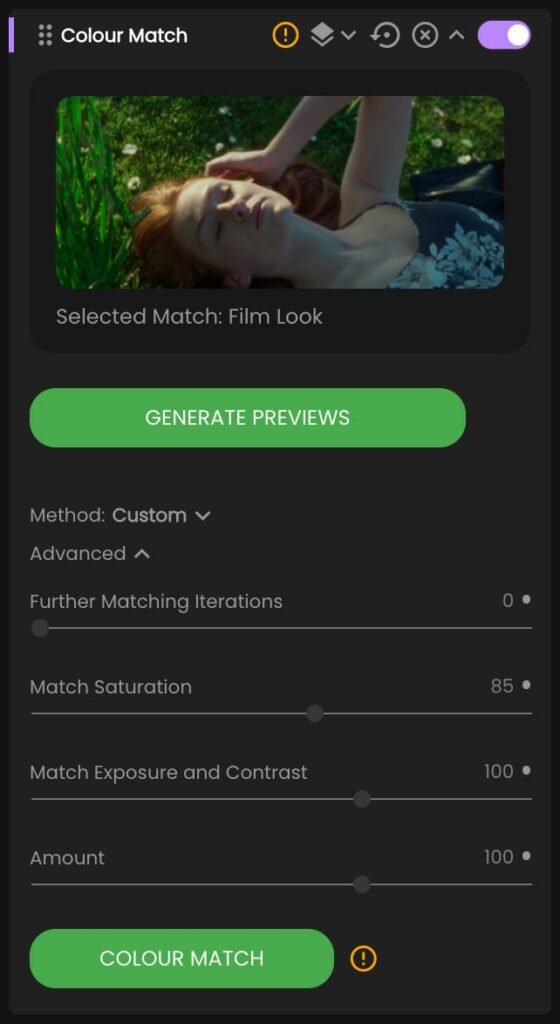
Important: When you change a parameter in the Colour Match tool under the Advanced drop down menu, fylm.ai will let you know (by showing a yellow exclamation mark) that you need to click on the Colour Match button to re-calculate the result with the new parameters in place. Without clicking the Colour Match button, no change will take effect.
For now, let’s leave the default options as-is and continue to fine tune our colour match. To make it easier for us to fine tune the colour match, we will click on the Matches tab on the right hand side of fylm.ai and click on the film scan Match we saved earlier. This will superimpose our film scan over our digital shot so that we can continue editing while we see our reference.
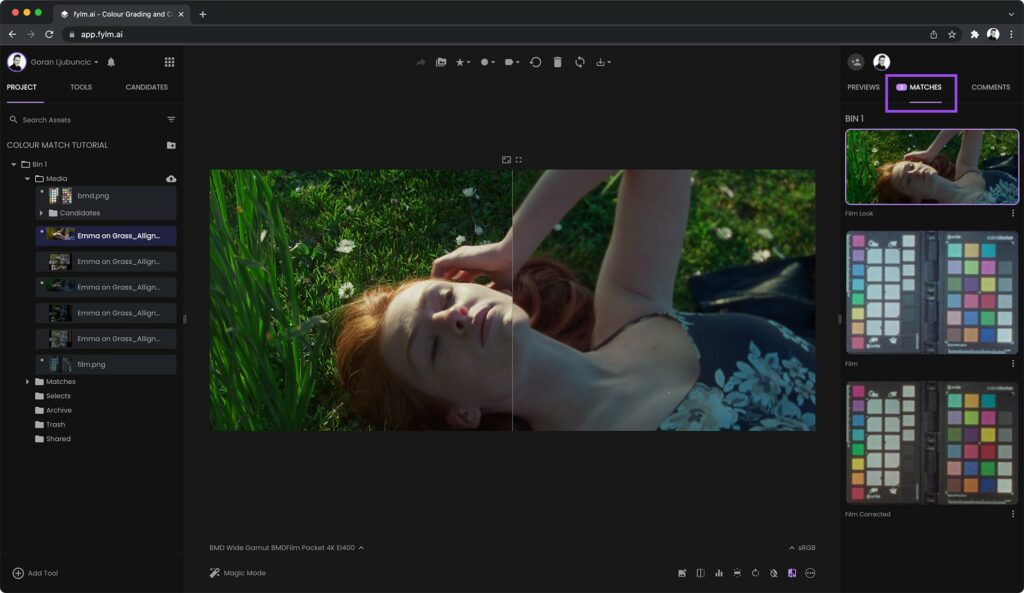
I can move the vertical split line over my main image to better see the difference between my image and the Match.
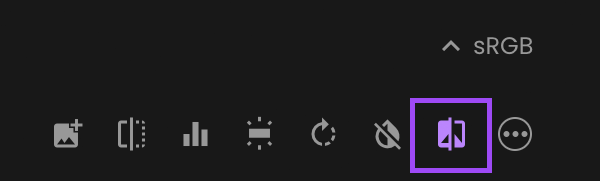
You can exit the Split View mode by clicking the film scan Match again under the Matches tab on the right hand side in fylm.ai or by clicking the Split View button. You can continue to edit your image with the Split Mode active.
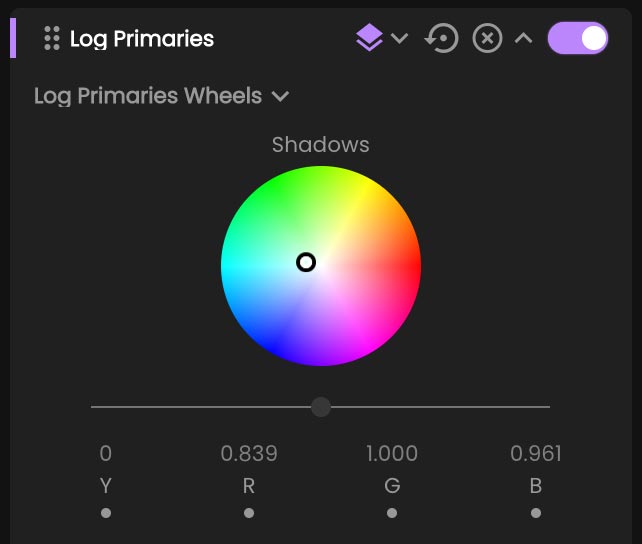
By taking a closer look at the two images I can see that our film scan is slightly colder in the shadows. So that is the first thing we will want to change. We will use the Log Primaries tool to add a little bit more cold tones into the shadows. I will change the Blending Mode of the Log Primaries tool to Average to allow for a more granular change.
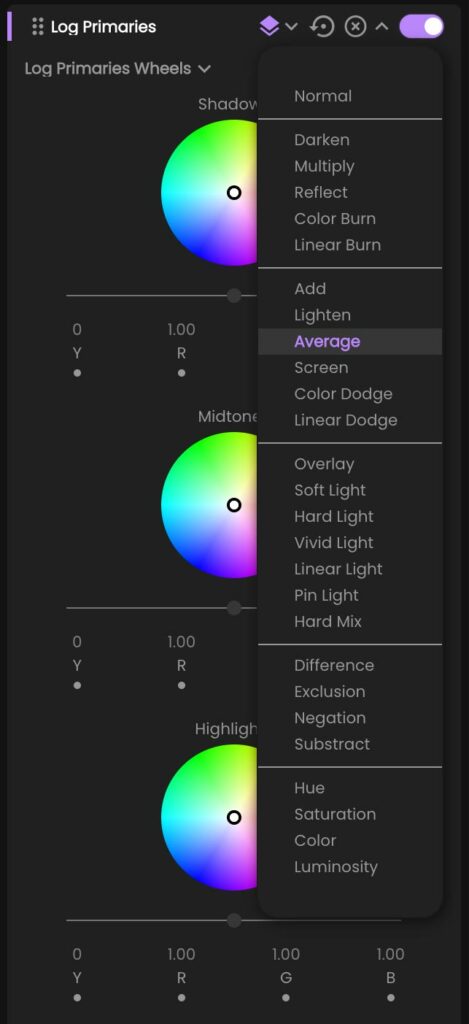
Then I will push some blue-green tones into the shadows.
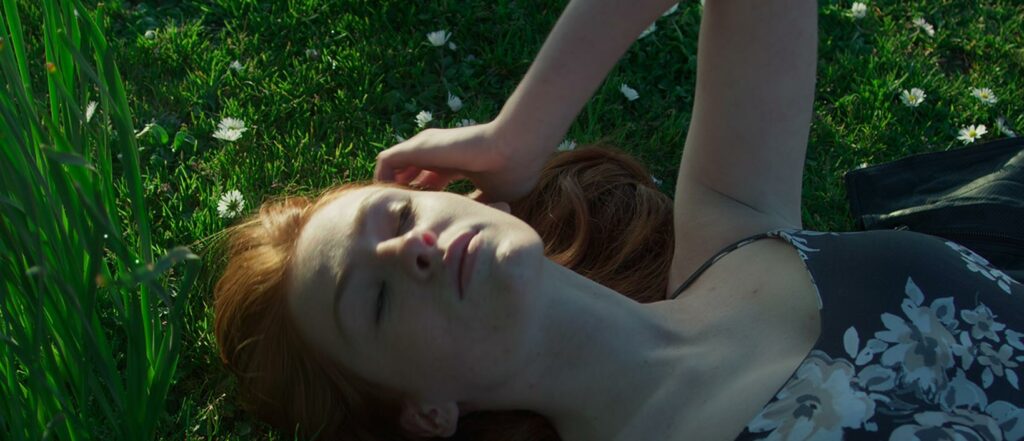
Our image now better matches the film scan.
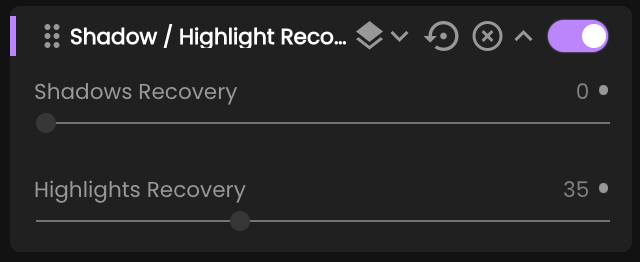
Again, looking at our match against the film scan, we can see that our film scan better handles highlights so to improve our match we will add some highlight recovery to our digital shot. To do that we will go to Add Tool > Shadow/Highlight Recovery. I ended up using a value of 35 in the Highlights Recovery.
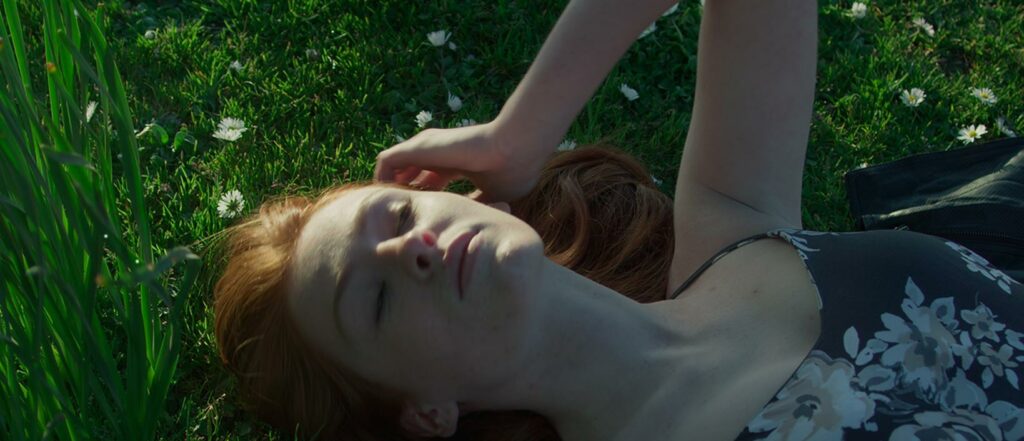
Here is how our image looks after this change.
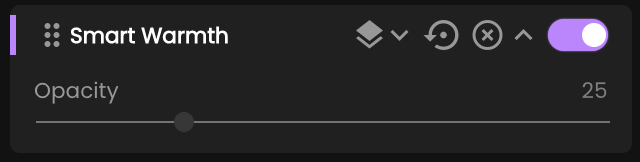
Next, I can see that the warm areas in the film scan are a little bit warmer than they are in our digital shot. So to change that, we will use the Smart Warmth tool. Smart Warmth tool increases the saturation and depth of warm tones without affecting the cold ones. To add the Smart Warmth tool we will go to Add Tool > Smart Warmth. I ended up using the value of 25 in the Smart Warmth tool.
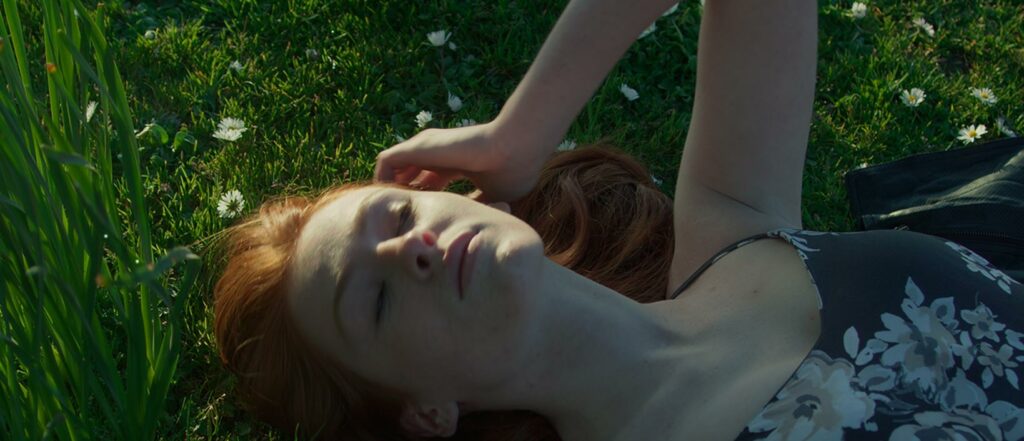
Here is a quick comparison with our film scan.
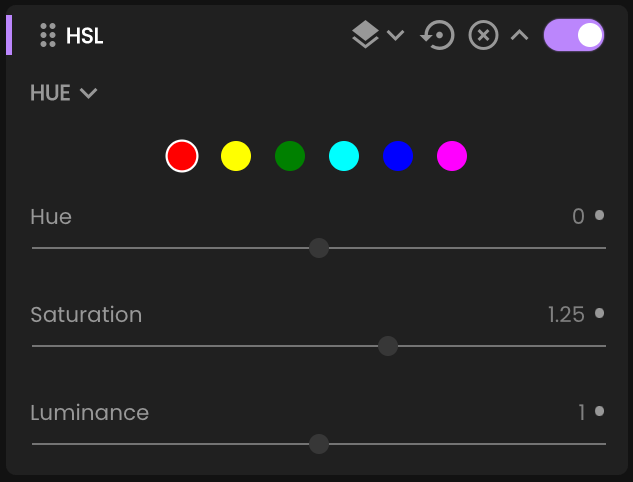
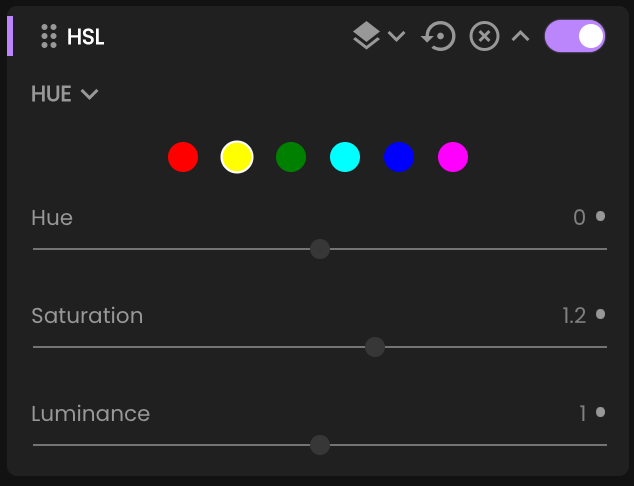
Next, I will slightly increase the saturation of Reds and Yellows using the HSL tool. To add the HSL to I will go to Add Tool > HSL. I increased the saturation of Reds to 1.25 and Yellows to 1.2
And finally I will reduce some of the cold I added previously into the shadows as I might have overdone it a little bit. Also, I will slightly increase the saturation and luminance of Greens using the HSL tool. I used values of around 1.25 for both Luminance and Saturation. Here is the end result.

And for comparison, here is our film scan.
Just for fun, let’s blur our digital shot so that we can examine the two in an easier way as digital is clearly sharper.
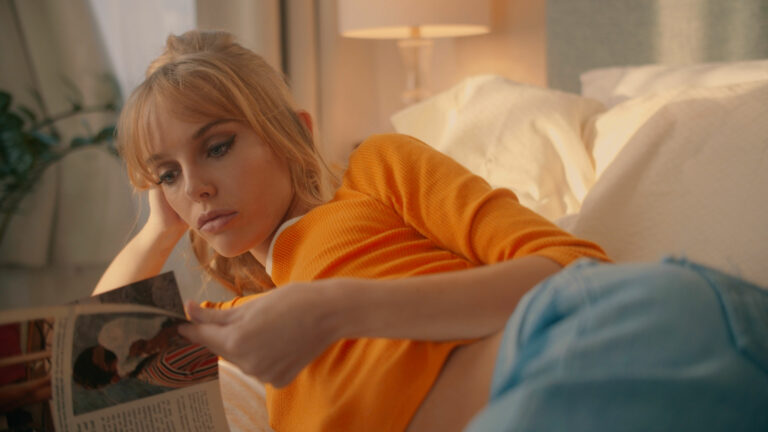
Here are the two shots next to each other. Top is our digital shot matched to the film scan.
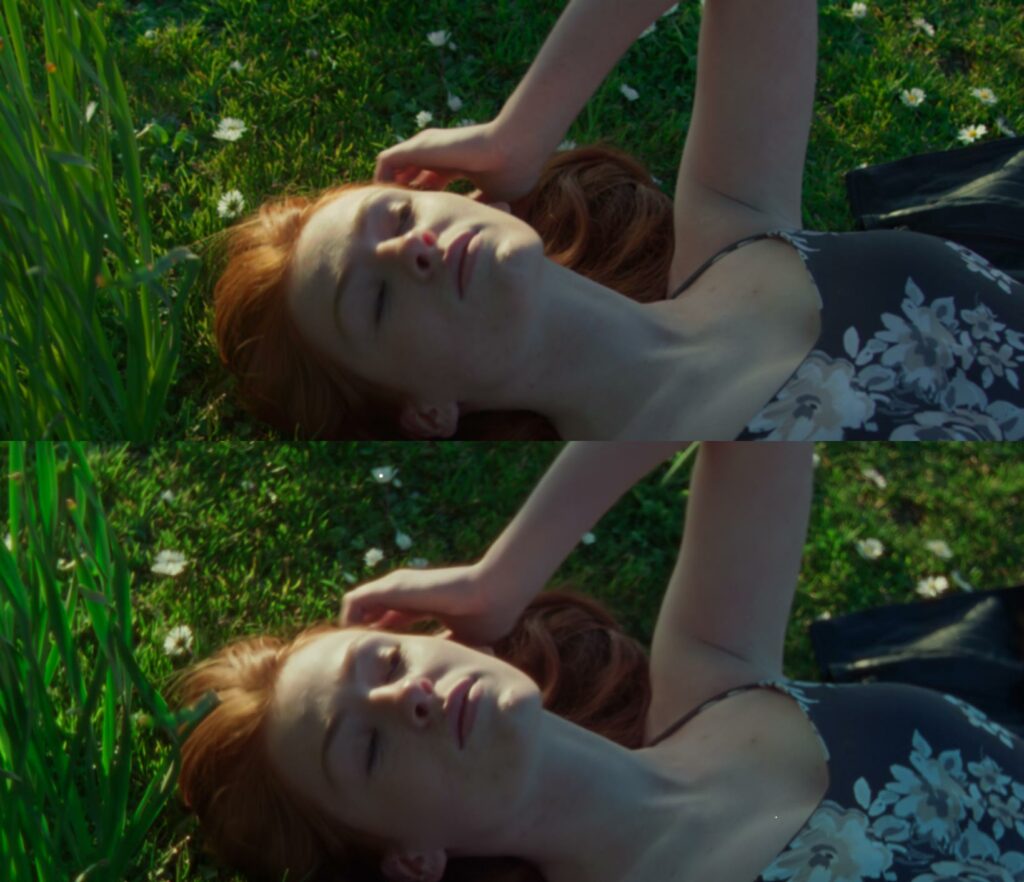
That is a pretty good match.
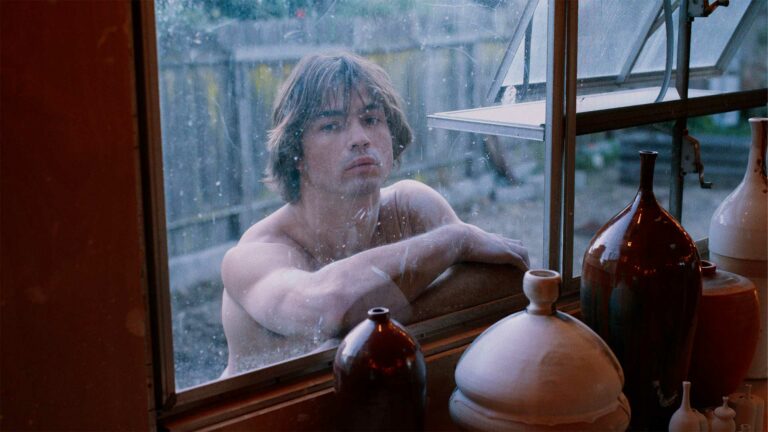
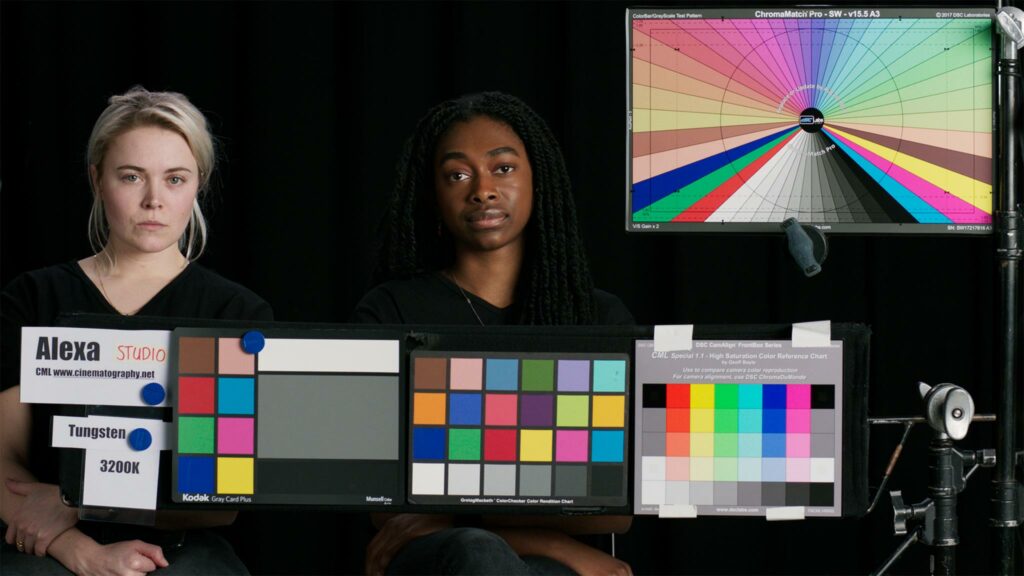
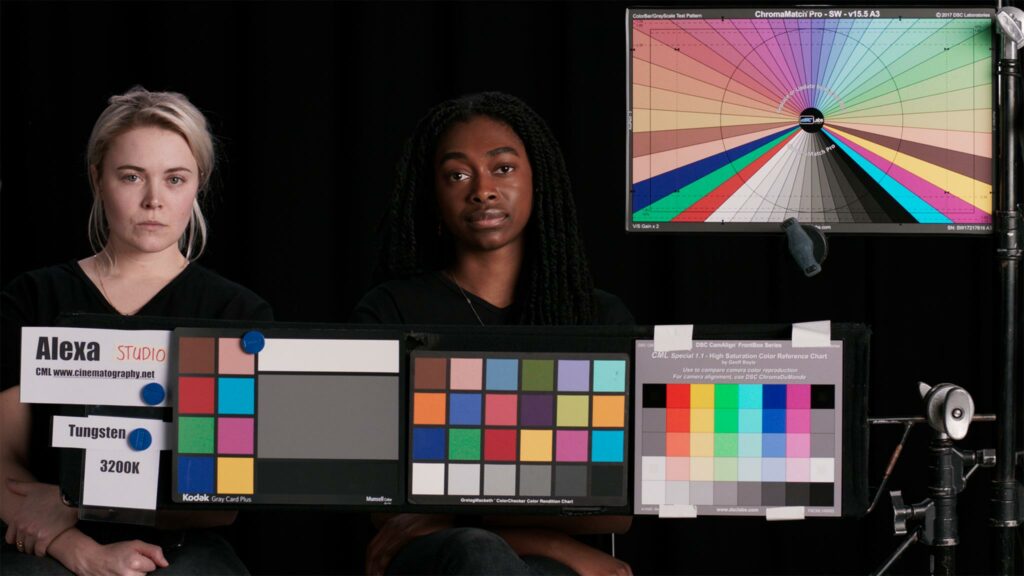
Let’s have a look at another match. This time, we are matching an Arri Alexa, shot under tungsten light to a film scan of Kodak 5219. For this match we are using the Correlative Full 1 algorithm for which we changed the number of Further Matching Iterations to 2. Also, using the Log Primaries tool we added a tiny bit of green-cyan to the shadows, a pinch of magenta to midtones and a touch of yellow-green to the highlights. Additionally, we brightened the shadows a little bit. Finally using the HSL we slightly increased the Luminance of the Blues and Cyans and pushed the Reds and Yellows by a very slight amount into the more Magenta area.
Now that our grade is ready, we can either:
- Save a graded image
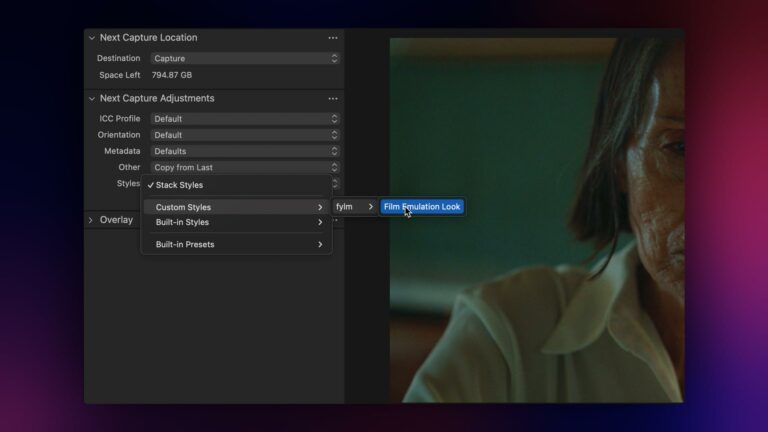
- Export a .cube LUT for use in any software that supports the .cube LUTs or in-camera (regardless if you use ACES in your workflow or not). VLT LUTs for Panasonic cameras are supported as well. You can also export an IPP2 tailored LUT for use in RED cameras.
- Export an enhanced XMP profile for use in Adobe Lightroom or Camera Raw
Colour Match can work with “synthetic” images as well, for example matching a synthetic colour chart to a film scan or a digital shot of the same colour chart. The options are endless and you will be able to come up with some very nice and interesting results. You can also match different cameras if needed.
Please note, to get best possible results, you should use similar images shot under similar conditions. If you are trying to match two completely different shots you might end up with unexpected results as it might not be possible to reliably match the two.
That would be all for this time. Should you have any questions, feel free to ask them in our Discord channel. Until next time, keep creating awesome stuff!