In this tutorial we will learn how to use the Magic Mode to colour correct and colour grade your work.
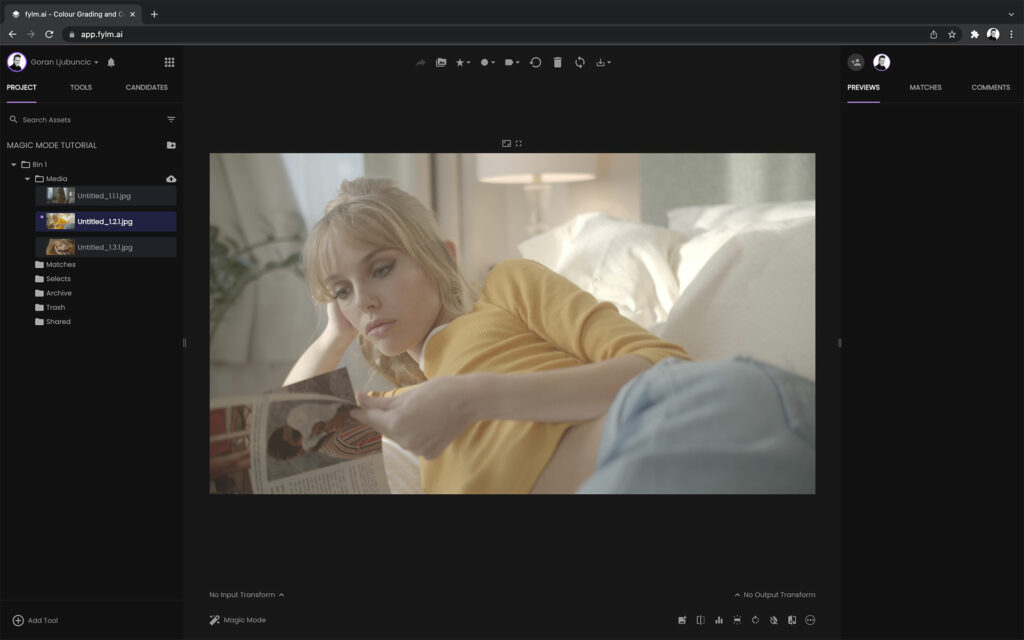
Let’s begin by opening our image in fylm.ai.
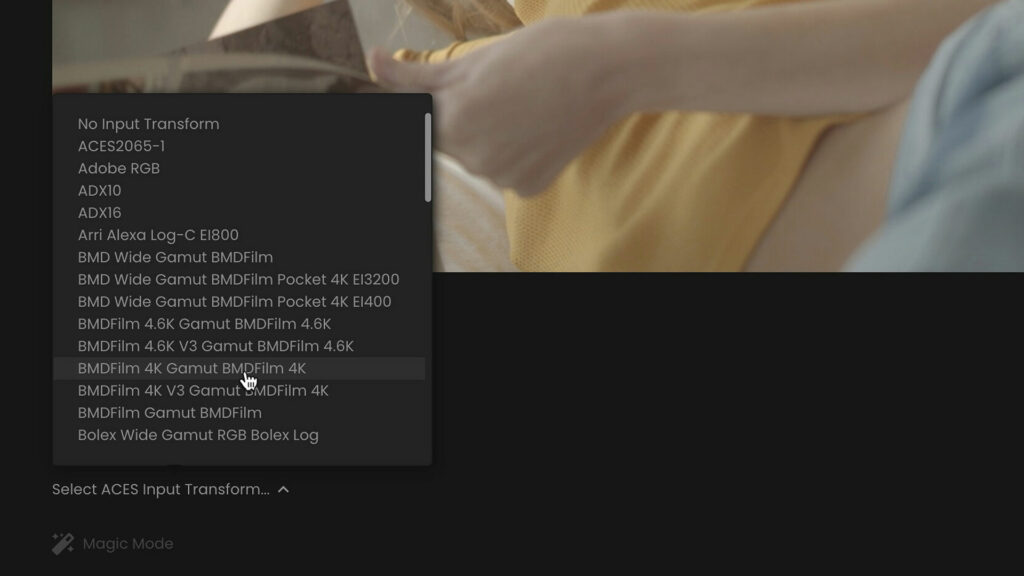
Before we can use the Magic Mode, we first have to select the correct ACES Input and Output Transforms so that our work is properly colour managed.

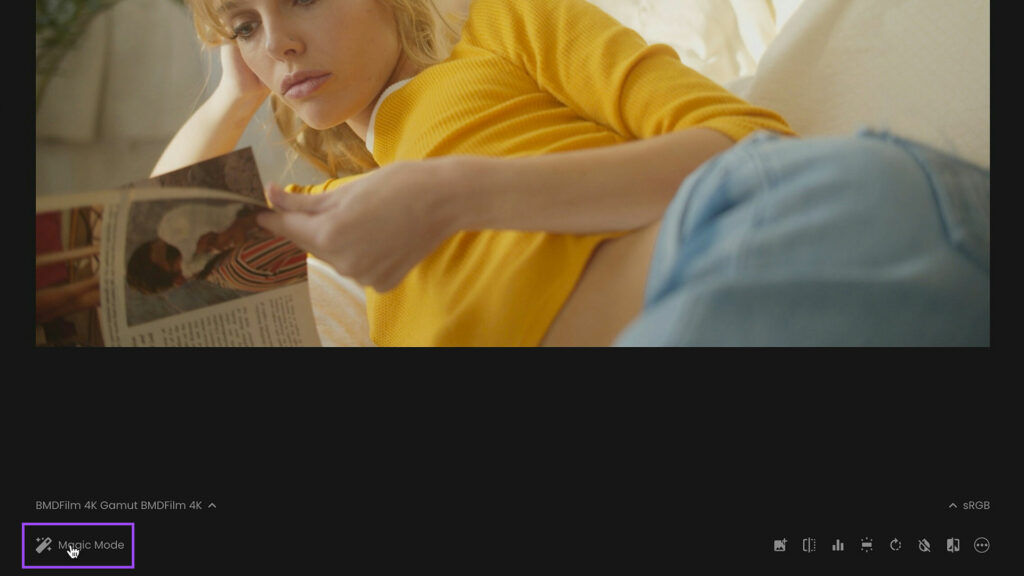
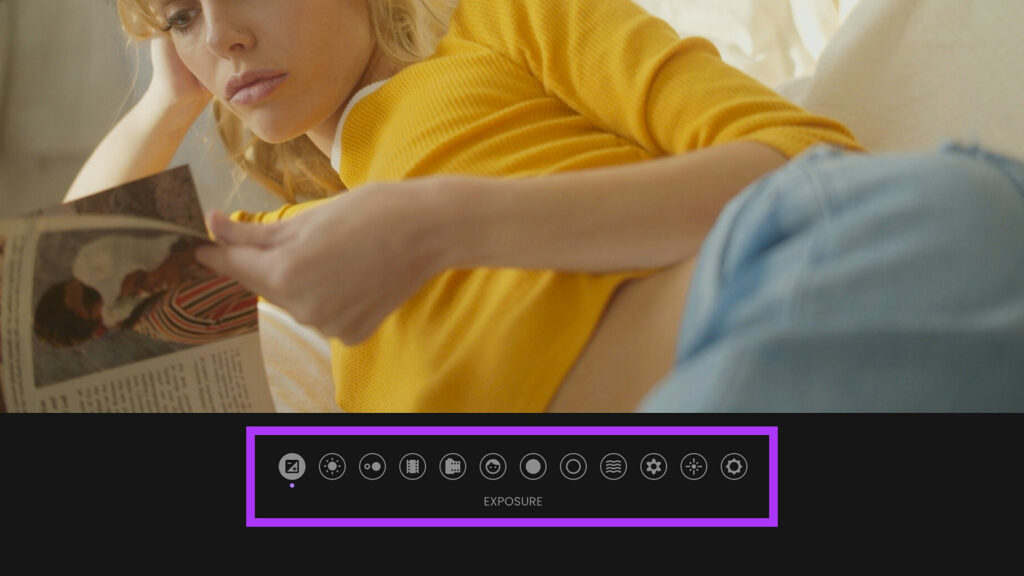
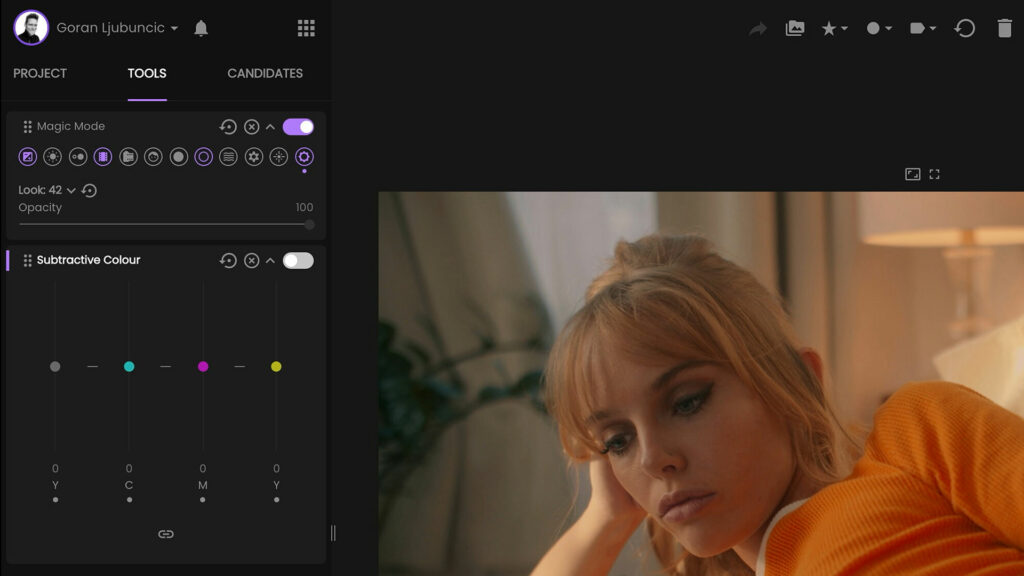
Now, let’s open the Magic Mode by clicking on the Magic Mode button.
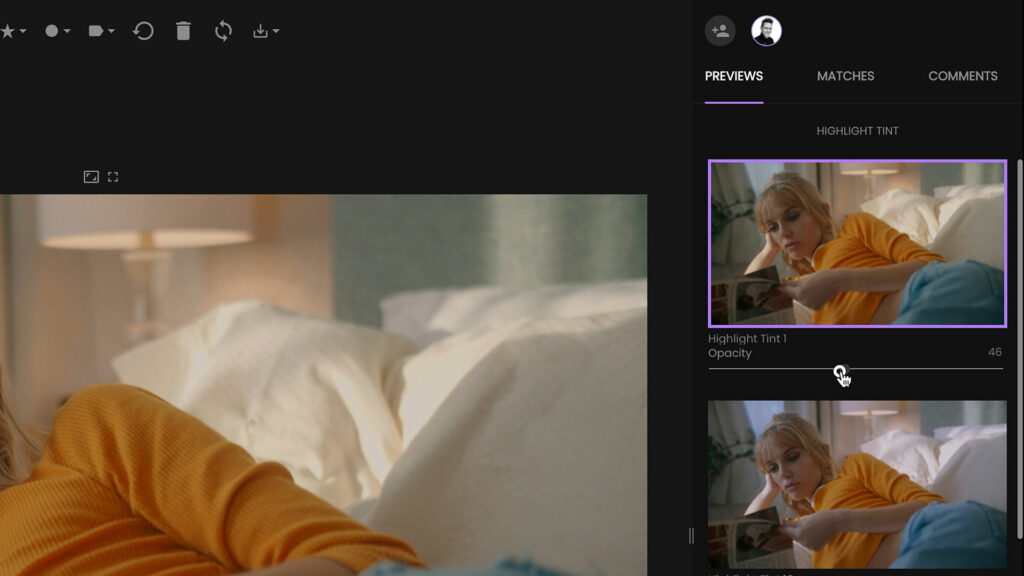
Magic Mode guides you through 12 structured colour grading steps and offers you previews of a range of possible choices on the right hand side under the Previews tab.
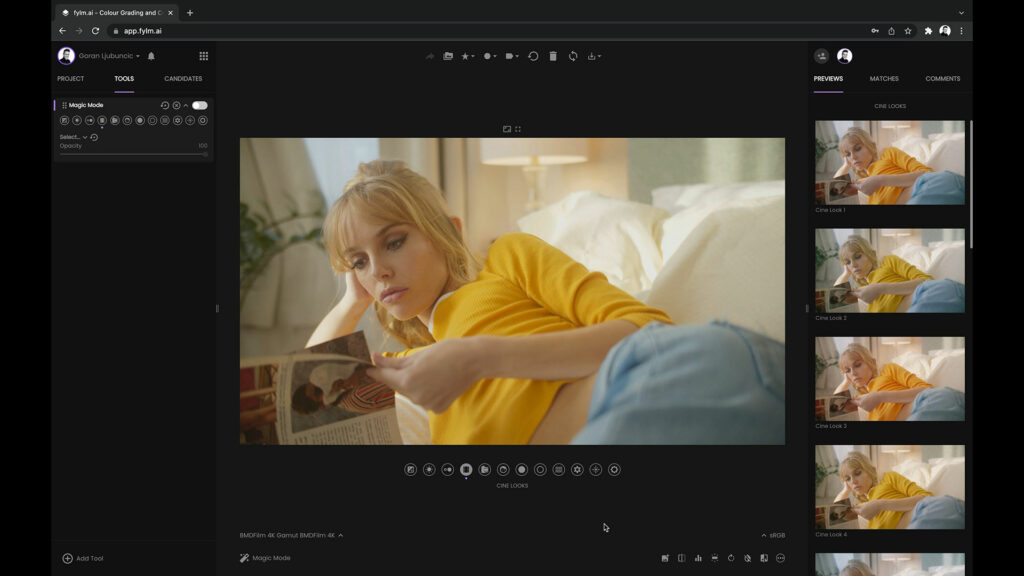
The thumbnails on the right offer an exact preview of the look so any guesswork is eliminated. You can resize the Previews column if you wish to see bigger thumbnails.
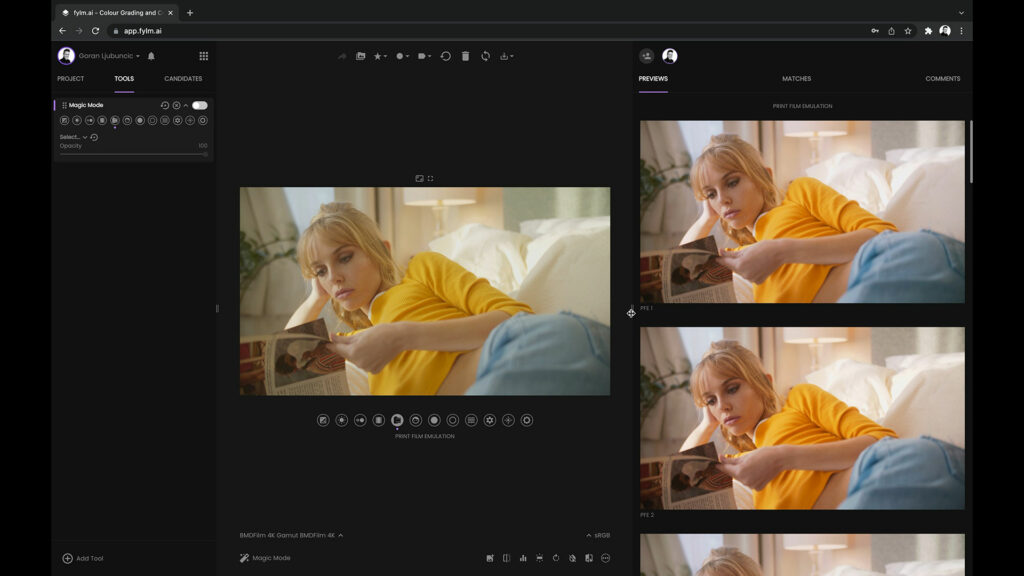
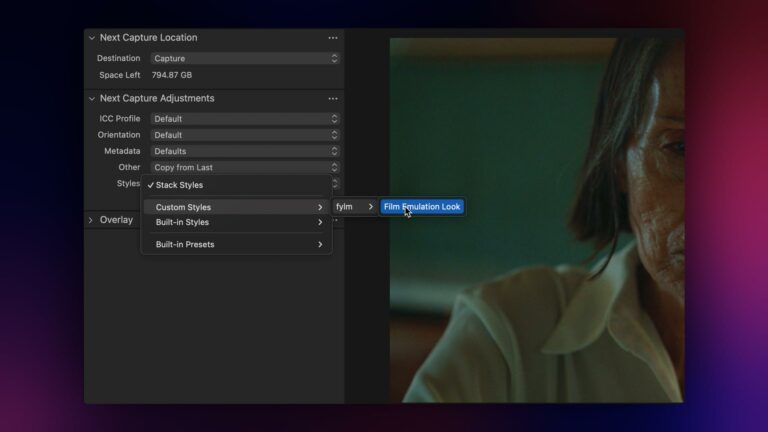
Colour grading steps in Magic Mode are logically ordered and they include primary corrections, creative looks and print film emulations and secondary corrections such as skin tone refinements or HSL corrections.
To start grading your image, simply select the best looking option. If you are satisfied with the result as is, you may skip a step. You can skip as many steps as you want or you can make a selection in each and every one of them. The choice is yours. You can always go back and re-visit your selections to refine your look.
For example, you may find that applying a certain Print Film Emulation adjusts the white point of your image so you might want to go back a few steps and adjust your White Balance as needed.

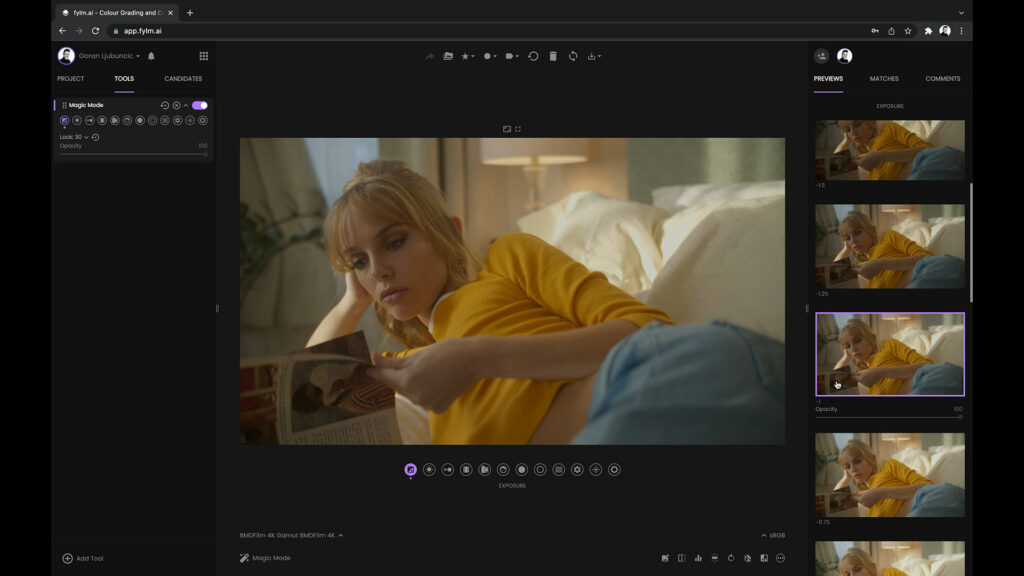
To adjust the intensity of the look, use the Opacity slider. Opacity slider allows you to make more granular selections for fine tuning your grade.
For quick browsing, you can navigate the Magic Mode using your keyboard. Use the left and right arrow keys to move between the steps. Hit the down or up arrow keys to switch between the looks. Hit Enter to deselect a selected look.
If you need further adjustments, Magic Mode can be combined with any other tool available in fylm.ai. Simply use the Add Tool button to add the tool that you want and continue your colour grade journey.
Once our grade is ready, we can either:
- Save a graded image
- Export a .cube LUT for use in any software that supports the .cube LUTs or in-camera (regardless if you use ACES in your workflow or not). VLT LUTs for Panasonic cameras are supported as well.
- Export an enhanced XMP profile for use in Adobe Lightroom or Camera Raw
fylm.ai Magic Mode is a structured and visual approach to colour grading bridging the gap between technical and creative allowing anyone to create awesome looking colour grades with minimal effort.