fylm.ai offers various layer and tool controls for maximum flexibility and optimum colour grading results. The purpose of this document is to cover the different controls a user has over layers and tools in fylm.ai.
Layers
Whenever you add a tool in fylm.ai, that tool is added in a layer of its own. Separating the tools into layers allows you to control the order in which different tools affect the image and it also offer a more granular control over the tool itself.
The following image shows two tools added and hence two layers.
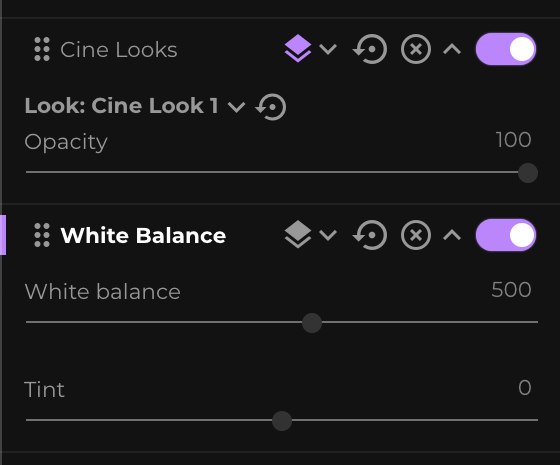
Layers are added in a serial fashion, meaning the first layer is the first one to affect the image. The second layer is applied after the effect first layer has created and so forth. The top most layer is the first one to take effect in fylm.ai while the bottom most layer is the last one to take effect.
If we look at the example above, first a Cine Look No.1 is applied then a White Balance correction takes place.
fylm.ai allows you to re-order the layers. To re-order a layer grab the ‘Reorder’ icon and move the layer into its place.
![]()
The following image shows re-ordered two layers.
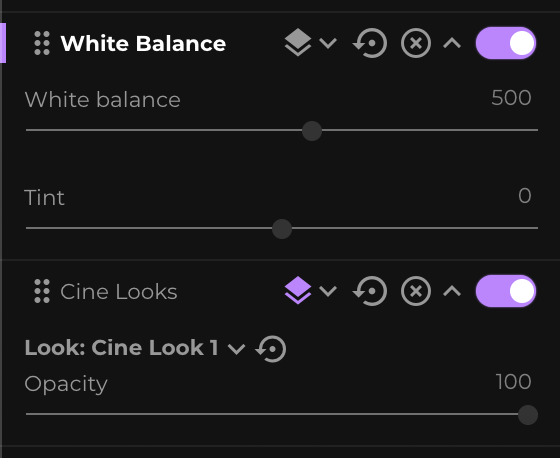
Order of tools is important in colour grading. While there are no golden rules, as a rule of thumb typically you would want to adjust primary corrections such as White Balance, Exposure, Saturation and Contrast before using other tools.
Additionally, order of layers can greatly change the appearance of the final colour grade and is extremely important when using LUTs. Let’s assume a scenario where we use a LUT in our colour grade which alters all neutral tones into blue-ish-cyan appearance.
If we apply this LUT on a neutrally white balanced image, we will have a more or less normally looking image where the appearance of everything that was neutral has shifted into the colder tones. For example, we might have a sidewalk in our frame which has now turned colder. Then, if we alter the white balance to warm up the image, sidewalk’s colder appearance will retain some/most of its colder tones whereas other areas of the image will become warmer.
That’s because when we change white balance the first tones to show change are neutral tones whereas very cold or very warm areas require a significant white balance change. That way, we can have overall warm appearance for our image and still have colder looking sidewalk.
However, if we first warm up the image using white balance and only then apply the aforementioned LUT, the LUT will almost have no effect because it will be applied on already warmed up image which most likely no longer has neutral tones in it.
Remember this when applying different colour grading tools to your image as the outcoming grade will change significantly.
Toggle On/Off
When you first add a tool to fylm.ai it is by default disabled. Disabled tool is indicated by a grey toggle.
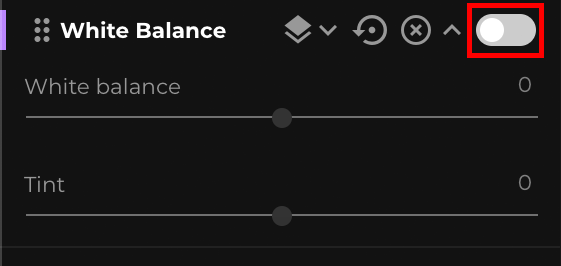
As soon as you change the value inside the tool the toggle turns on and the tool is enabled. The effect a tool has on the image is displayed in real time.
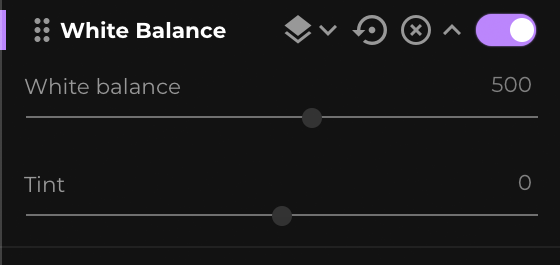
You can manually toggle the tool on/off by flipping the toggle. Manually toggling the tool on/off is useful when you want to evaluate the effect a single tool has on the image.
Resetting the tool
If you want to reset the edits in a tool you can click on the Reset icon.
![]()
Using the reset option will reset all of the sliders and values available for the particular tool.
Alternative you can double-click the slider “bubble” to reset the specific slider value.
Removing a tool
If you no longer need a tool you can remove it by clicking on the Remove icon.
![]()
When you click on the Remove icon no confirmation is displayed and the tool is removed immediately.
Collapsing/expanding a tool
If you want to “clean-up” your workspace you can collapse/expand a tool by clicking on the Collapse/Expand icon.
![]()
Collapsed tool occupies significantly less space so it might be a good idea to collapse tools no longer in active use.

Blending mode
When you add a colour grading tool, in addition to the controls offered by the tool itself, you can change the blending mode of the layer that contains the tool being used. This allows you a greater control of the desired effect as different blending modes offer drastically different results.
For example, increasing contrast will naturally increase the colour saturation in the image. However, changing the bending mode to ‘Luminosity’ will primarily affect the light levels of the image with little to no effect on colour values, hence preserving the original saturation values while increasing contrast. Alternatively, you could use the ‘Colour’ bending mode to change the colour values with little to no change on light levels. fylm.ai offers 27 different blending modes.
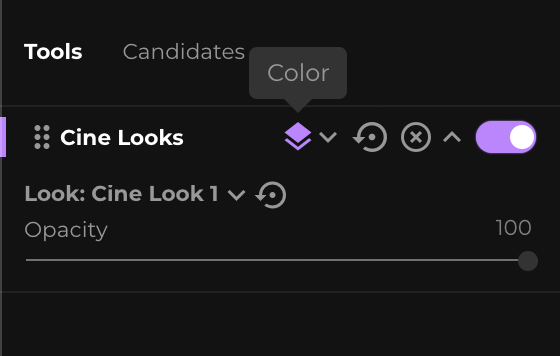
To access the blending mode menu click on the Blending Mode icon.
![]()
Hovering over a blending mode with your mouse will preview the effect in real-time in the main viewer area. To select a blending mode click on the desired mode.
If a blending mode other than ‘Normal’ has been selected, the Blending Mode icon will turn purple and hovering with the mouse over the Blending Mode icon will reveal the selected blending mode.
View option
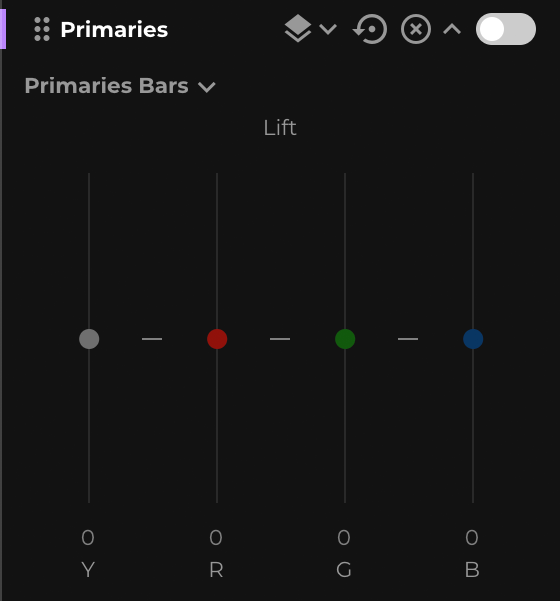
Some tools in fylm.ai have several different views. For example, Primaries tool offers you the Wheels or the Bars view. To change the view of a tool, if available, click on the View drop-down menu. The following image shows the view option for Primaries tool.
![]()
After changing the view from Primaries Wheels to Primaries Bars, the appropriate mode is selected.
Please note that edits done in one view will not propagate to the other view. It’s useful to think of different views as different tools.
Drop-down selection
Some tools in fylm.ai offer ready-made or preset looks. For example Cine Looks or Print Film Emulation tools offer ready-made LUTs you can apply to your image. Whenever you use a tool that offers ready-made looks, a preview of these tools will appear in the Previews tab on the right side of the application. You can select a look by clicking on the corresponding thumbnail.
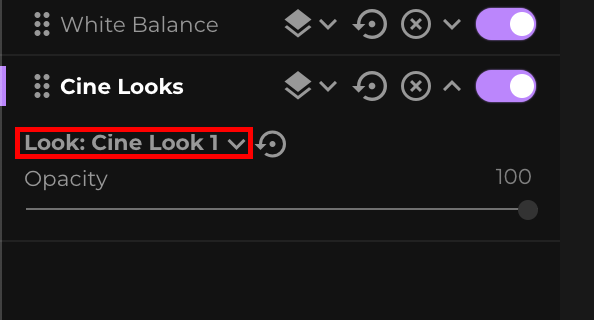
Additionally, you can select a look by using the Drop-down selection option. To select a look use the Drop-down selector.

Once a look has been selected it will be listed.
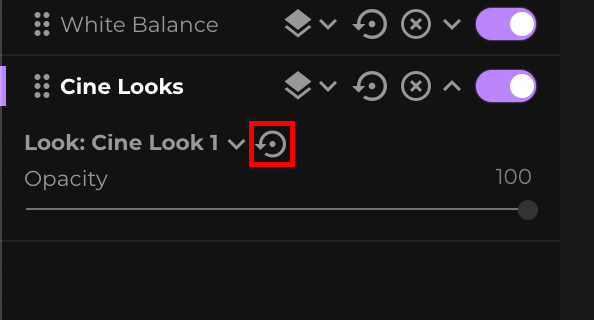
You can reset your selection without resetting other settings of the tool by clicking on the Remove selection icon.
Hovering with your mouse over a menu item in the drop-down selector previews the effect in real-time in the main viewer area.
Opacity
Some tools in fylm.ai offering ready-made looks allow you to control the strength of the effect by controlling the opacity of the look. By default a look is applied at 100% opacity meaning the effect is applied at 100% strength. You can control the look strength by changing the value of the Opacity slider.
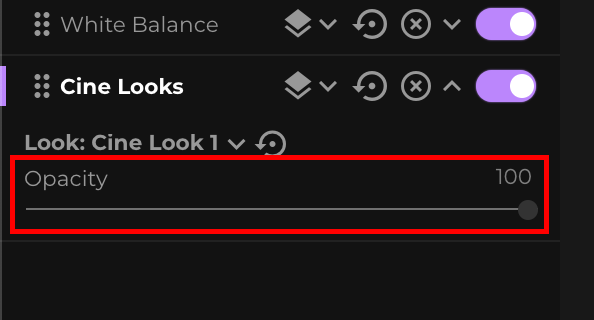
If you change the value of the Opacity slider it will not be reset by selecting a different look. Instead the newly selected look will use the same Opacity slider value.