Magic Mode is a colour grading tool available in fylm.ai that allows you to create a complete colour grade by simply clicking on the best looking option in each one of the 12 steps presented. When using Magic Mode, you can select an option in each one of the steps or you can skip a selection and move on to the next step. You can select an option in as many or as little steps as you want.
When using Magic mode you can go back and forth between the steps and select a different option from the one you initially selected. At any time you can change your selection or update it.
The order of steps through which a user is taken when using the Magic Mode is fixed and they are applied to your image in that particular order. Order of steps in Magic mode cannot be changed but you can skip steps as you wish.
Magic Mode layout
When you use the Magic Mode, just like any tool in fylm.ai it’s added to the Tools tab under the Project management and colour grading column. However, unlike most other tools, Magic Mode occupies all three areas of fylm.ai.
Tools tab
Magic mode is a tool and as such it is added to fylm.ai just like any other tool. This means that you can control the blending mode, opacity and more, just like you can with other tools. For introduction on layer and tool controls please see this document.
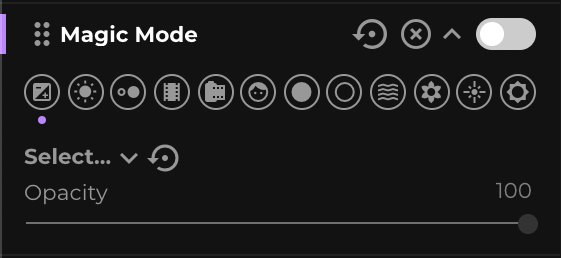
Inside the Magic Mode tool you are presented with the 12 available steps. A purple dot underneath a step represents an actively viewed step.
A step coloured in purple means a setting is applied in that step.
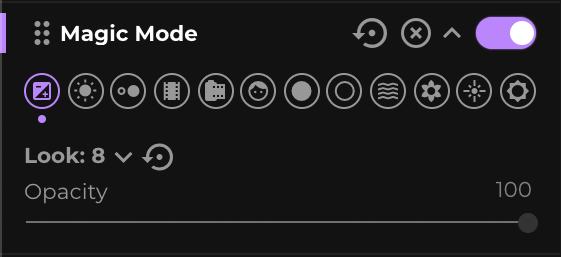
The image above indicates a change applied in the first step, which is exposure.
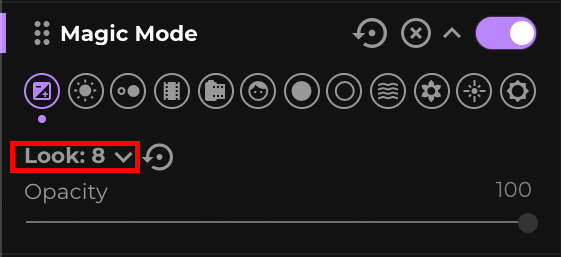
You can apply a change in each one of the steps by either selecting a look from the drop-down menu or by selecting a thumbnail in the Preview column.
Main viewer area
In the main viewer area, your changes are displayed in real time, and the same 12 steps are displayed. The name of the actively viewed step is displayed as well.
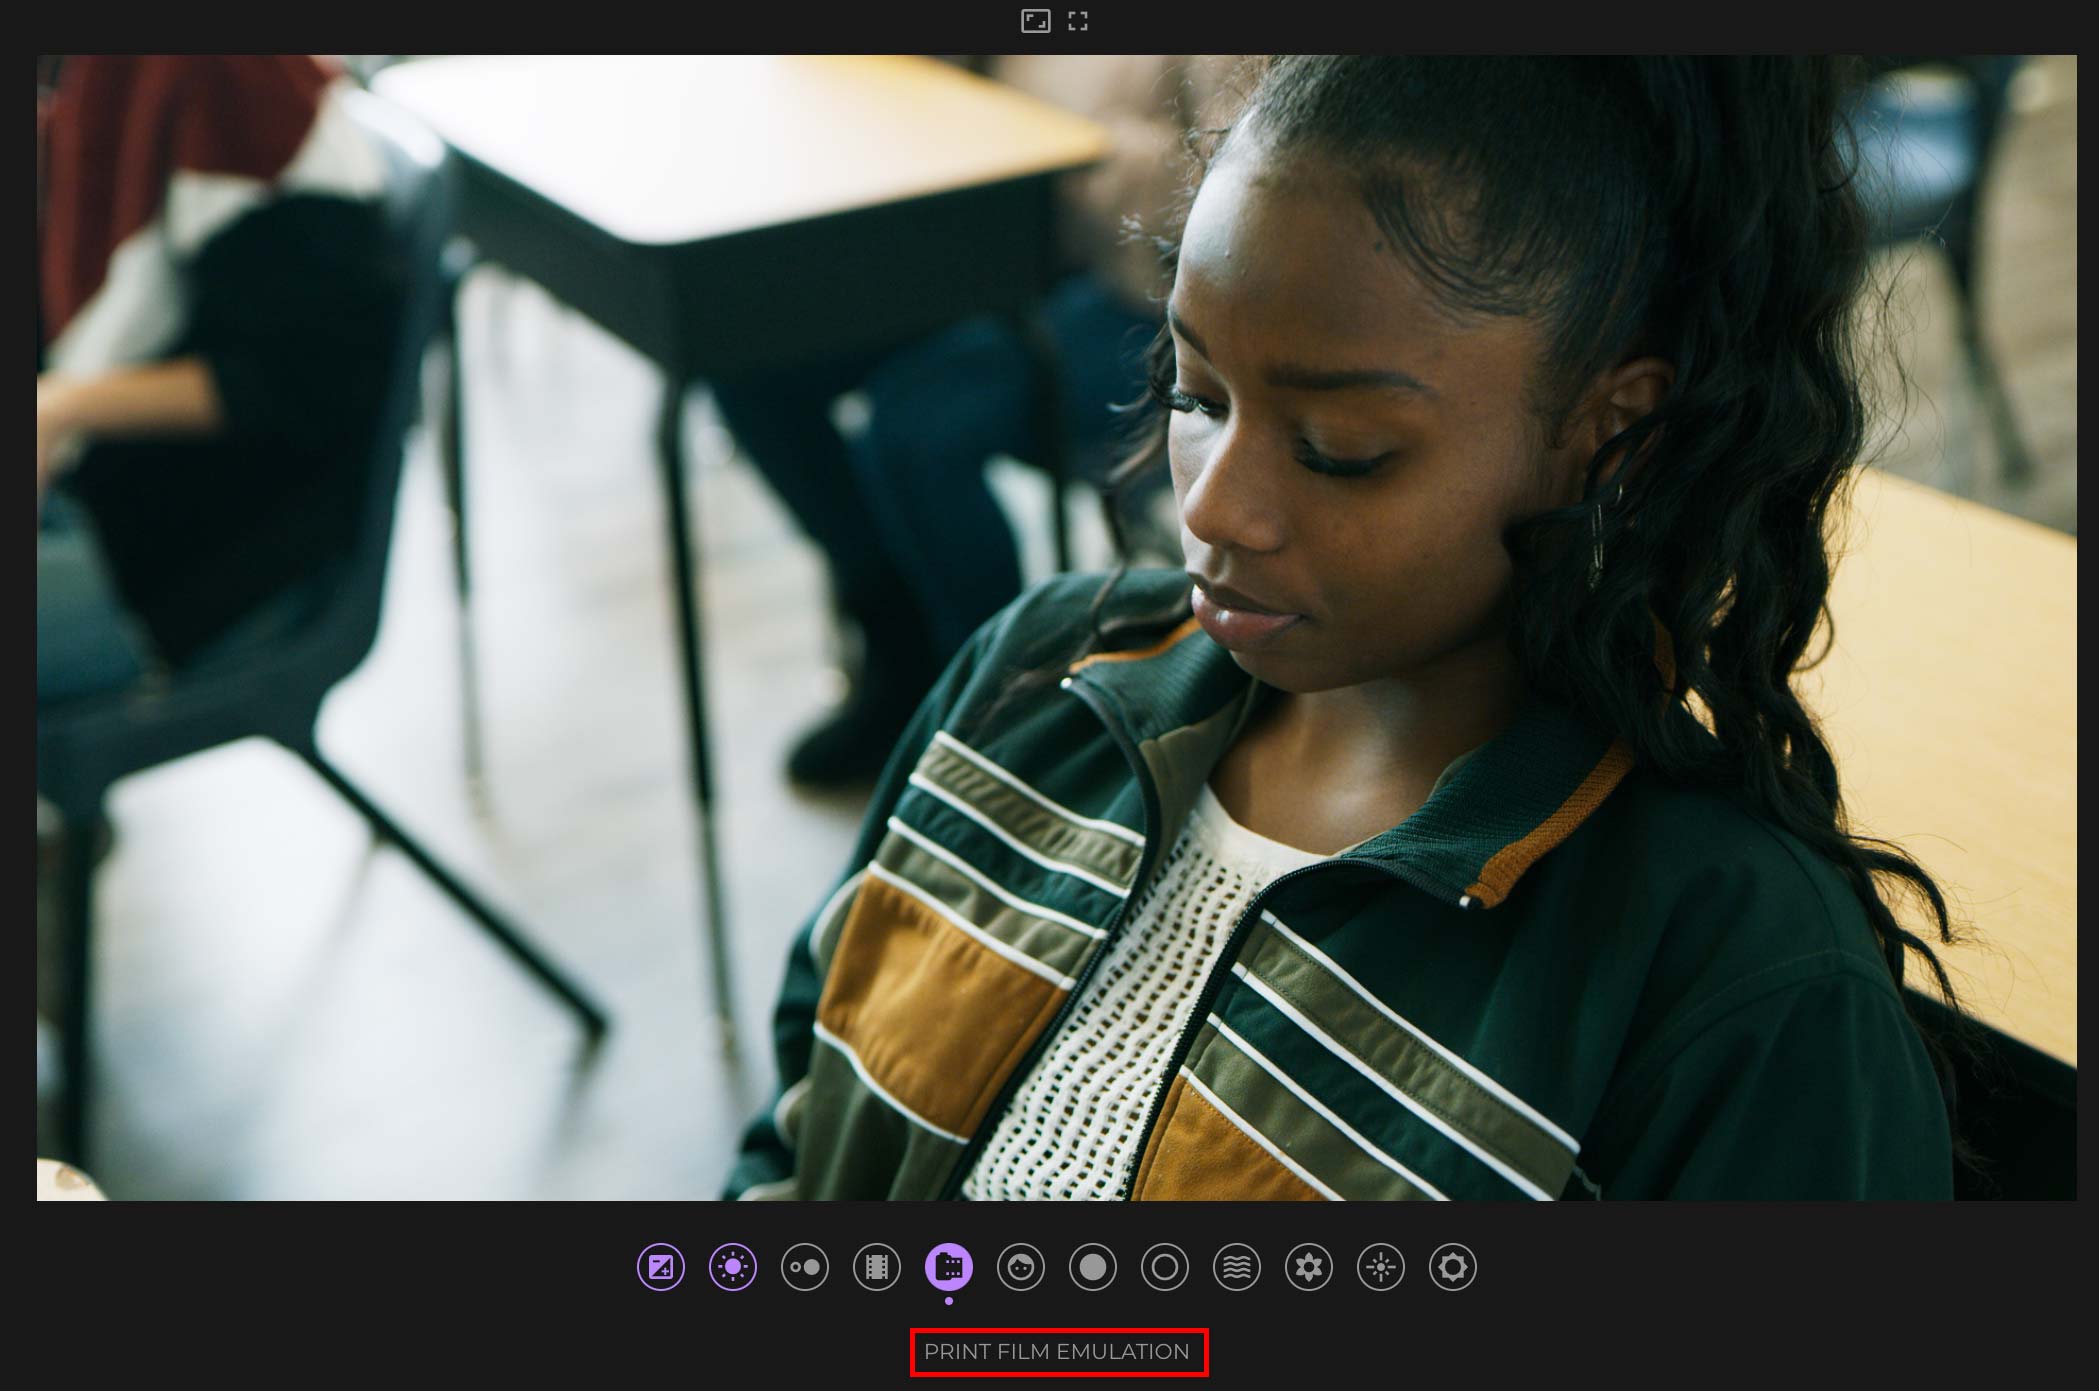
You can click on any one of the steps to select it.
Preview column
Preview column displays a thumbnail preview of the different looks available in each step. To apply a look you can click on the corresponding thumbnail. The following image shows a preview of different White Balance changes. The name of the active step is displayed in the Preview column as well.
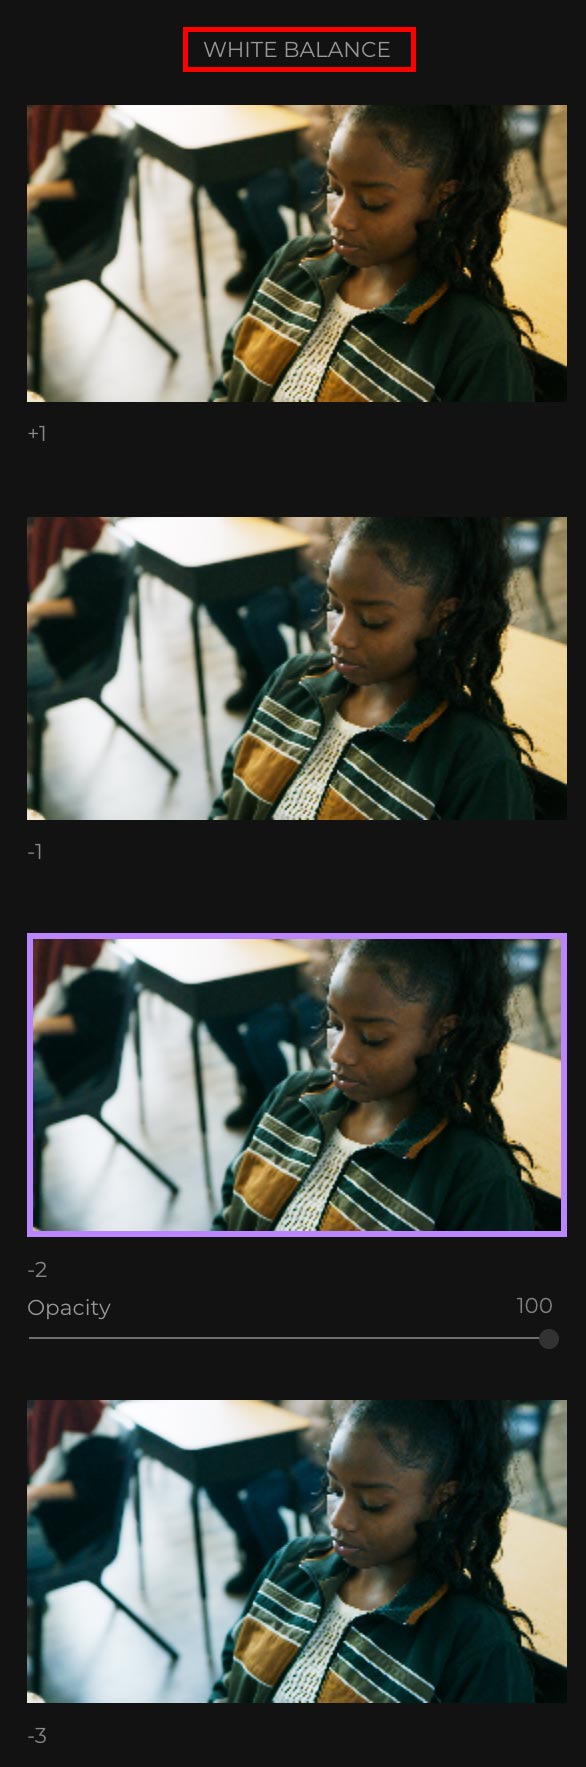
If a “gap” from one preset look to the other is a bit too much, you can simply select the “higher order” look, and lower its opacity using the opacity slider. For example, if we look at the above image, one might decide that the look named “-2” is still too warm, while the look named “-3” is too cold. In that case, you would select the “-3” look, and slightly lower its opacity.
Navigating the Magic Mode
There are several ways in which you can navigate the Magic Mode:
- By clicking on the corresponding step with your mouse
- Using the keyboard (much quicker and recommended)
Hitting the right arrow key will move you to the next step. Hitting the left arrow key will take you to the previous step. Hitting the down arrow key will select the first available look in the active step. Once a look is selected, use the up/down arrow keys to select the desired look. You can select the first available look also by hitting the enter key. To deselect an already selected look, hit the enter key.
Available steps
Following is the order of available steps in Magic mode.
Exposure
Available values are from -2 to +2 stop changes in quarter steps.
White Balance
Available values are from -6 to +6 in full steps. Each step corresponds to about 500 Kelvin change.
Contrast
Available values are from -3 to +3 in full steps.
Cine Looks
A set of 15 pre-made cinematic colour grades to base your colour grade of.
Print Film Emulation
A set of pre-made print film emulations. Can be used with or without Cine Looks. If used together with Cine Looks, a contrast decrease is usually recommended.
Skin Tone
A set of 25 pre-made skin tone manipulation looks. Divided into three categories:
- Pale skin tone
- Medium skin tone
- Dark skin tone
The name suggests on which type of skin tone a look is best used.
Shadow Tint
A set of 10 pre-made looks with a colour shift in shadows. Most looks are a bit on the stronger side, therefore an opacity change is recommended. When used together with Highlight Tint control it allows for a very quick split toning effect.
Highlight Tint
A set of 10 pre-made looks with a colour shift in highlights. Most looks are a bit on the stronger side, therefore an opacity change is recommended. When used together with Shadow Tint control it allows for a very quick split toning effect.
Blue Tone
A set of 10 pre-made looks affecting the blue range of colours.
Green tone
A set of 10 pre-made looks affecting the green range of colours.
Yellow tone
A set of 10 pre-made looks affecting the yellow range of colours.
Smart Warmth
A set of 4 pre-made looks affecting the warm colours in image while leaving the colder colours unaffected. Ideal for creating a rich and warm look.