Tools tab is where all your colour grading tools appear. When you add a colour grading tool, using the Add Tool button it will appear in the Tools tab. Whenever you add a colour grading tool, regardless of the currently active tab, you are taken to the Tools tab.
To add a tool click on the Add Tool button in the bottom left corner of fylm.ai.
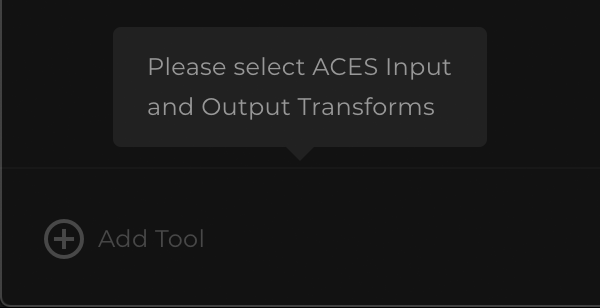
Please note, Add Tool button will not be active unless you have selected an ACES Input and Output Transforms. Without Input and Output Transforms selected an appropriate message is displayed when you try to click on the Add Tool button.
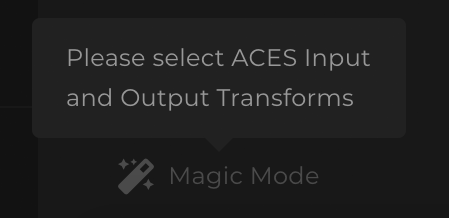
The same message appears if you try to use the Magic Mode without selecting ACES Input and Output Transforms.
When you click on the Add Tool button, tools menu is opened.
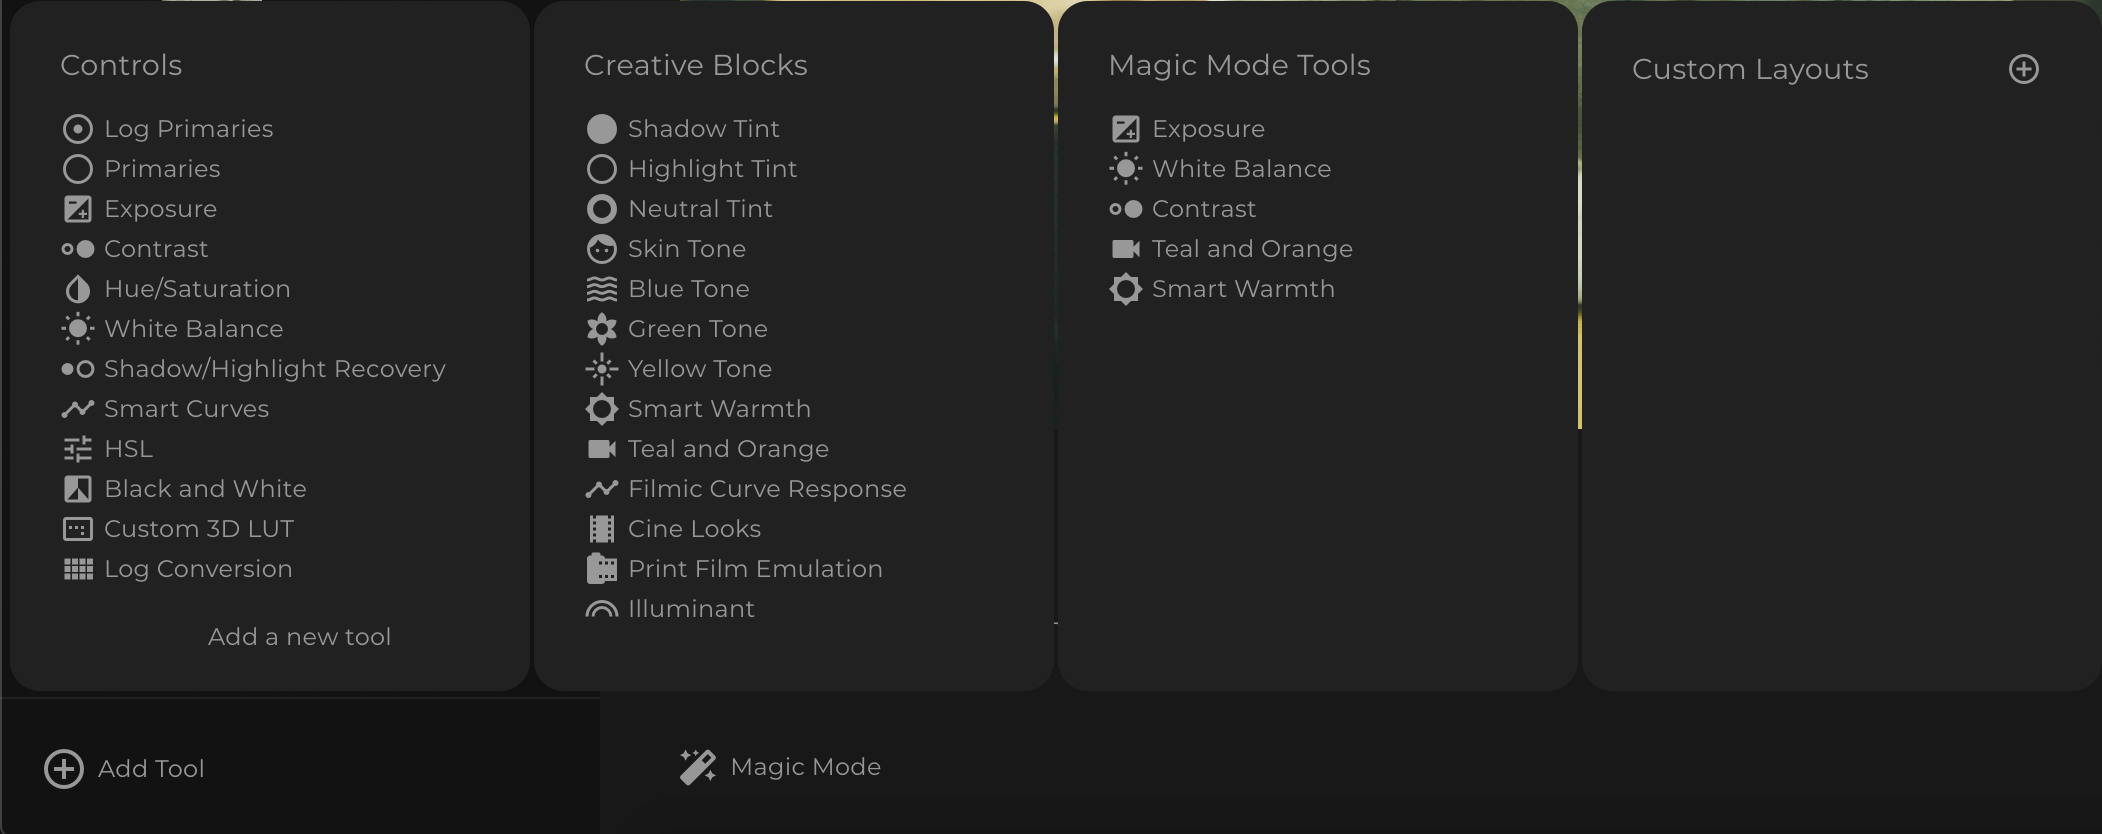
Tools menu is divided into four columns:
- Controls
- Creative Blocks
- Magic Mode Tools
- Custom Layouts
Controls
Controls column offers more traditional colour grading tools such as Primaries, Curves, White Balance, Saturation, Exposure, HSL and more.
Creative Blocks
Creative blocks column offer colour grading tools which offer a thumbnail preview in the Previews column. Using the tools in the creative blocks column is very intuitive as all you have to do is select the preview that looks best.
Magic Mode Tools
Magic Mode Tools column offers traditional colour grading tools but with a real time thumbnail preview in the Previews column.
Custom Layouts
In fylm.ai, instead of presenting to you all of the colour grading tools at once and creating a cluttered interface, you only add the tools that you want. To save you a valuable time of re-adding the tools that you always use, you can save a tools layout and load it from the Custom Layouts column.
For example, let’s assume you always add the following tools: Primaries, Exposure, Contrast, Saturation, White Balance. You would add these tools once, then save that layout and give it a distinctive name, for example, ‘Primary Corrections’. Then, clicking the ‘Primary Corrections’ layout in the Custom Layouts column will load all of these tools at once.
In the following image we can see a saved layout called ‘Primary Corrections’.
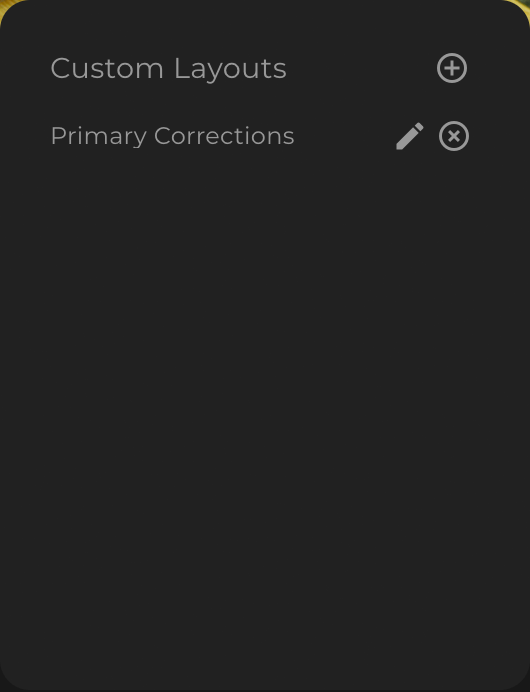
Selecting the saved layout loads all of the tools saved within that layout.
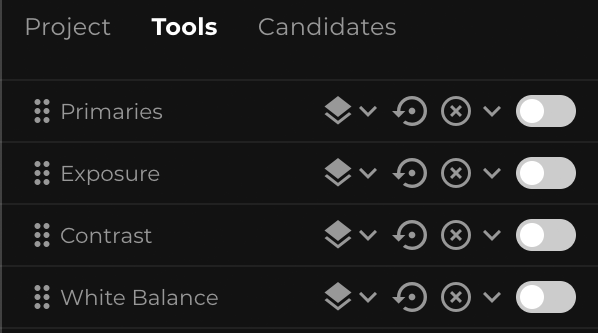
When you add a tool it is added to the top of the Tools column. The first added tool will appear top most. Therefore the order in which tools take place is from top to bottom. The bottom most tool is the last one to take place.
If we have a look at the above image, first Primaries corrections are applied, then Exposure, Contrast and then White Balance.
For introduction to layer and tool controls please visit this document.