Your colour grading process will usually begin once your edit is locked in place. Even if you are creating a show look to be used during principal shooting, you will do so after you have shot some test footage. Therefore, before you begin creating looks in fylm.ai, it is advisable to have your footage organised in DaVinci Resolve.
Exporting the still frames correctly is important as it will make your workflow in fylm.ai easier and consequentially your entire colour grading process.
There are a few rules of thumb for exporting a still frame for use in fylm.ai.
- It is best exporting a frame in log format like Log-C, S-Log3, REDLogFilm, etc. if possible and not a normalised image (like Rec709)
- Make sure you use the same ACES Input and Output Transforms in fylm.ai as the ones you will be using in your DaVinci Resolve project
As fylm.ai is an ACES colour managed application, we strongly suggest setting up DaVinci Resolve for ACES colour managed workflow. However, sometimes it may be advisable to do so only after you have exported the still frames for usage in fylm.ai.
There are 2 reasons for that:
- If you select an Input and Output Device Transforms when setting up ACES colour management in DaVinci Resolve, you will end up with a normalised image. Using this image in fylm.ai may limit your creative decisions in some cases.
- It is often easier to select the appropriate export settings while using DaVinci YRGB colour science, especially for raw footage.
Let’s examine some practical uses. In our project we have a mix of raw RED .r3d footage and still frames which have been interpreted as DragonColor2 REDLogFilm (simulating a log ProRes files).
Exporting still frames from RAW footage
Let’s make sure we interpret all of our raw files correctly first. This is important for exporting still frames only. After we setup DaVinci Resolve for ACES colour managed workflow, raw files will automatically be debayered by DaVinci Resolve into ACES resulting in a normal looking image.
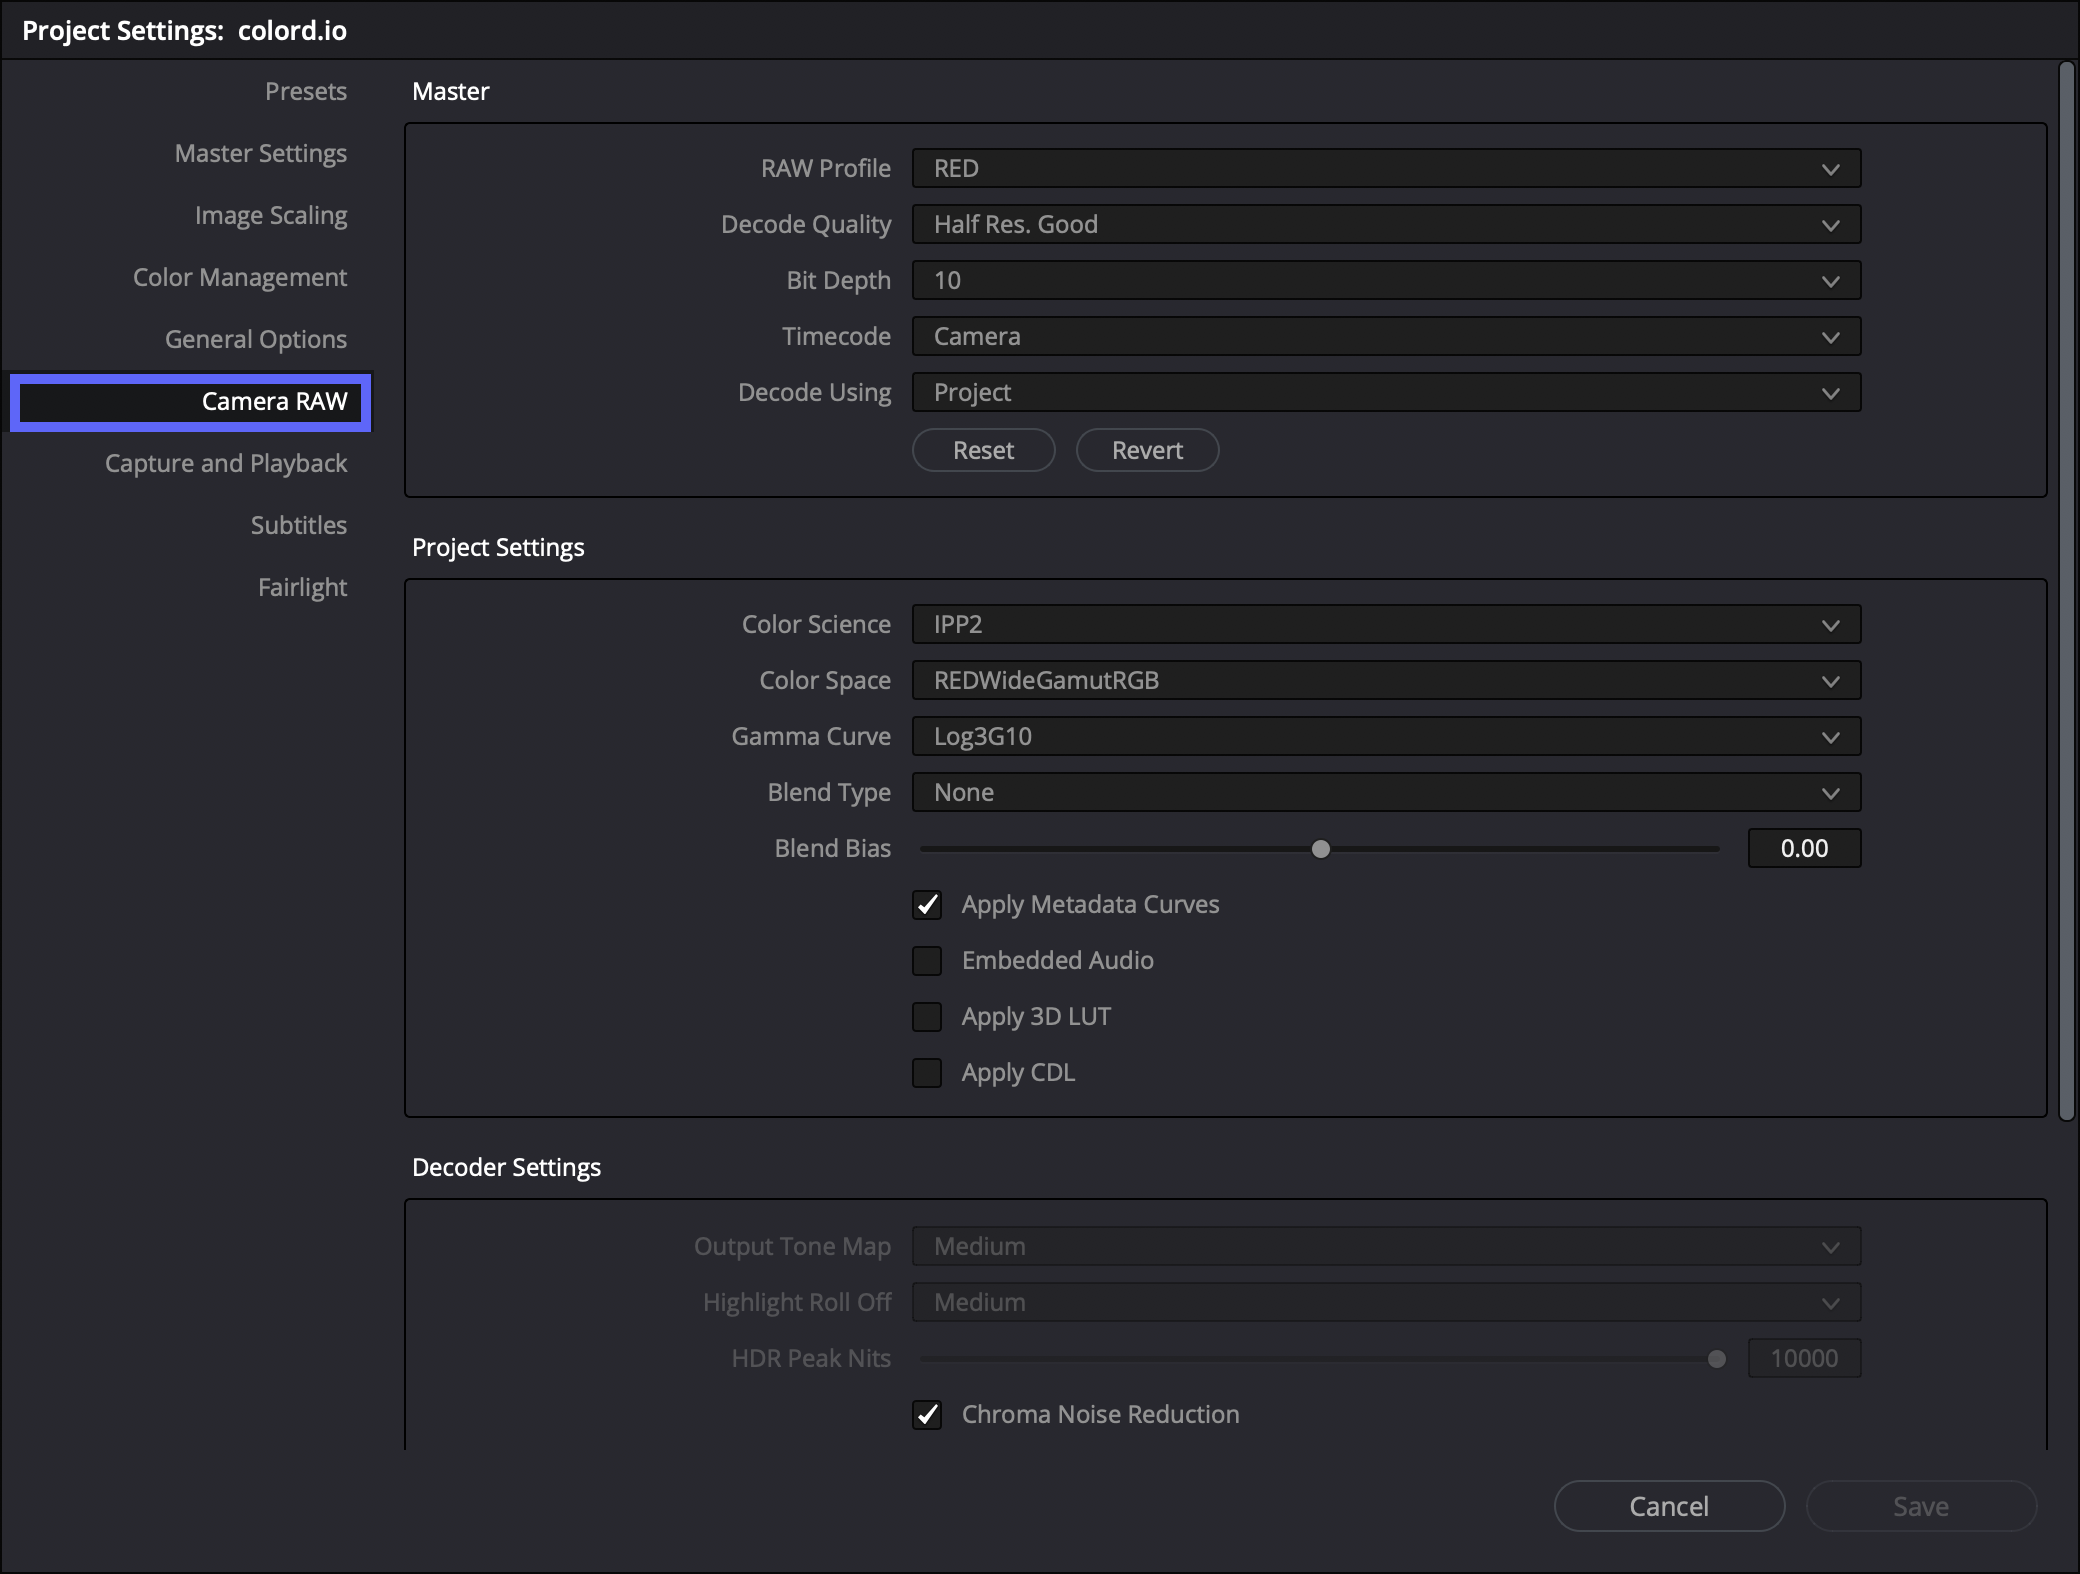
Click on Project Settings and go to Camera RAW.
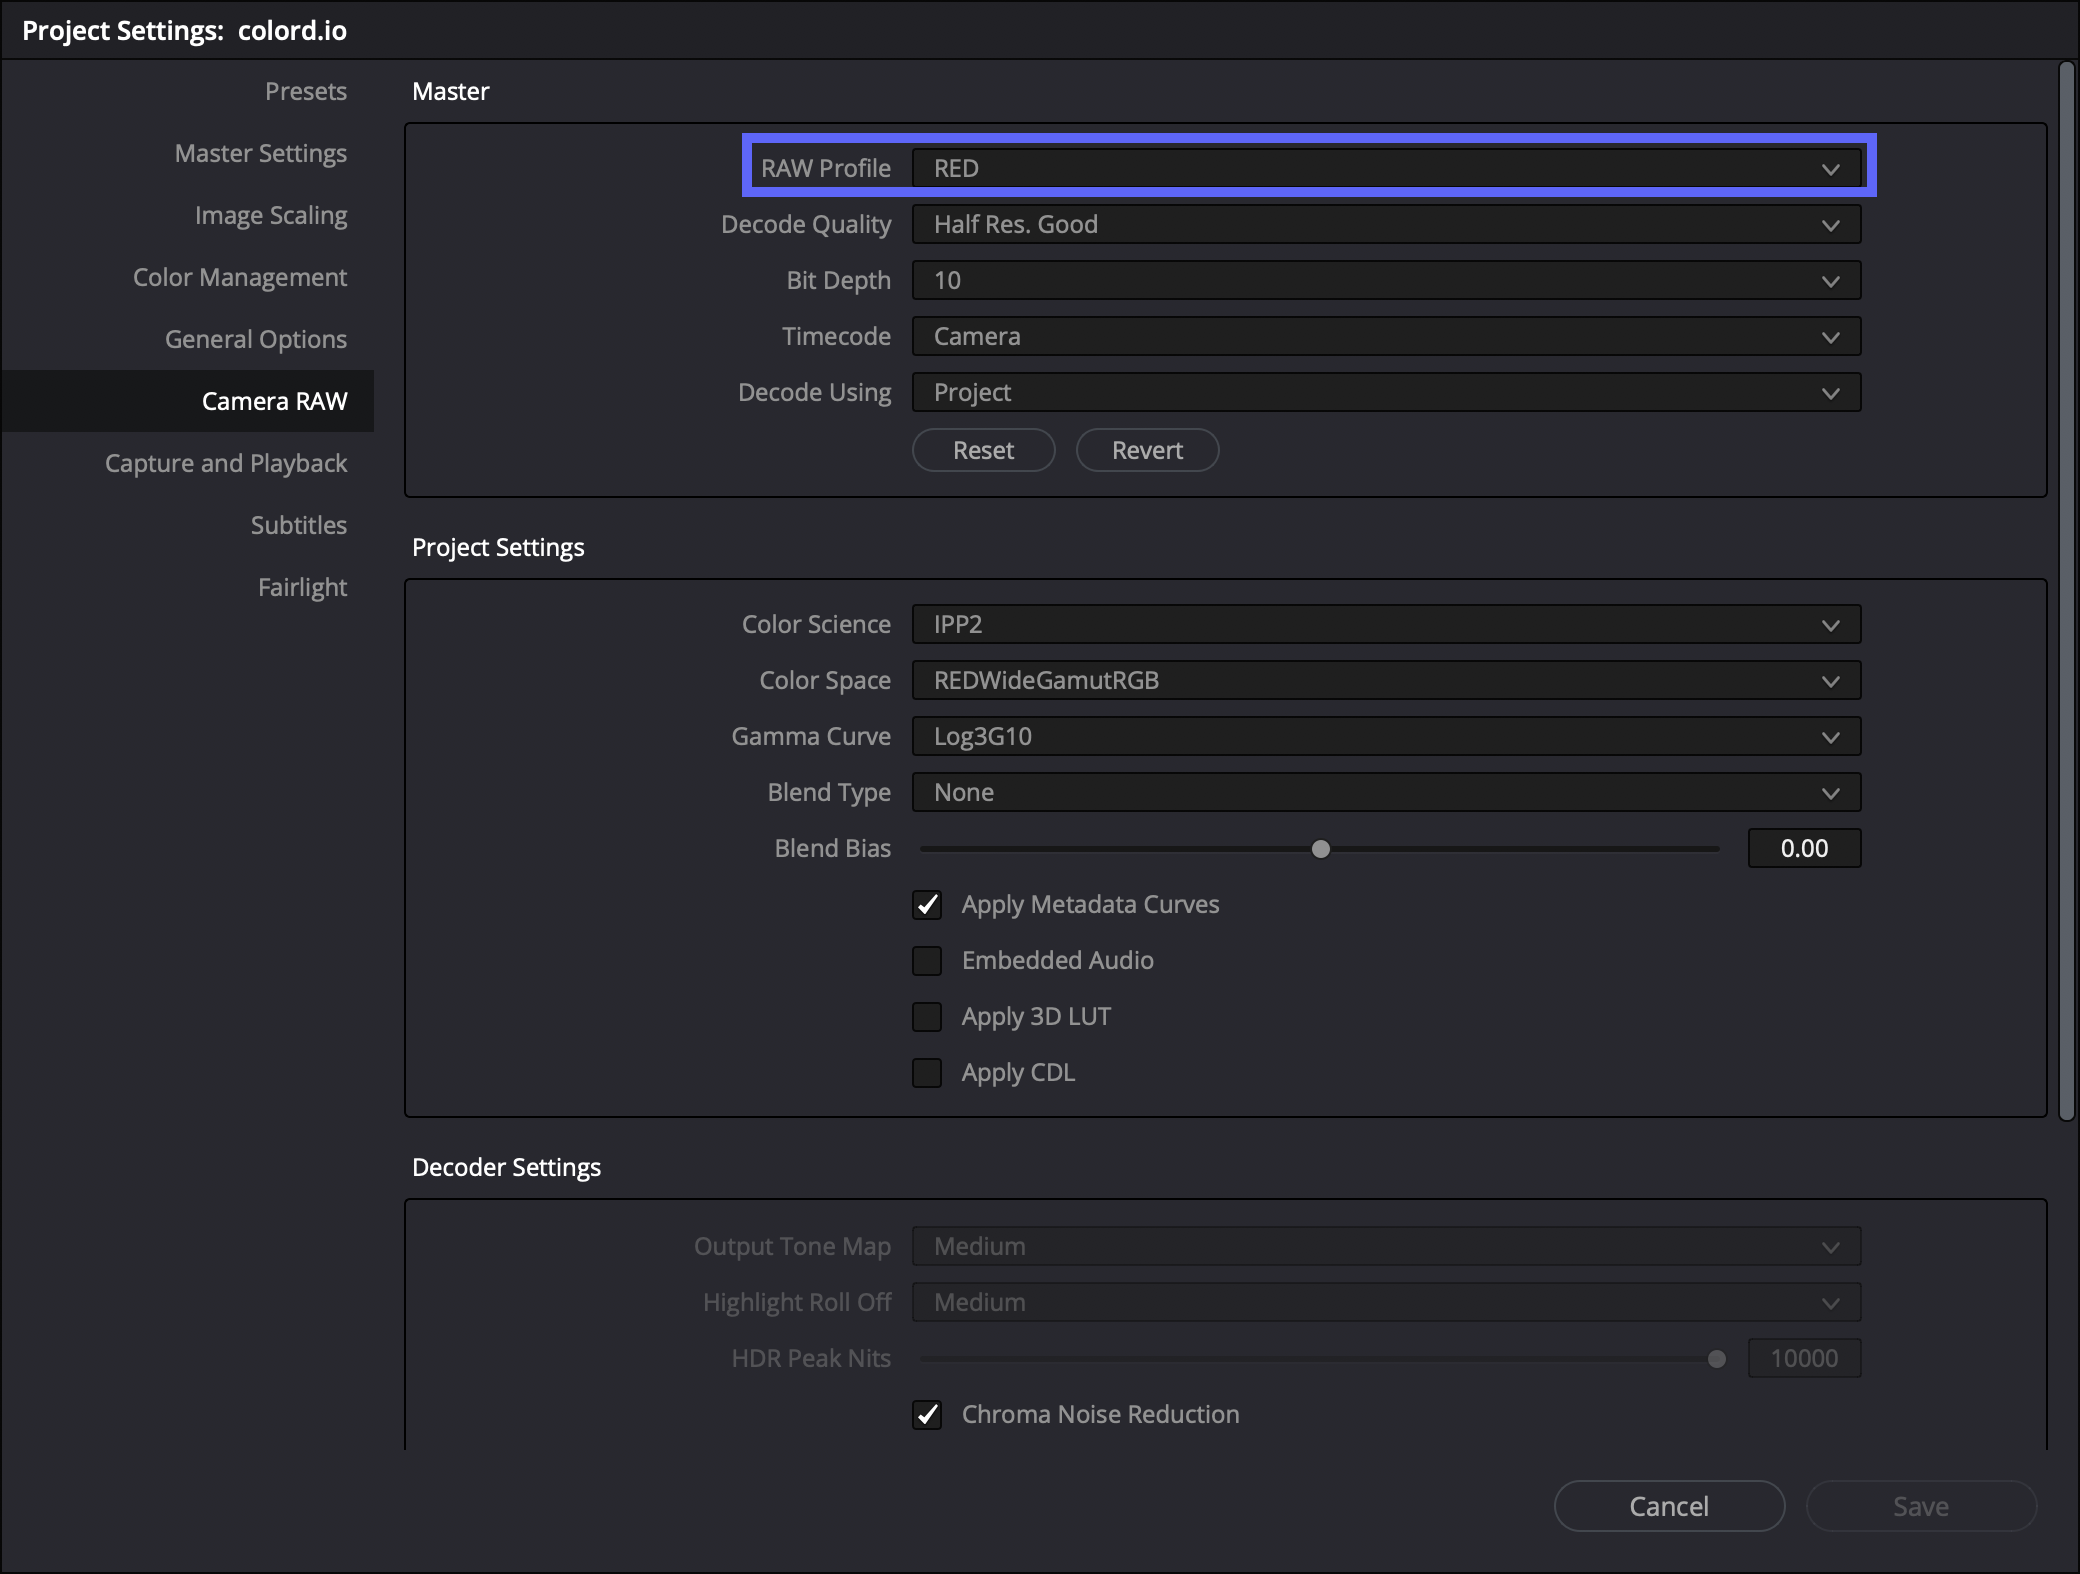
As we are using RED raw files, in the drop down menu select RED.
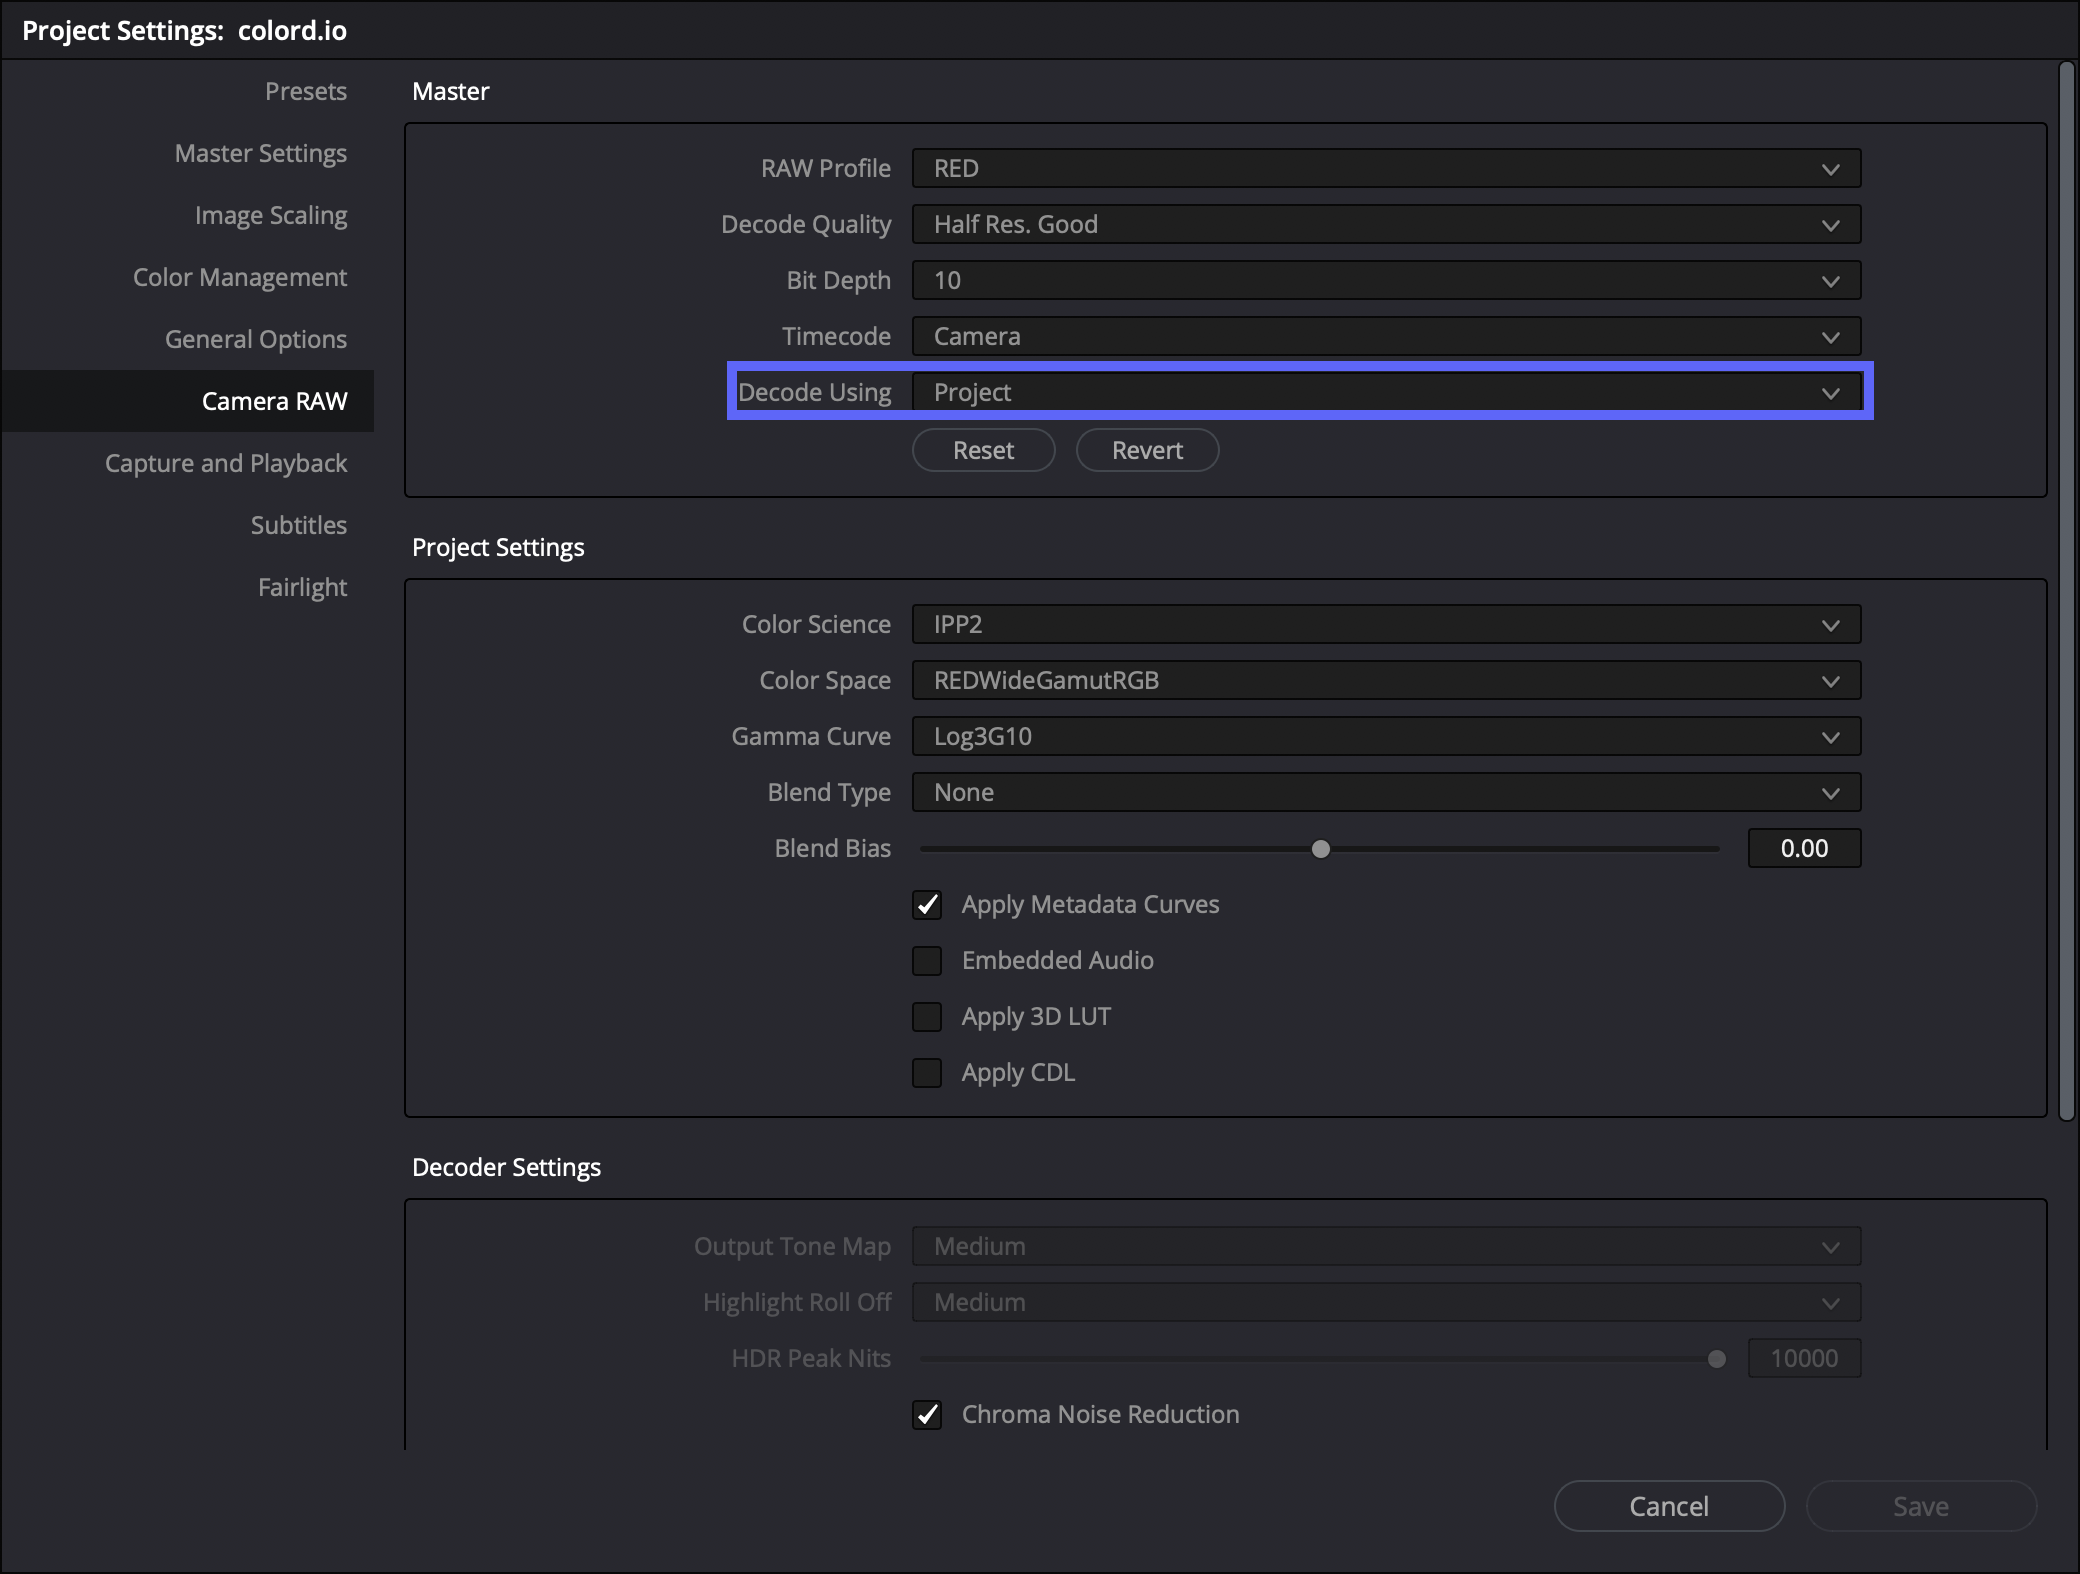
Under Decode Using select Project.
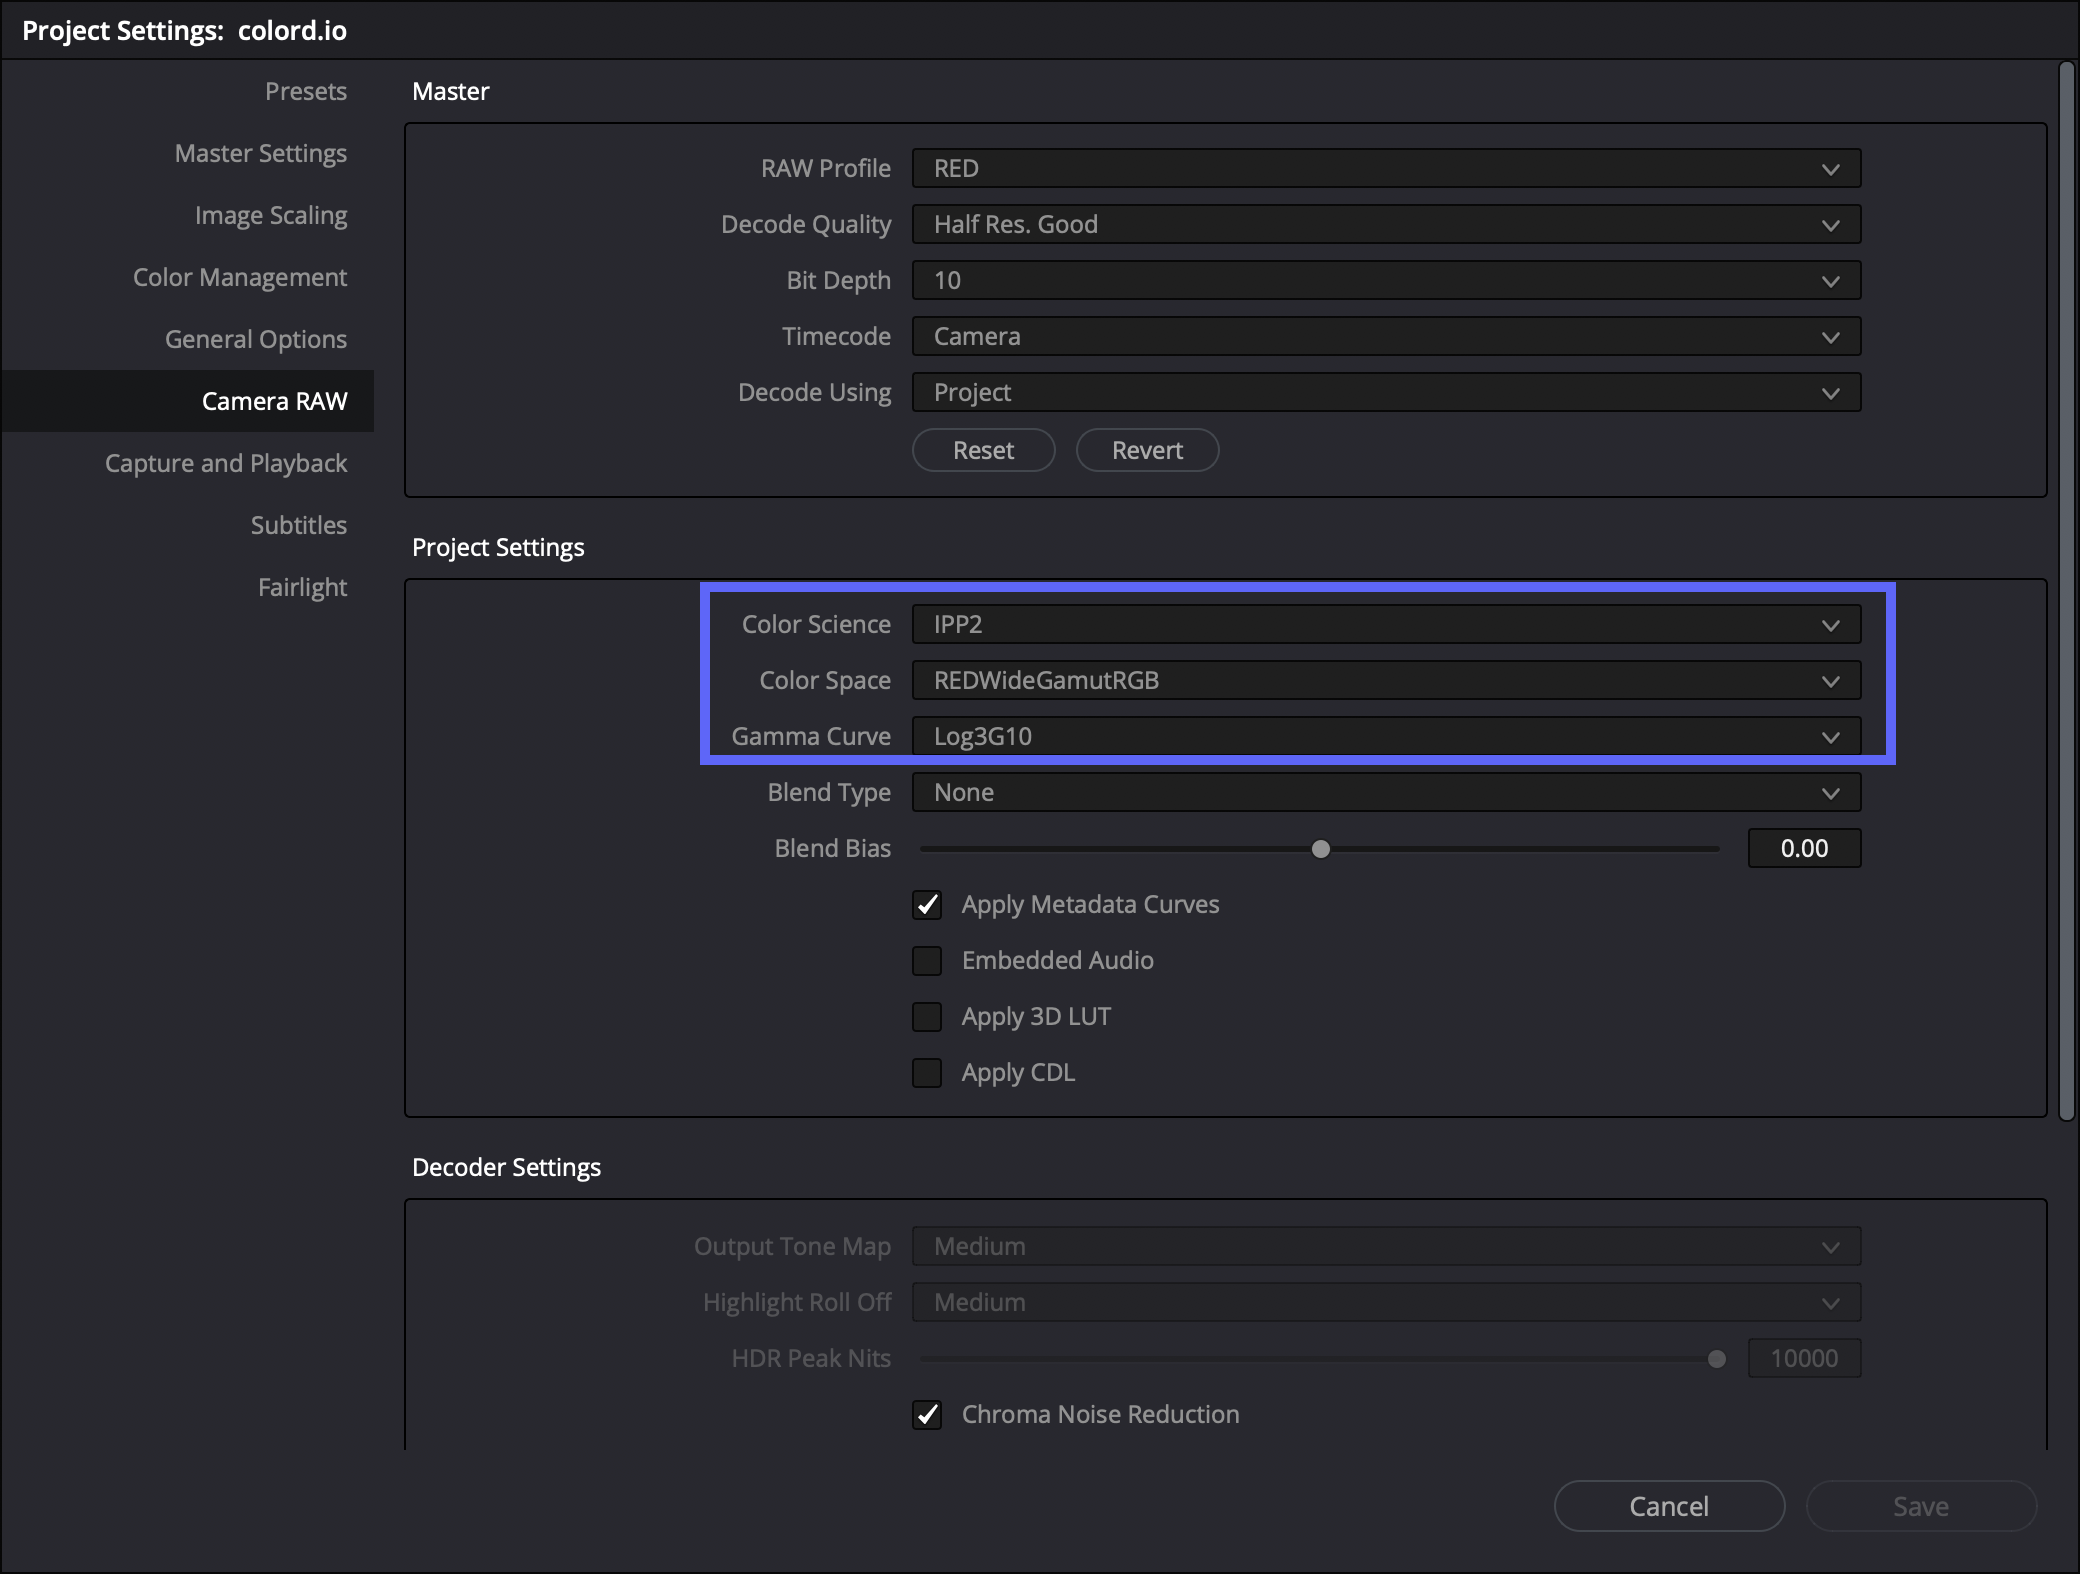
This option will open up a lot of different selections to choose from. The most important ones are under Project Settings category. Basically it’s up to you to choose the values you would like to use here, but for RED files we recommend using the following settings:
- Color Science – IPP2
- Color Space – REDWideGamutRGB
- Gamma Curve – Log3G10
At the bottom of that dialog, under Use Camera Metadata, make sure you select the checkboxes to read the settings from the raw file.
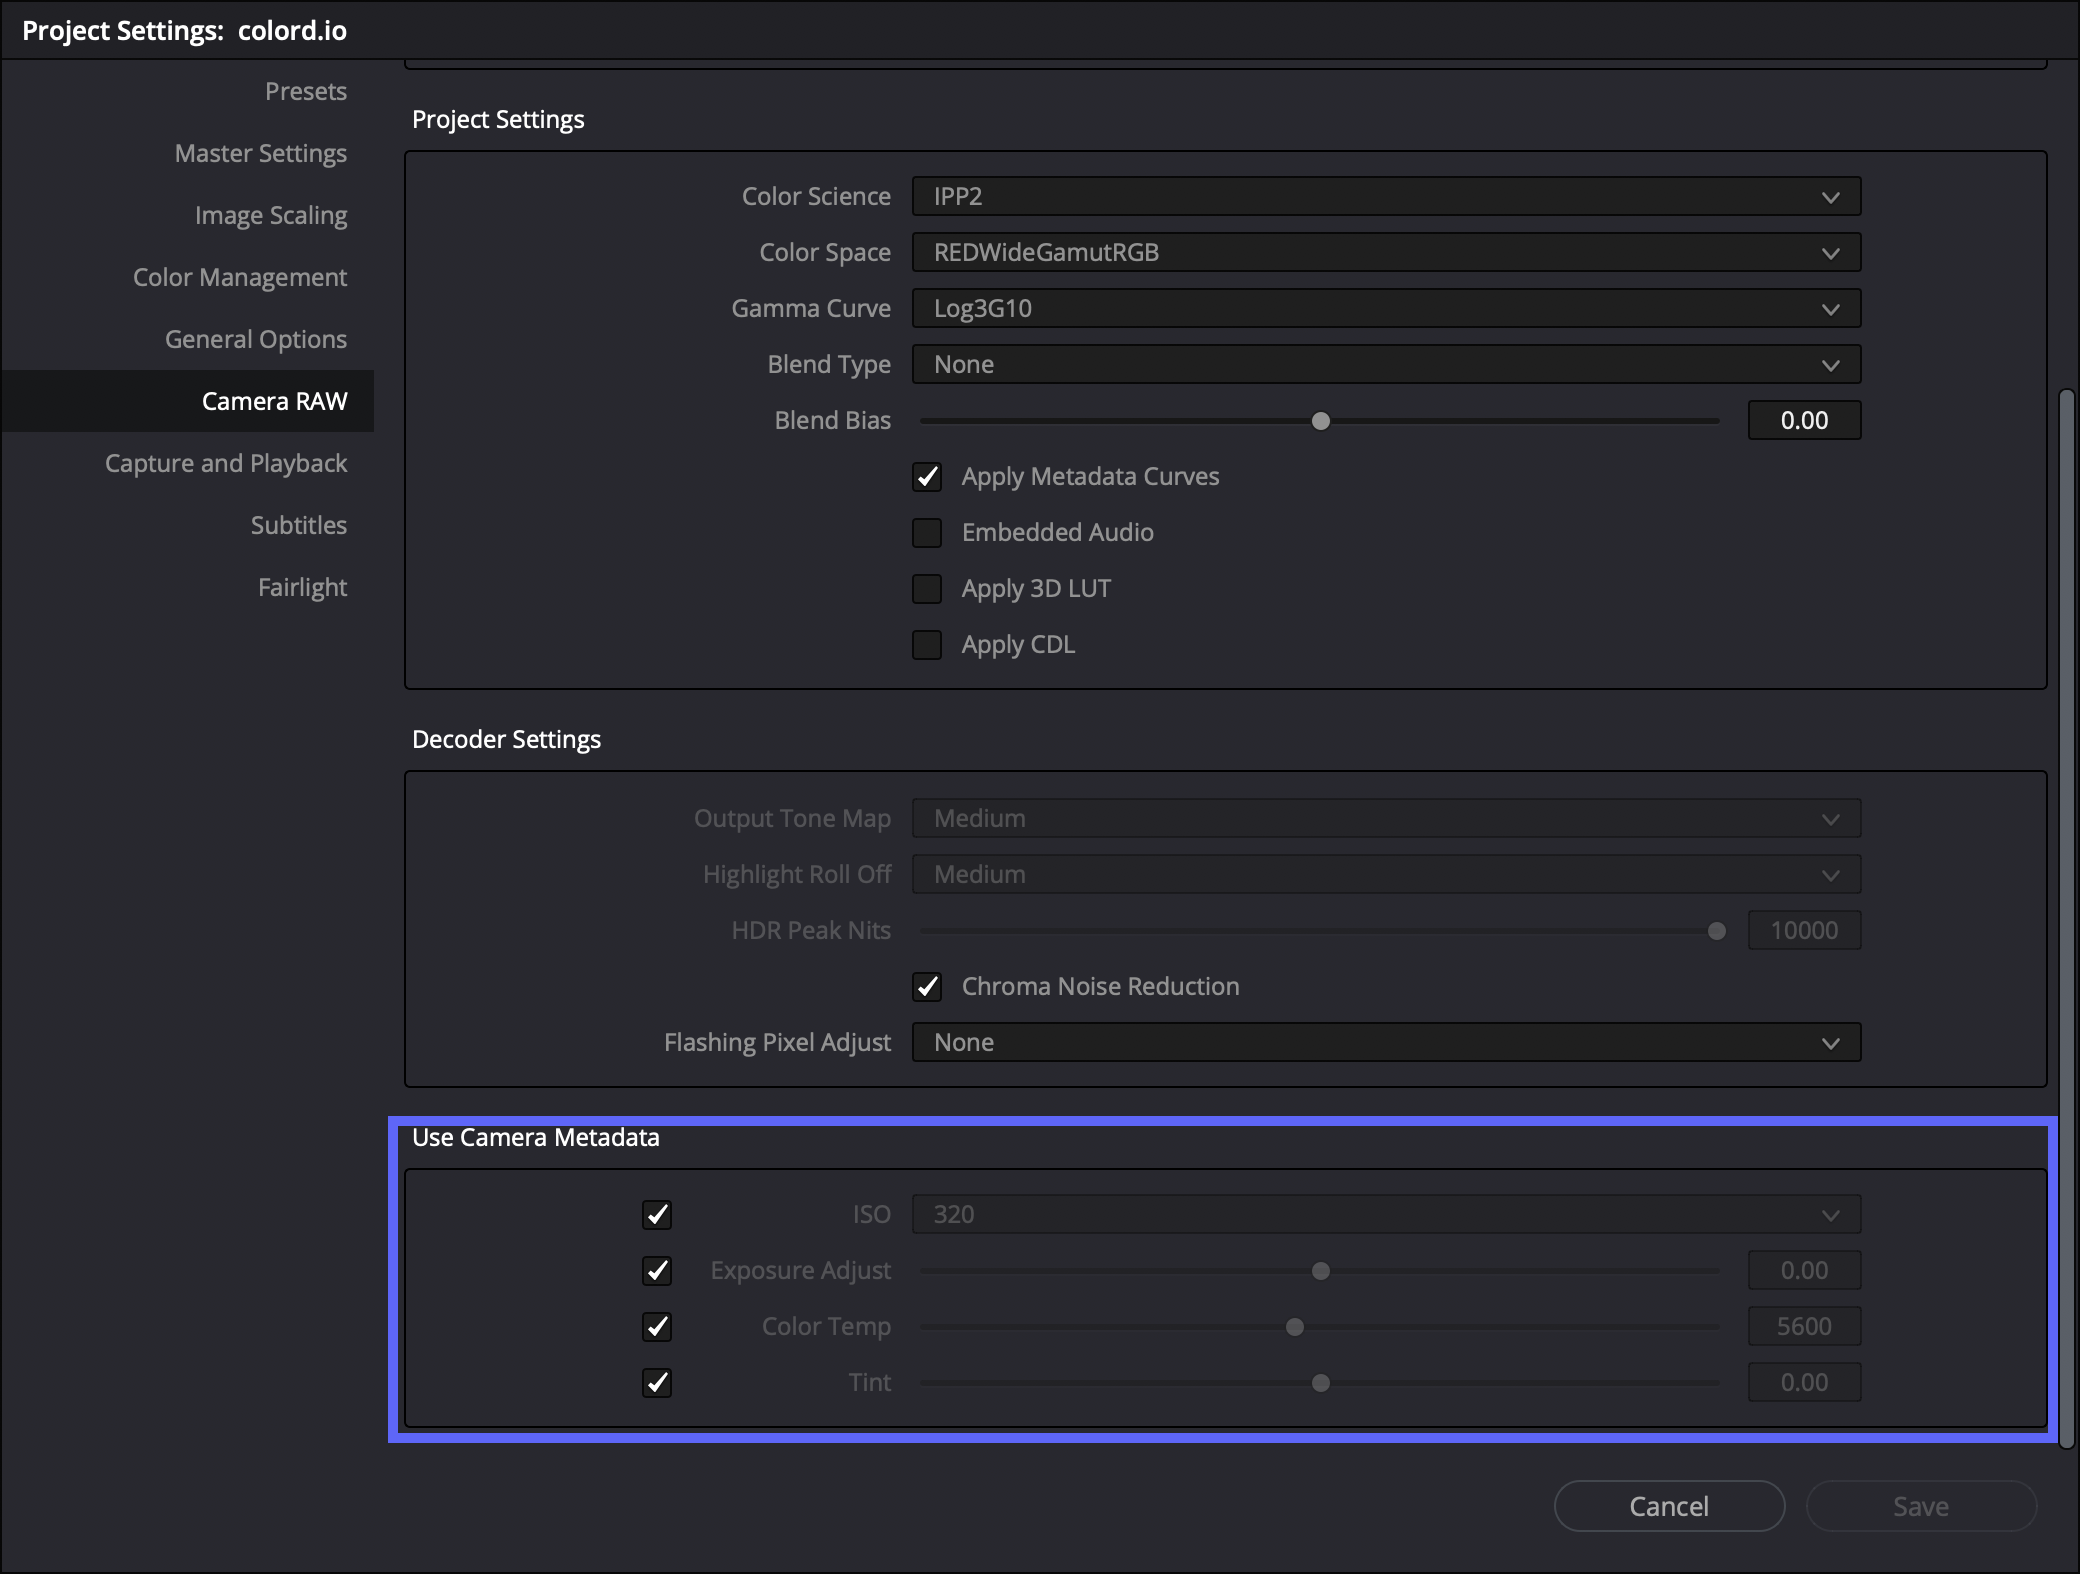
Finally click Save.
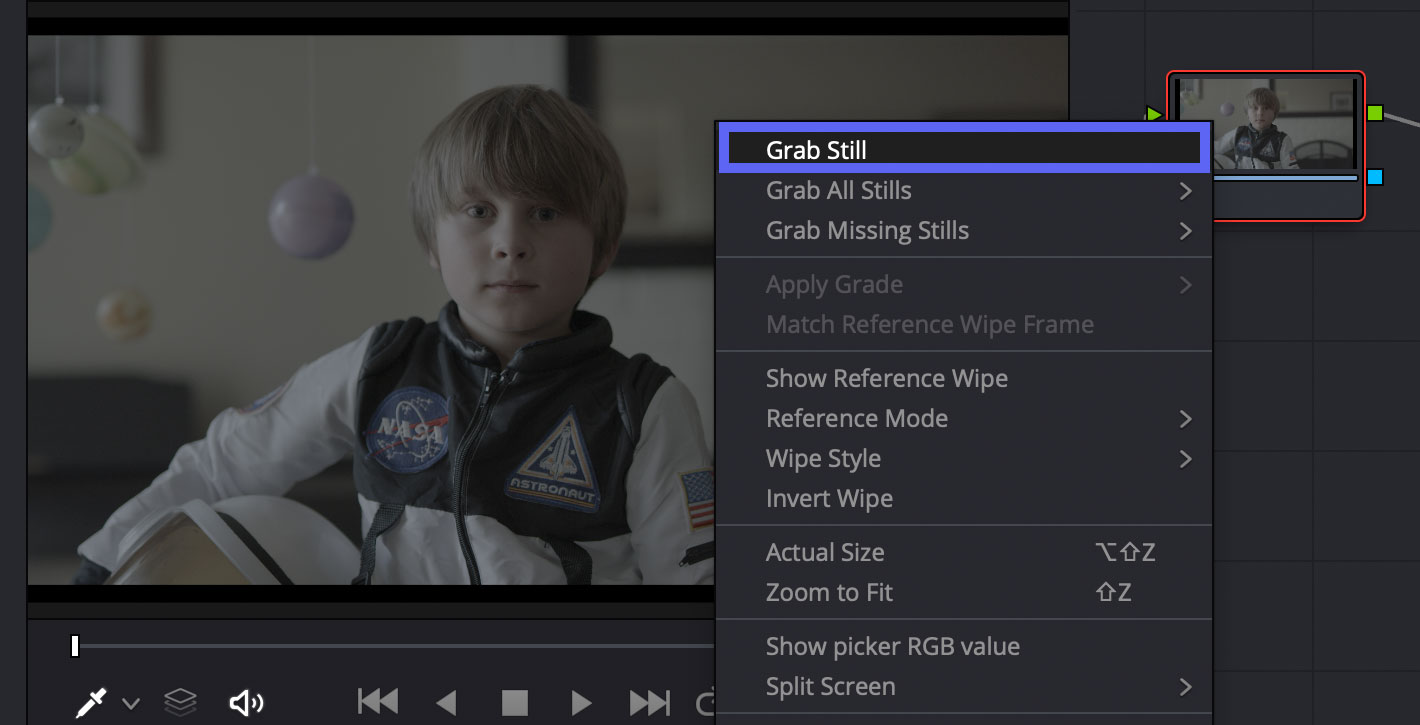
Now our RED raw files are interpreted as REDWideGamutRGB Log3G10 files. Right click the image to grab a still from the clip.
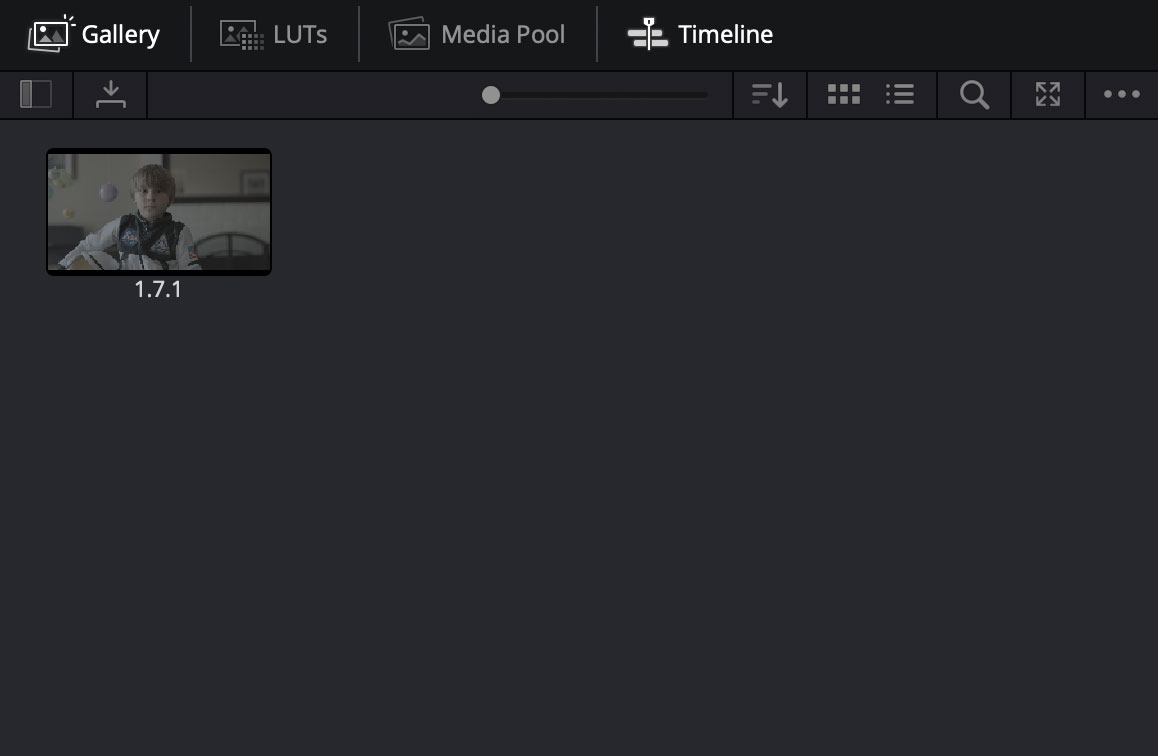
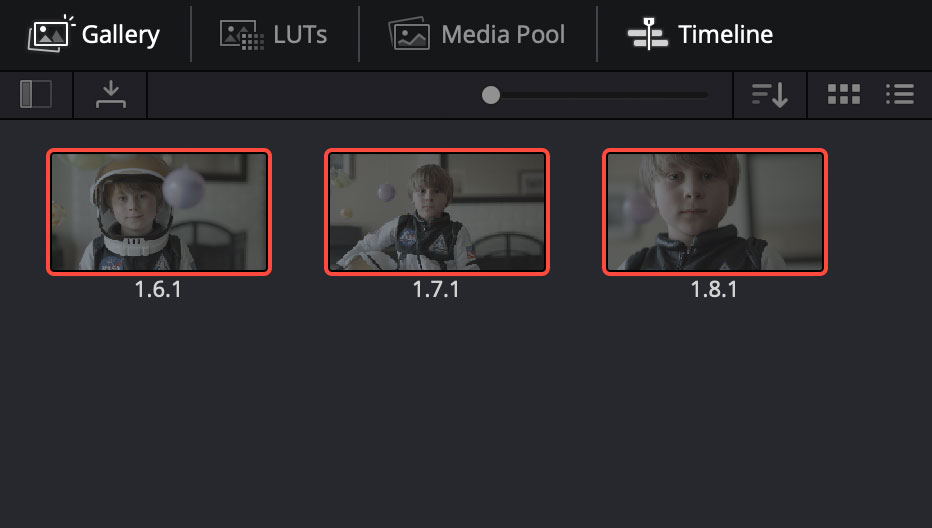
Your still frame will be added to Gallery. Repeat the process to create more still frames. We recommend creating at least one still frame per shot.
Right click the image in Gallery and select the Export option.
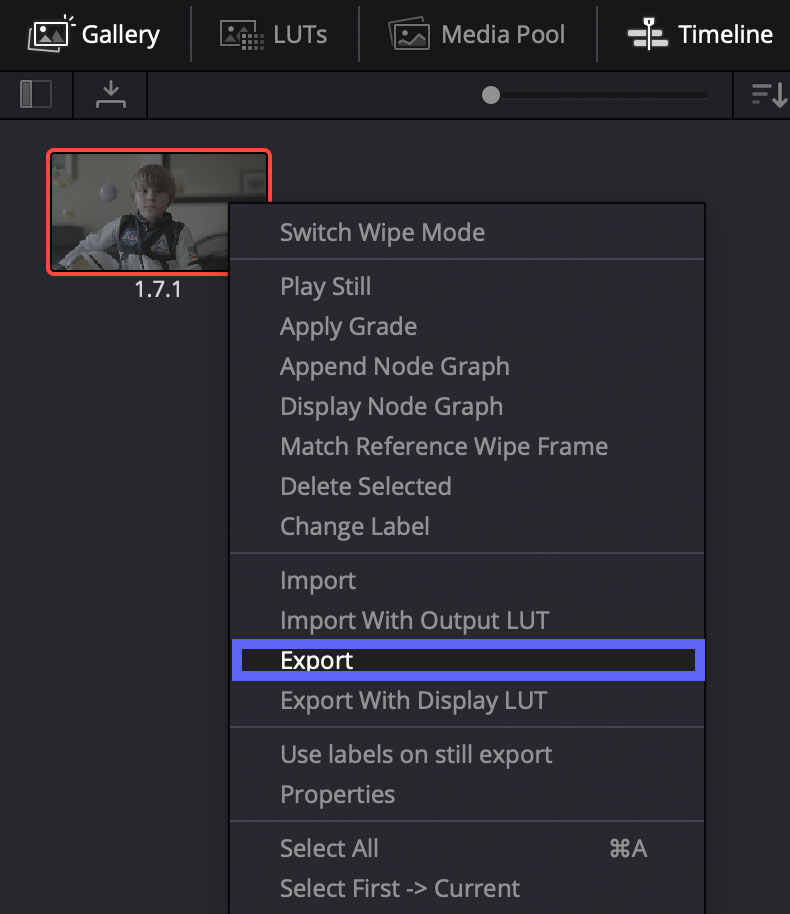
In the dialog that opens, select the location for the export and the desired image format. We suggest using JPG files for a good combination of image size and quality. Click Export.
The still frame is now exported and ready to be used in fylm.ai.
When you load this image in fylm.ai, you should use the appropriate Input and Output Device Transforms. In this case, that would be ‘REDWideGamutRGB Log3G10’ for Input Device Transform, and your Output Device Transform should match the calibration point of your monitor. For example ‘Rec709’. Please see this document for more information.
You can export several stills at once in DaVinci Resolve. To do so, simply hold Shift key and click on the first still that you want to export and while still holding the Shift key click on the last still to export. This will select all of the still between the first and last still frame. Right click any of the selected frames to export them all at once.
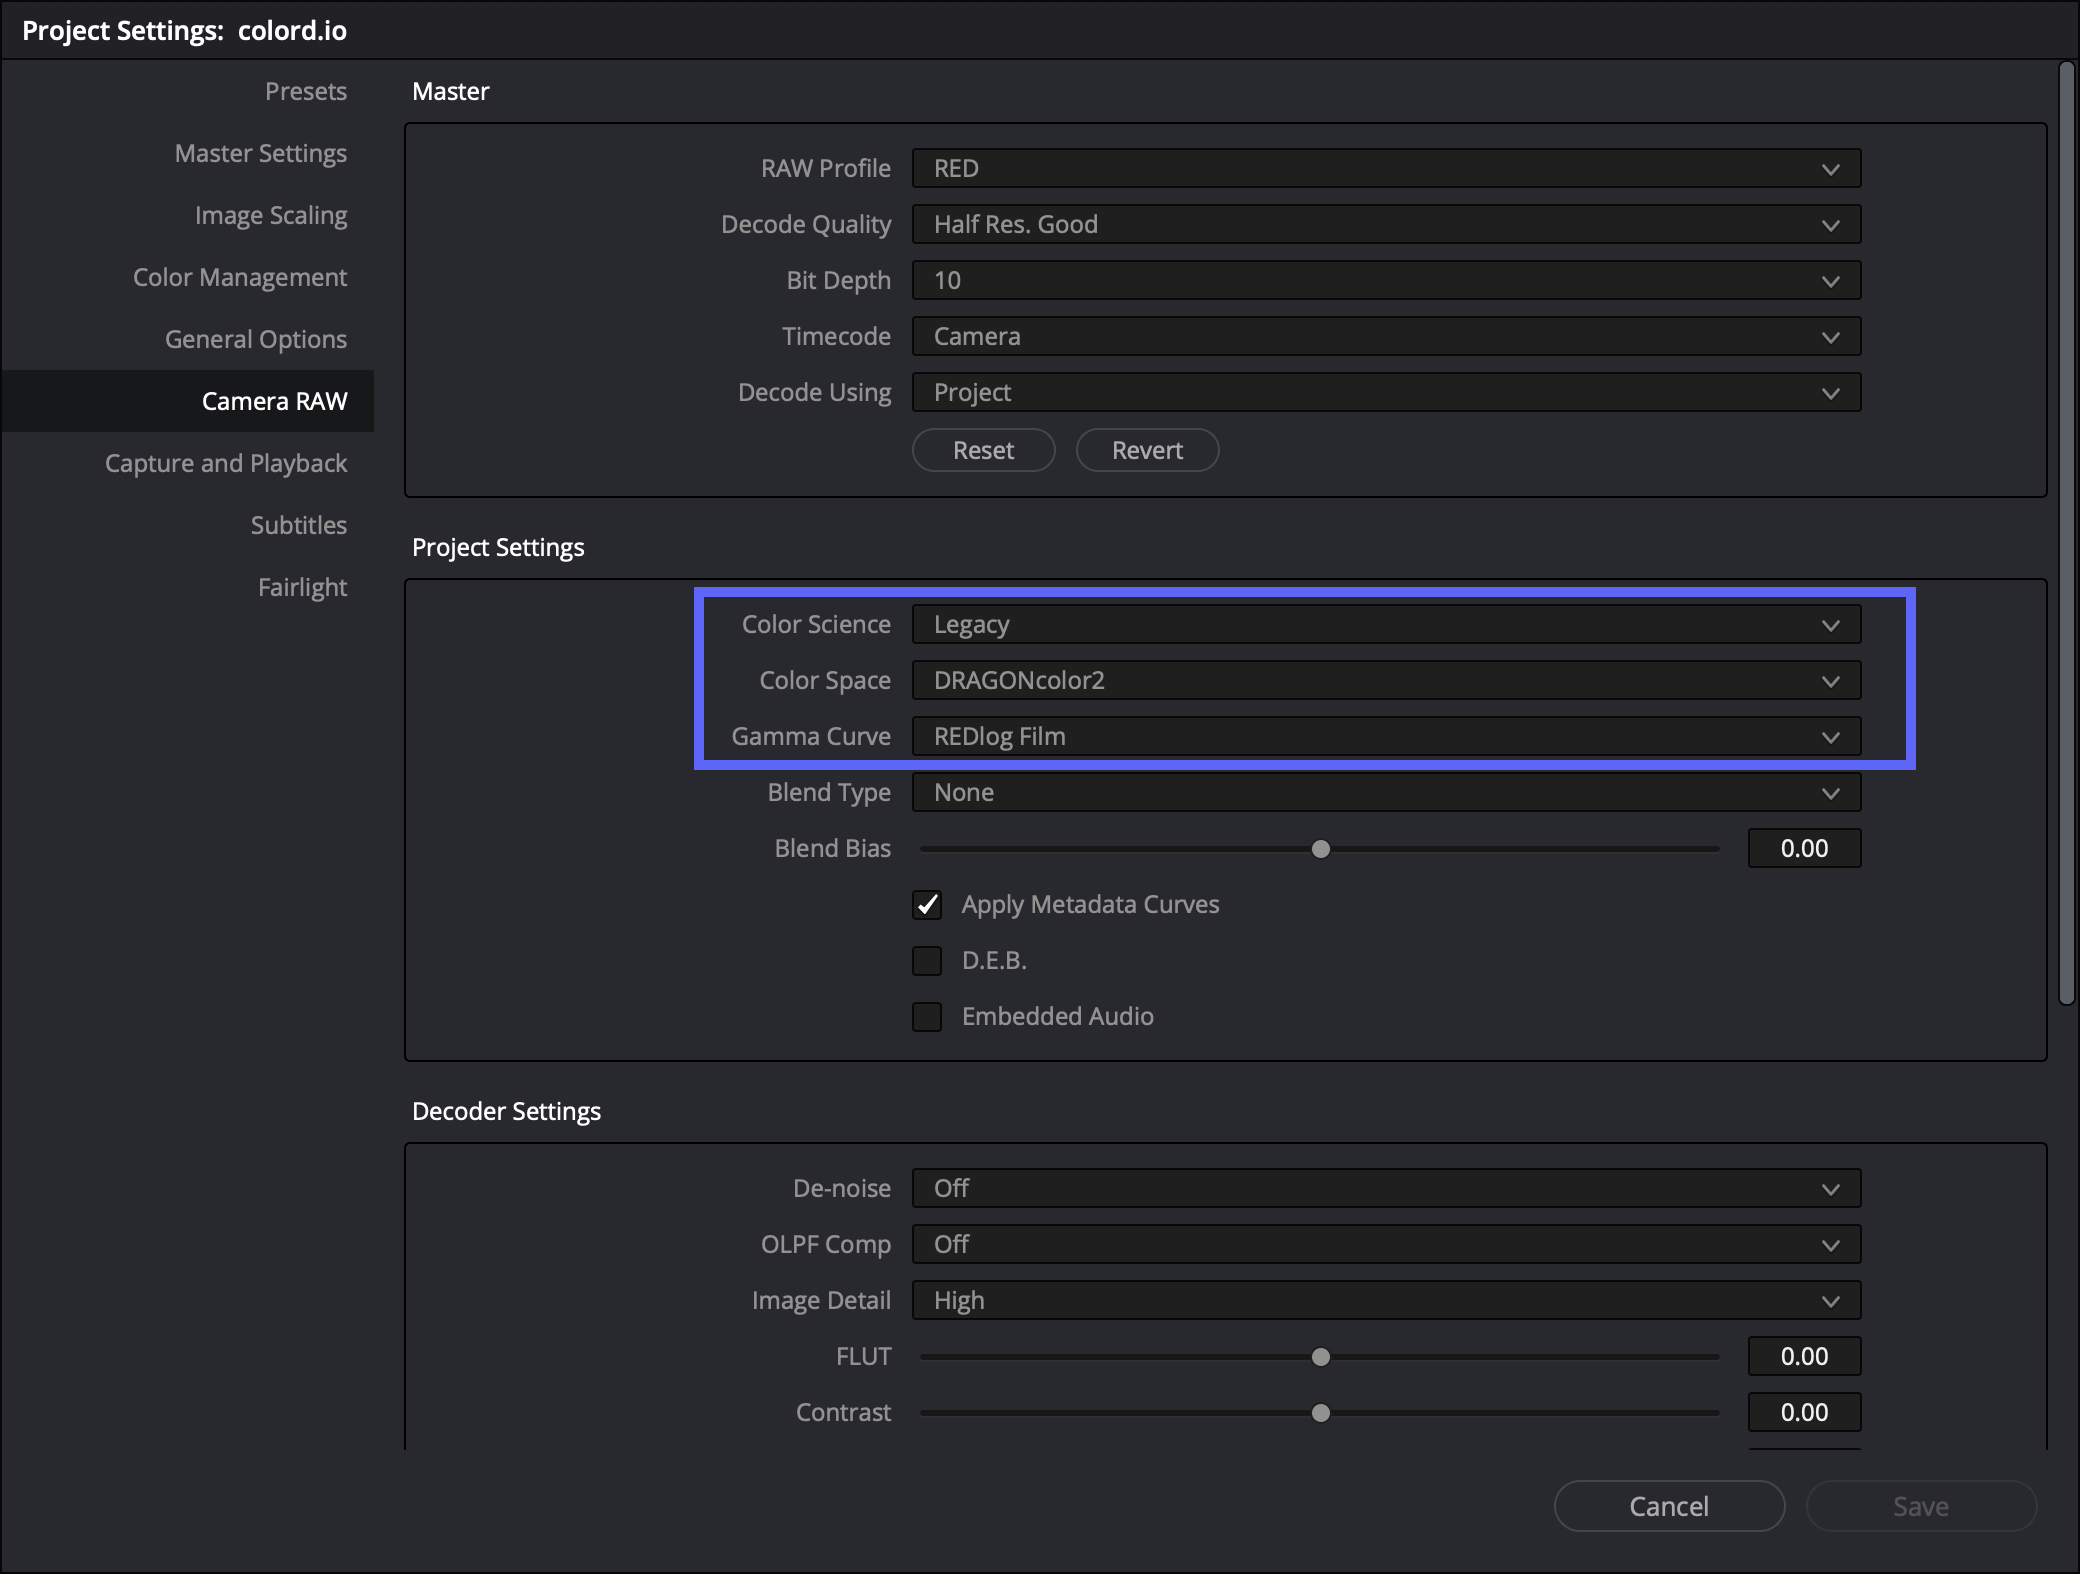
So far we have covered the process of exporting still frames from RED’s raw footage interpreted as REDWideGamutRGB in Log3G10. What should we do if we are using RED’s raw footage but we want to interpret it in one of the legacy formats, for example DragonColor2 in REDLogFilm? In that case, we would simply define the Project Settings in the Camera RAW tab of DaVinci Resolve accordingly.
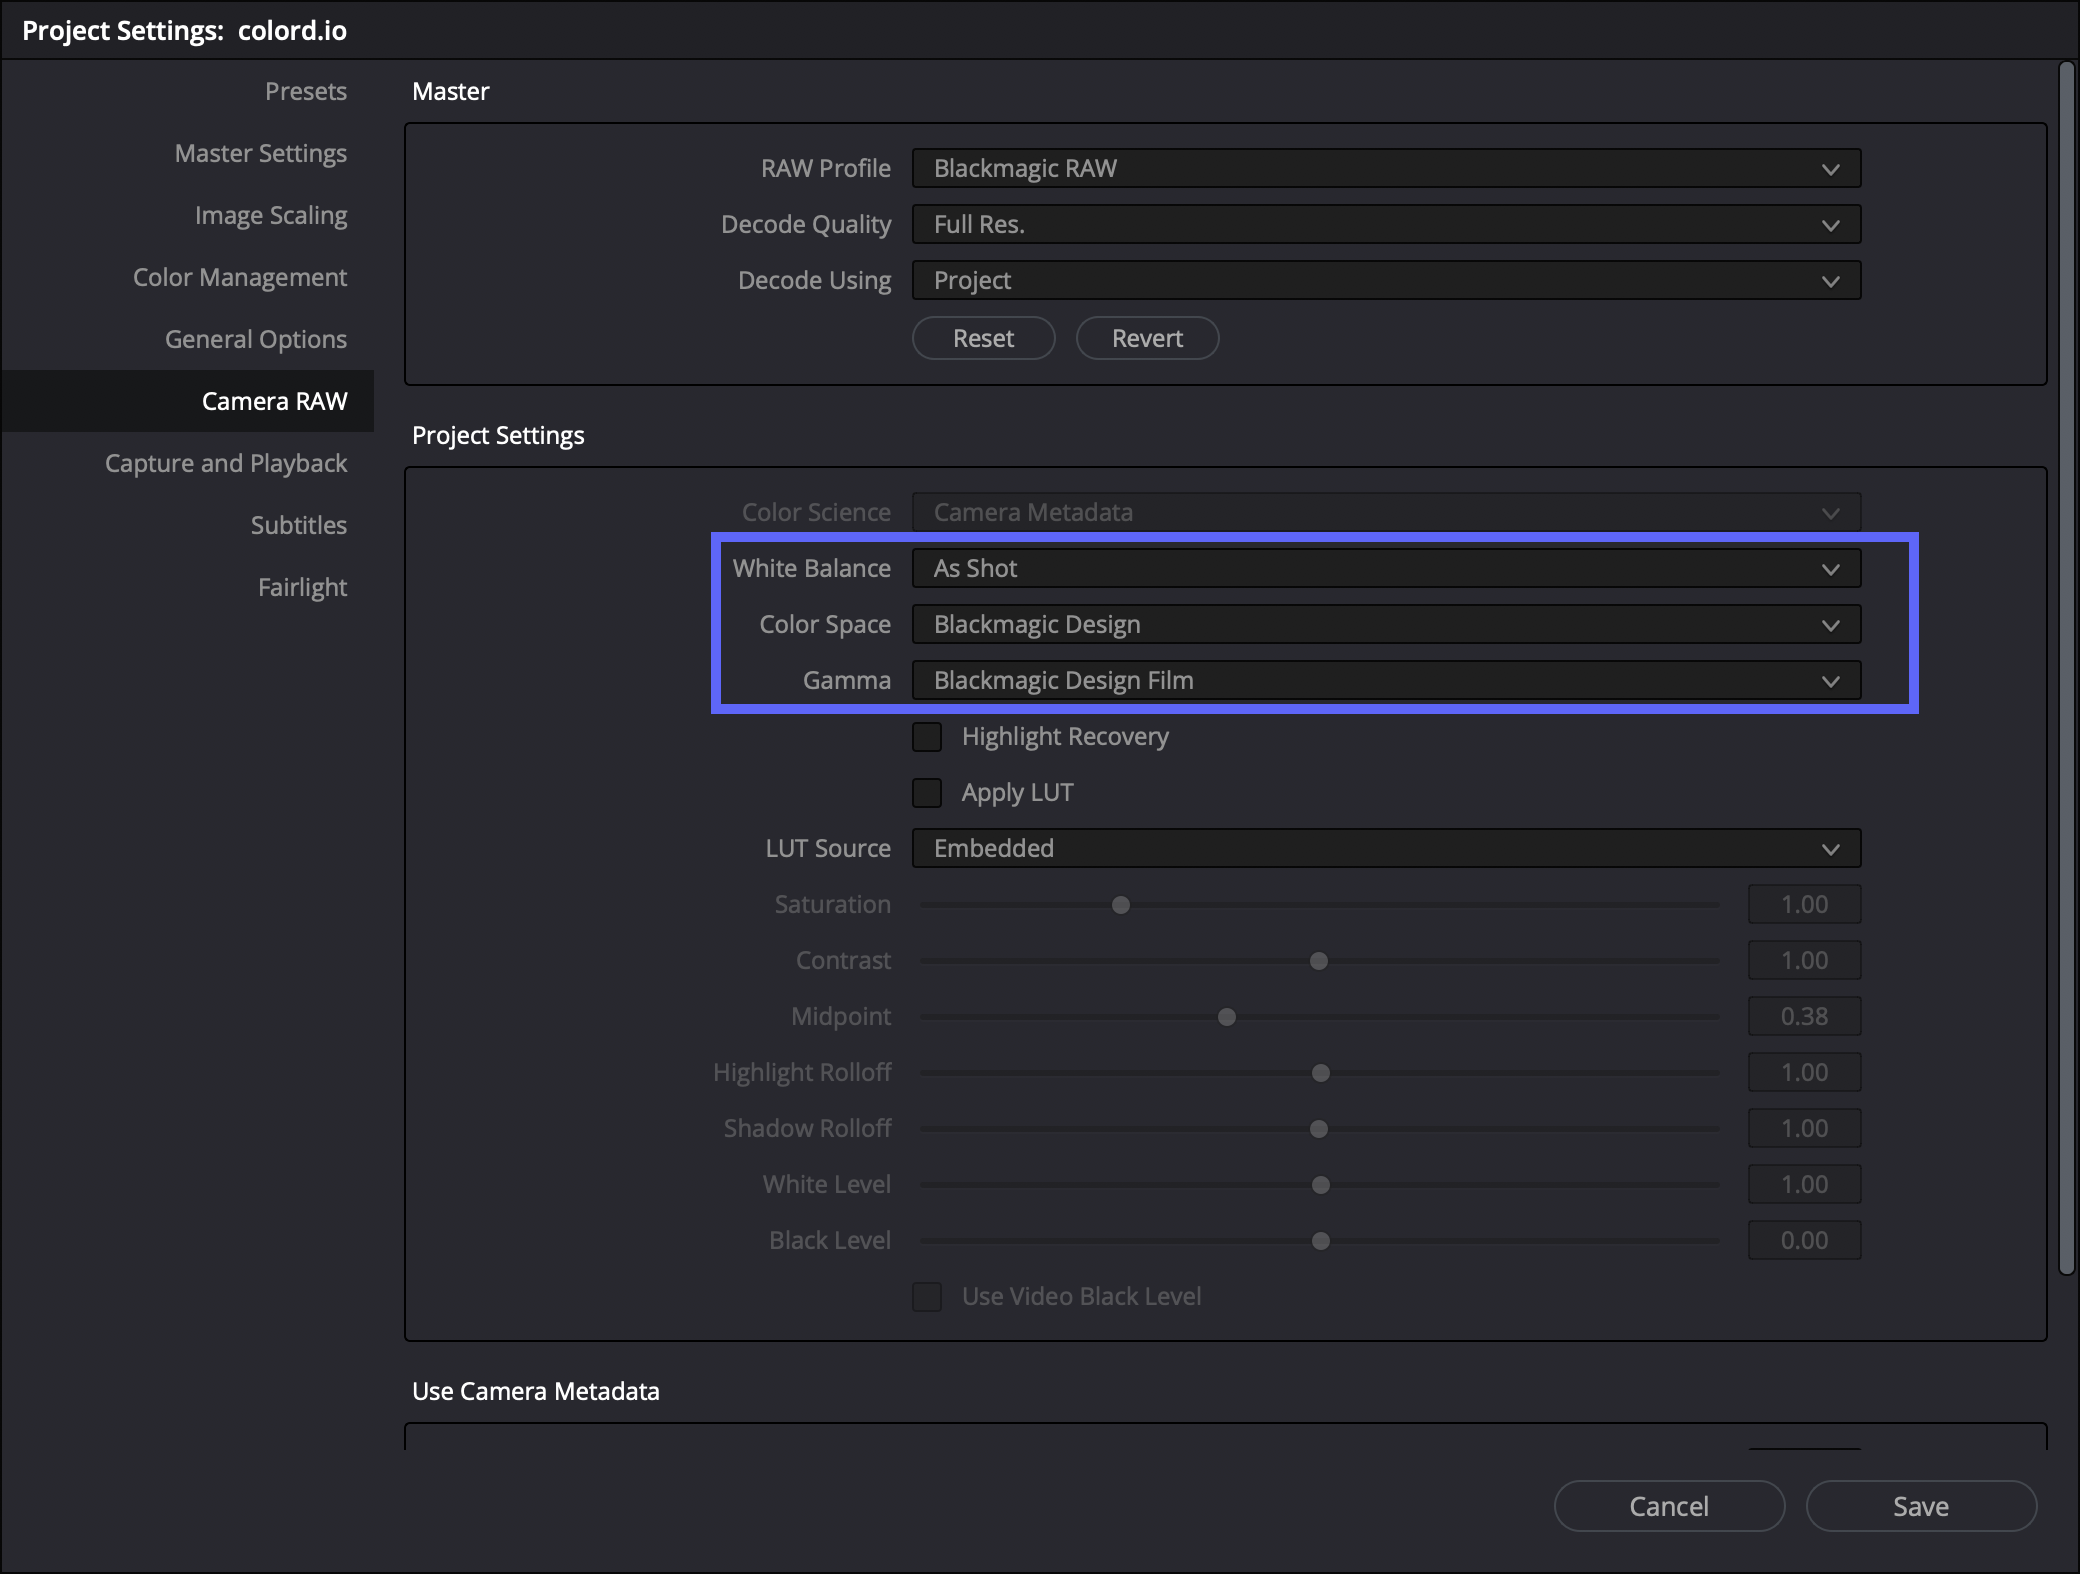
In the same way, if we are using raw files from a different camera, for example Blackmagic Design, we would use the appropriate settings.
The process is similar for other raw files from other manufactures. Some raw formats offer more settings choices while others offer less. Arri Alexa raw files for example, will always be debayered into Log-C using Arri Wide Gamut.
The bottom line of creating still frames for raw formats is to know which colour space and gamma are used for the creation of the still frame so you would know which Input Device Transform to use in fylm.ai. Using same settings in fylm.ai and DaVinci Resolve, ensures that the result between the two software will be identical and that your workflow is properly colour managed.
Let’s see a practical example how any image with any colour space can be properly colour managed.
Here we have a RED’s raw file interpreted as REDWideGamutRGB in Log3G10 in DaVinci Resolve and exported as such.
After we use the appropriate Input Device Transform in fylm.ai, the image is displayed correctly.
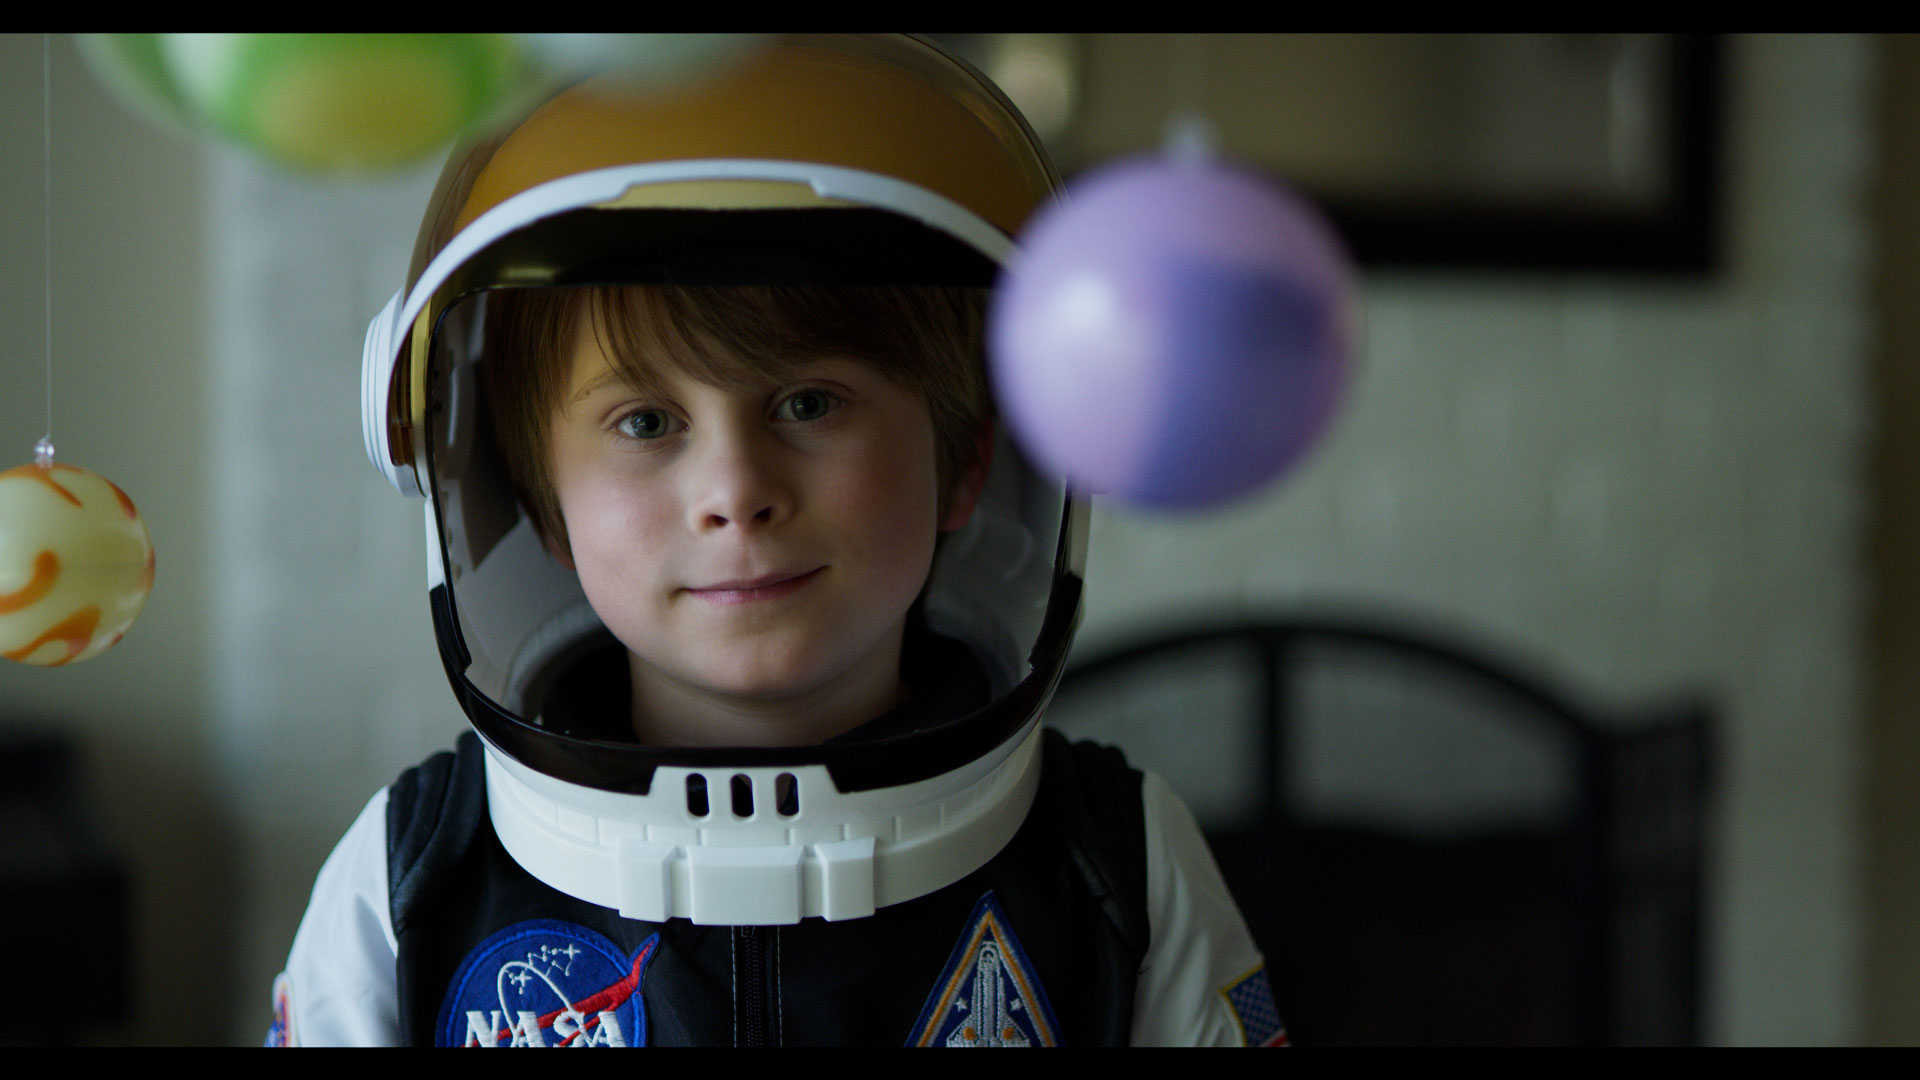
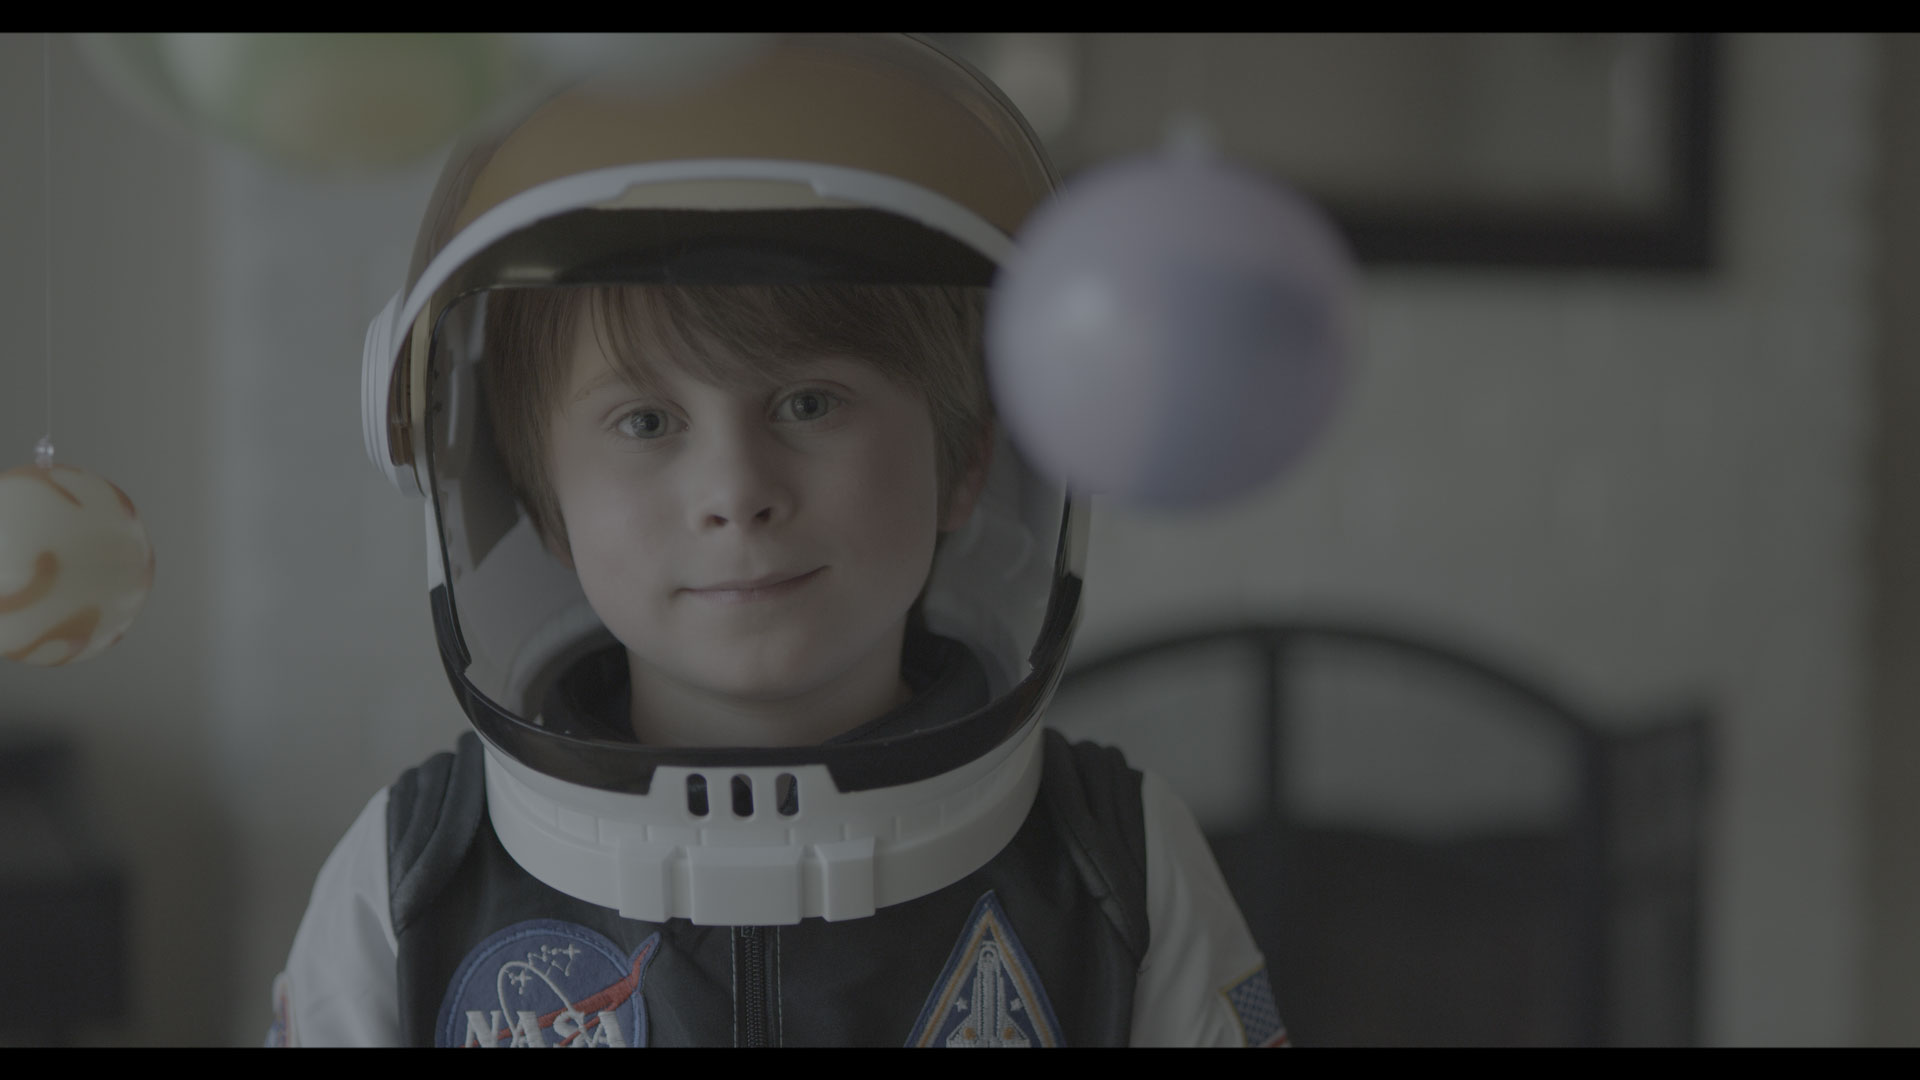
Here we have the same image, this time interpreted as DragonColor2 in REDLogFilm in DaVinci Resolve and exported as such.
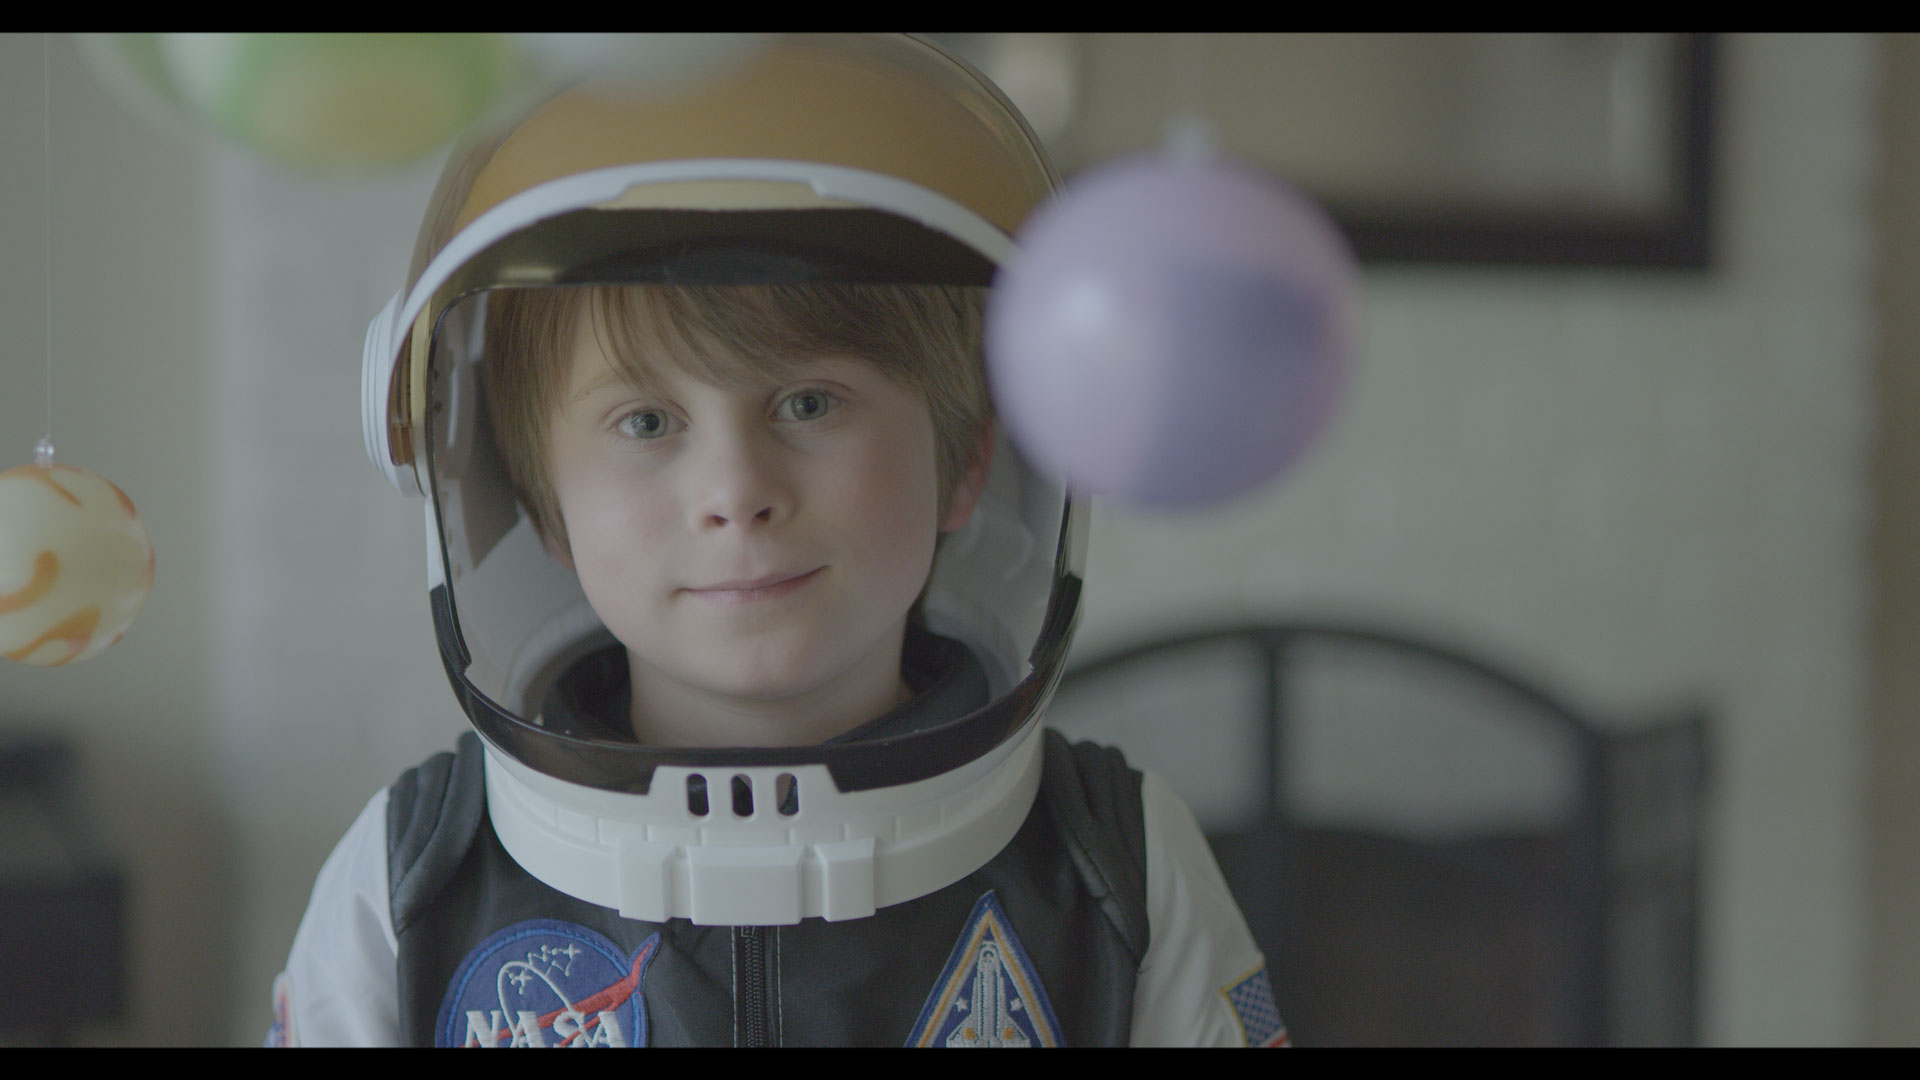
Again, after we use the correct Input Device Transform in fylm.ai, the image is displayed correctly.

This example demonstrates that it doesn’t really matter which settings you use for your raw files when exporting a still from DaVinci Resolve so as long as you know which settings you used when generating the still frames and you use the appropriate Input Device Transform in fylm.ai.
Exporting still frames from non-RAW footage
Exporting still frames from non-RAW footage is similar to the process of exporting still frames from RAW footage except that when working with non-RAW footage you do not have different options for interpreting your footage one way or another. When working with non-RAW footage your footage’s colour space and gamma will be given and therefore, the exported still frame should be treated accordingly such in fylm.ai.
For example, if you’ve shot a ProRes clip on Arri Alexa in Log-C, your colour space and gamma are given – Log-C and Arri Wide Gamut. Therefore, the appropriate Input Device Transform to use in fylm.ai is ‘Arri Alexa Log-C EI 800‘. Alternatively, if you’ve shot a XAVC S-Log3 clip on Sony FS7 your colour space and gamma will most likely be S-Log3 and S-Gamut3.Cine.
fylm.ai offers a very wide range of Input Device Transforms so no matter what type of footage you are working with there’s an appropriate Input for your camera so that the images can be properly colour managed.
Therefore, when exporting a still frame from non-RAW footage simply make sure that you know which settings you used in-camera and consequently use the appropriate Input Device Transform in fylm.ai.
Useful links
Once you have exported the still frames from DaVinci Resolve, you are ready to add them to fylm.ai and start creating your grades. At this point you may also want to read the following tutorial: