The intent of this document is to serve as a reference for configuring ACES colour managed workflow in DaVinci Resolve for use with fylm.ai. Using a colour managed pipeline is the recommended way of using fylm.ai created LUTs and should always be preferred when possible.
The steps in this document are not proposed as requirements, but instead as recommended practices. You can still use LUTs created with fylm.ai even if you do not use a colour managed approach. More information can be found in this document.
After creating your project go to Project Settings > Color Management tab.

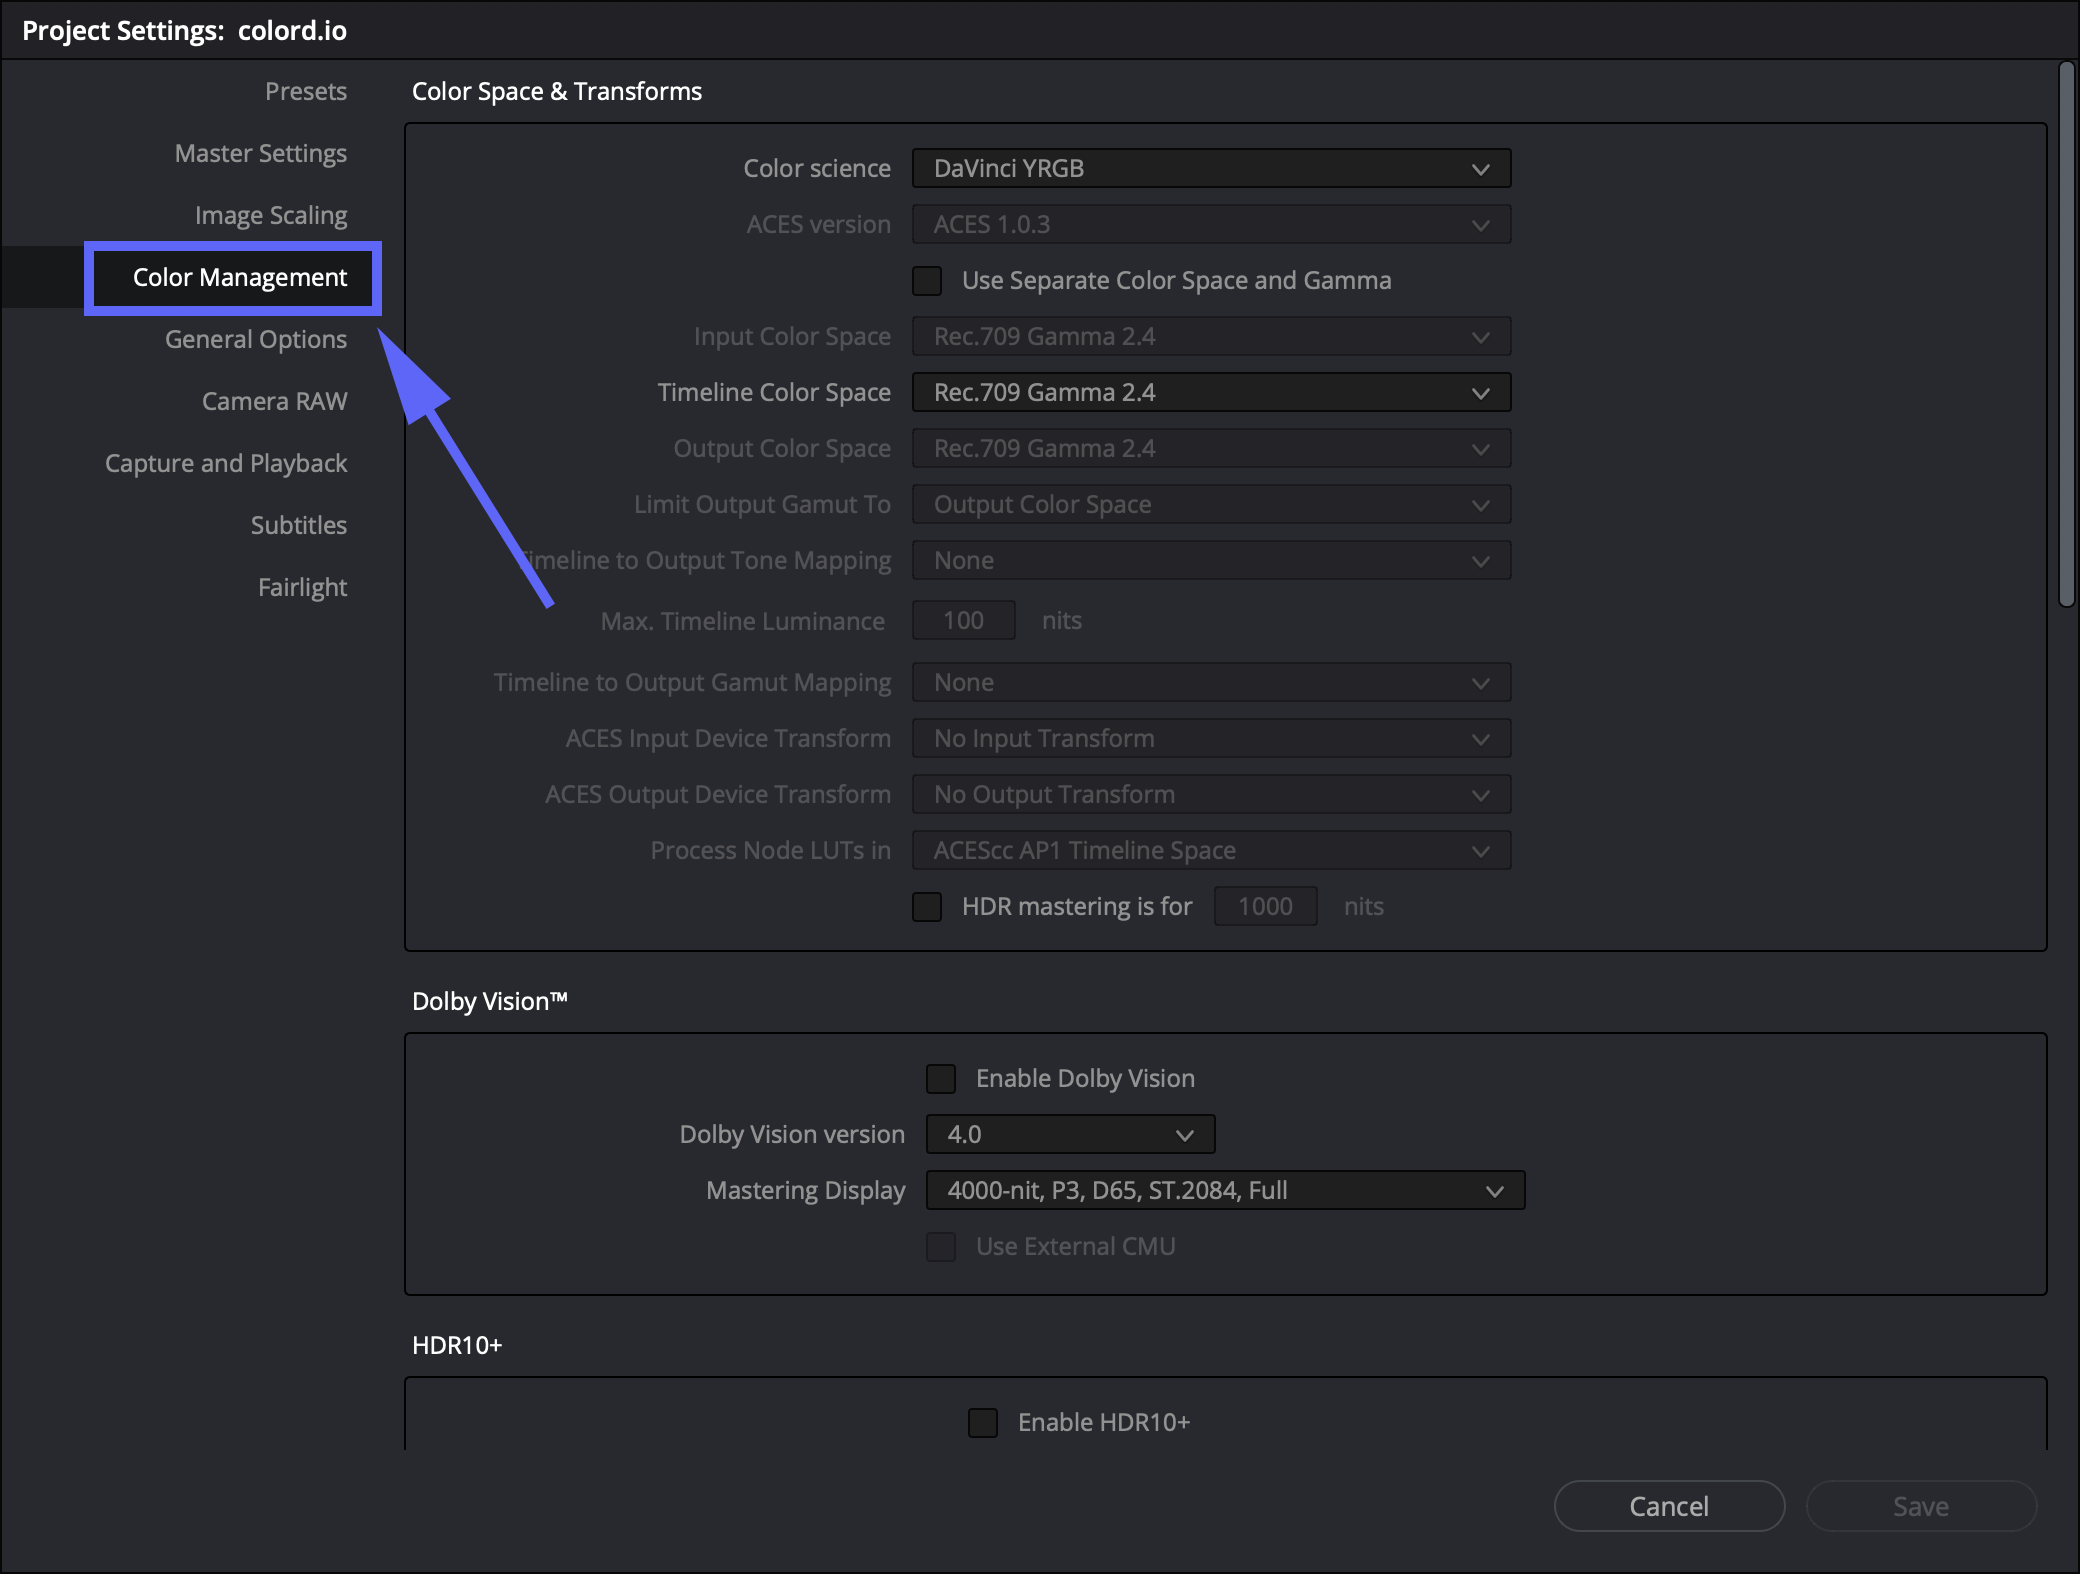
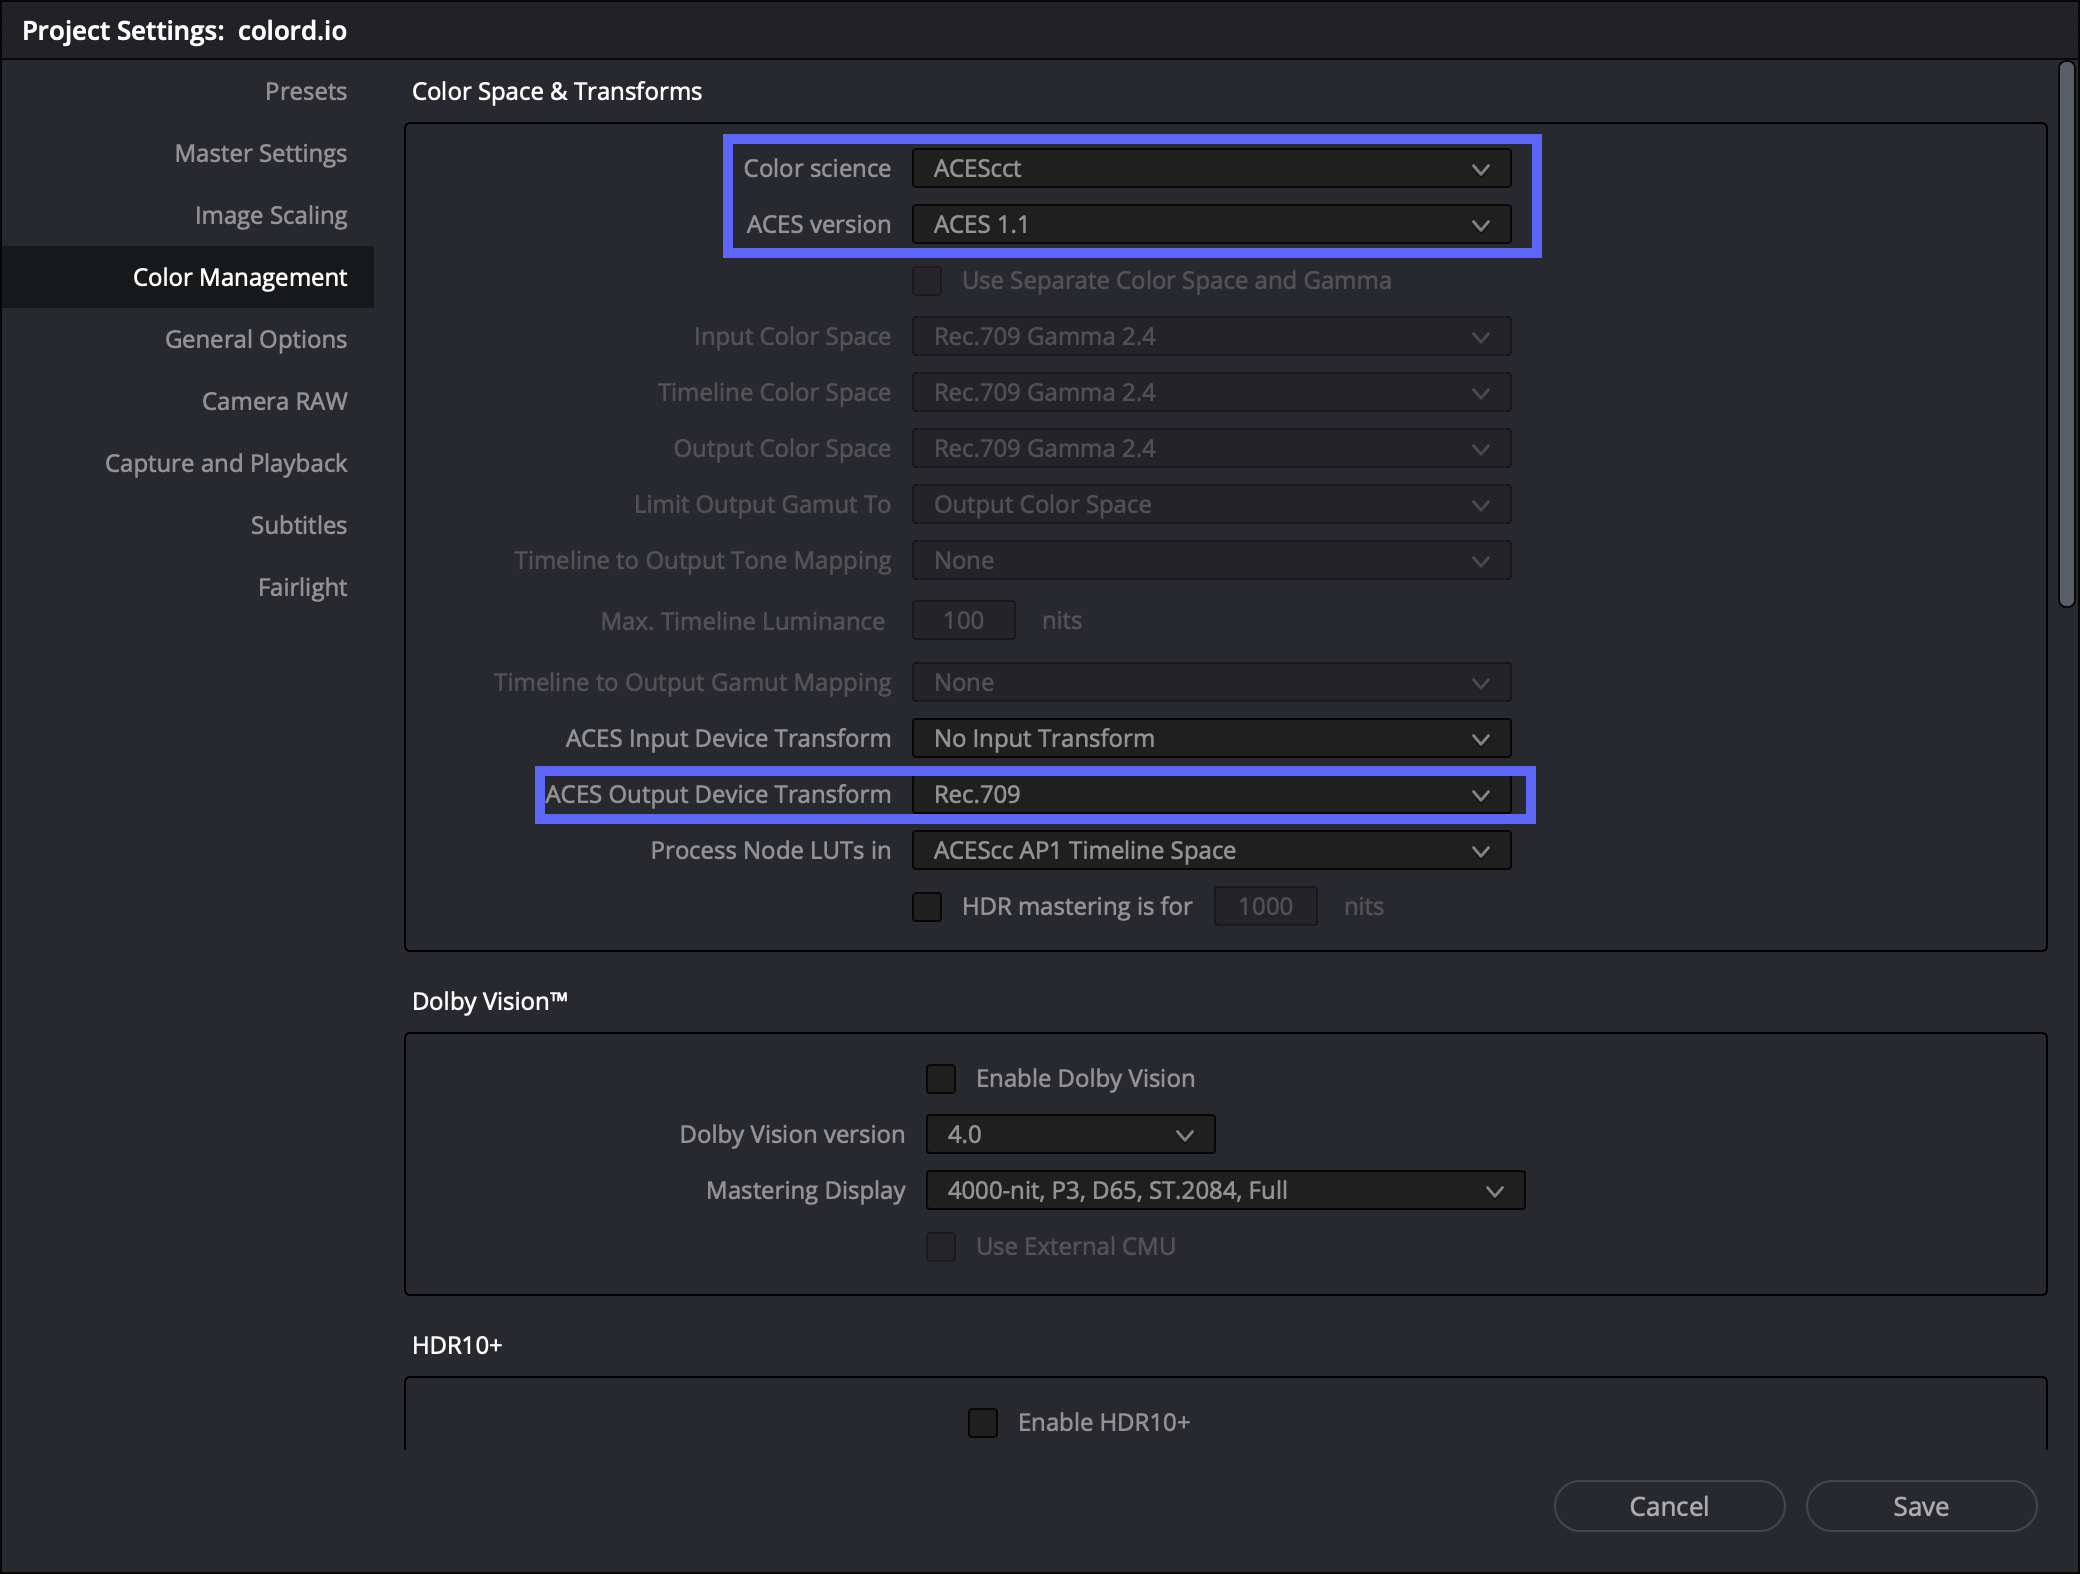
Fist change the Color science from Davinci YRGB to ACEScct. Under ACES version select ACES 1.1. You can select ACES 1.0.3 as well. The only difference between version 1.1 and 1.0.3 are additional output transforms available in version 1.1. We recommend always using the latest available version of ACES colour management system.
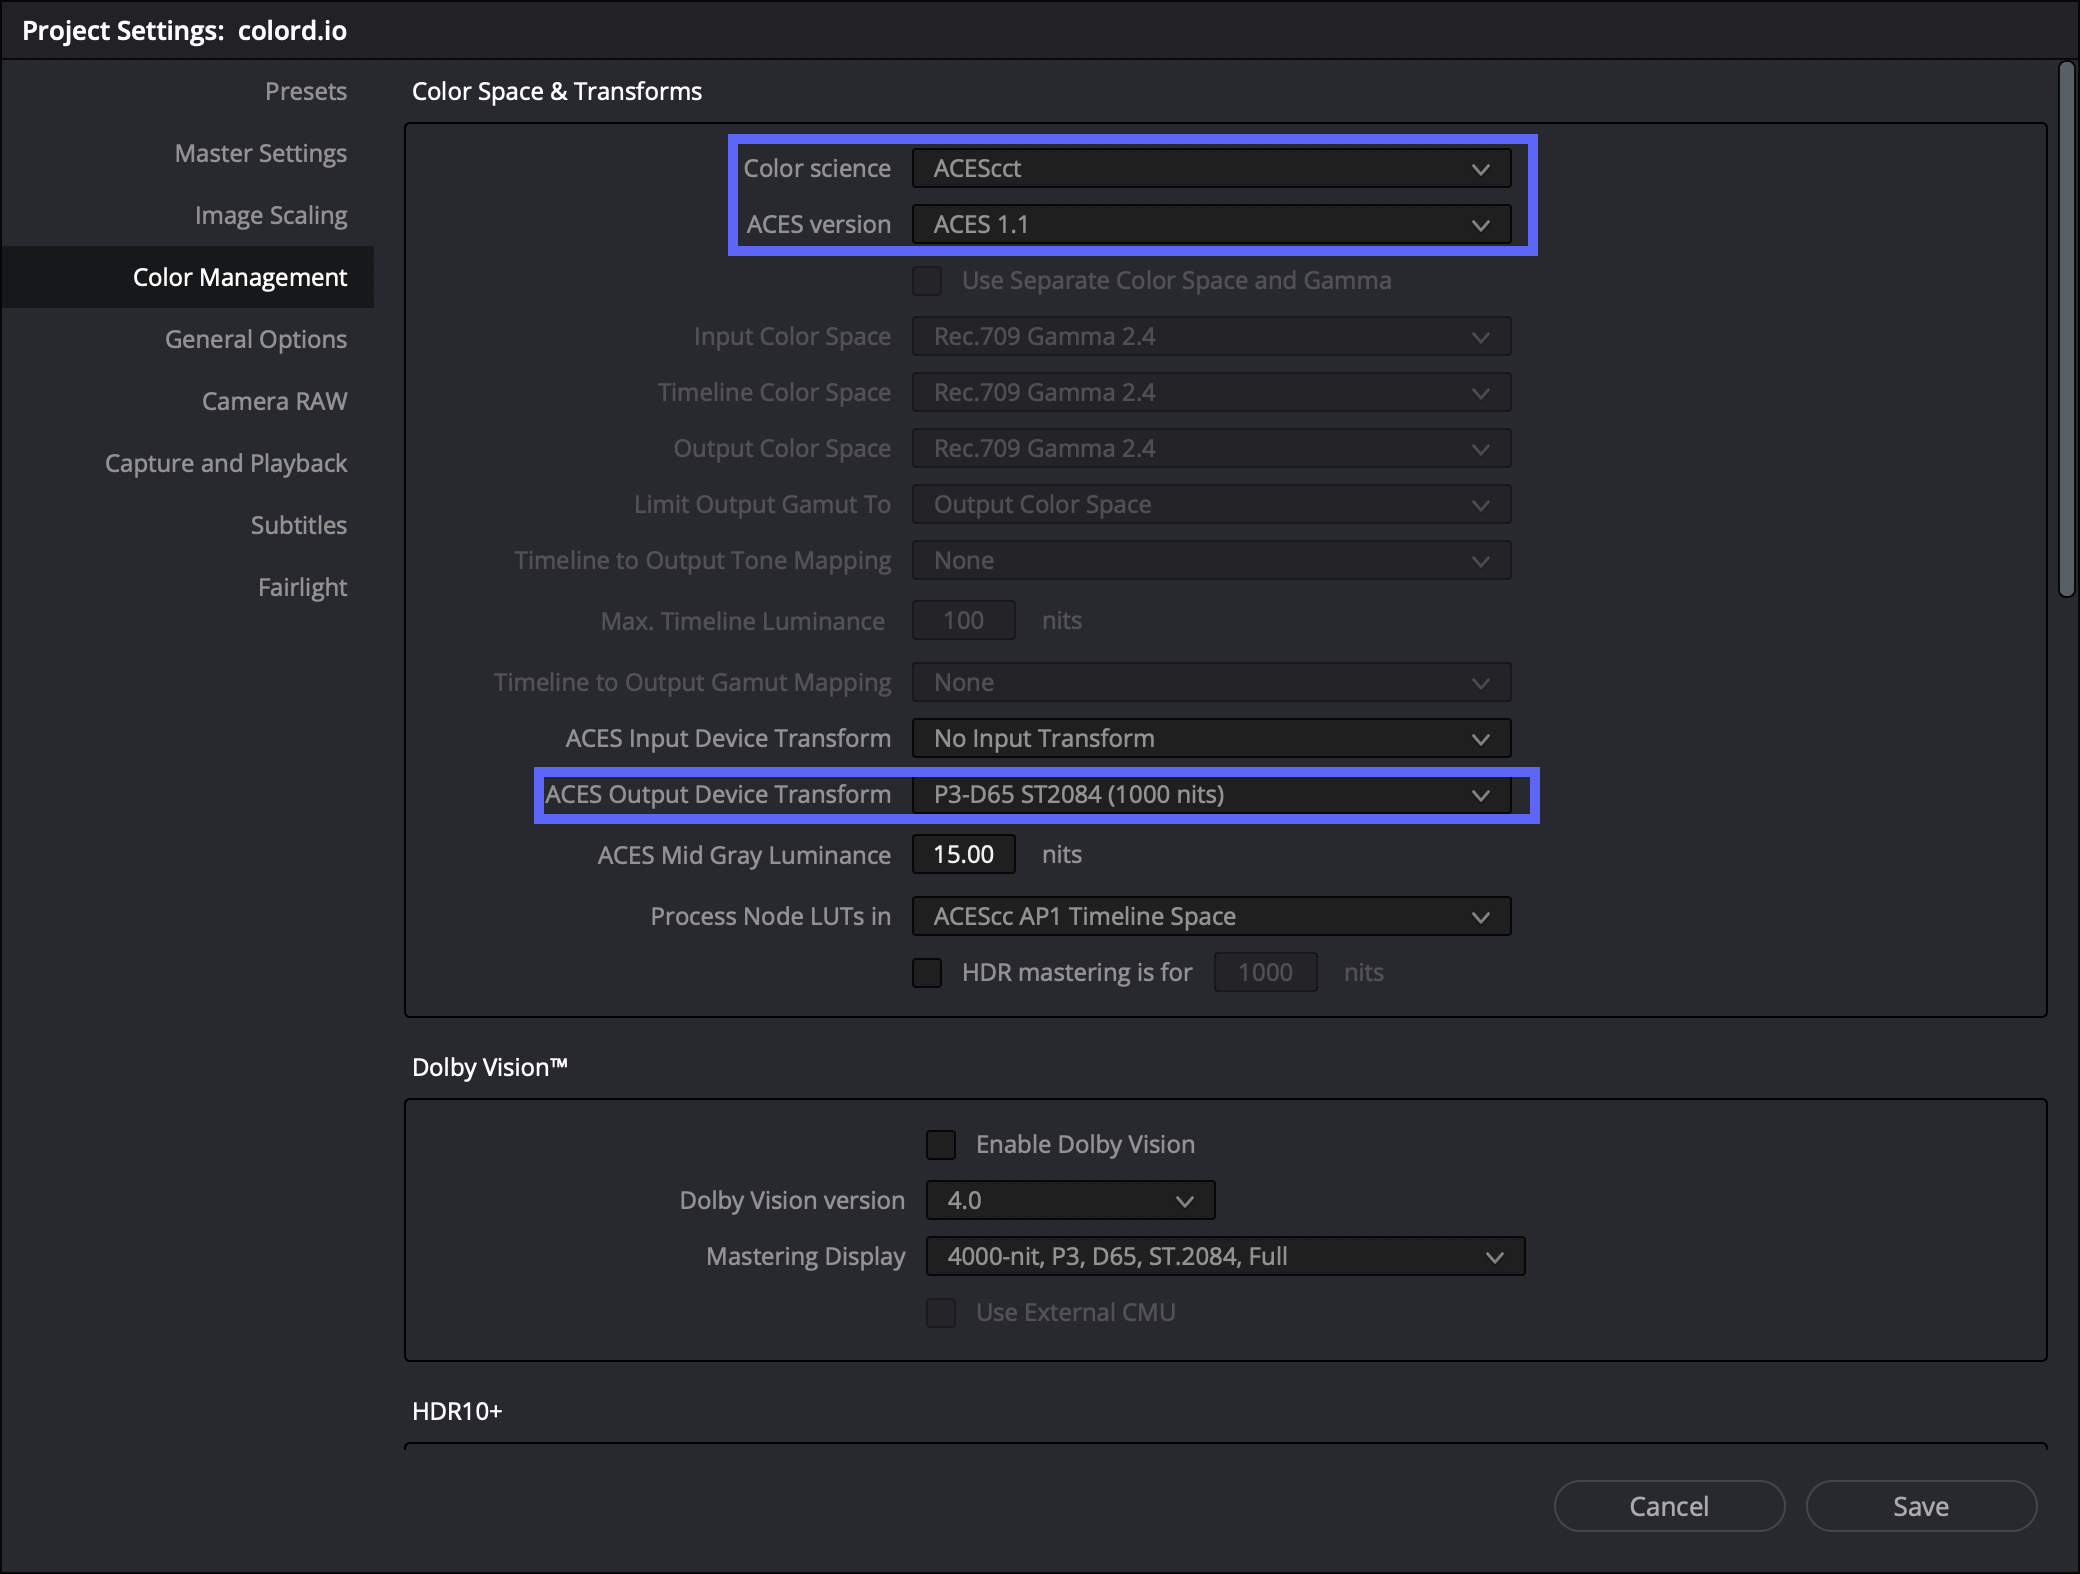
Set your ACES Output Device Transform to match the calibration of your display.
- For SDR, this will be most likely Rec709, which corresponds to a monitor calibrated to Rec709 / BT1886 with 100 cd/m2 peak luminance. If you are outputting for web only, you might want to use sRGB instead.
- For HDR, you would most likely want to use P3-D65 ST.2084 (PQ) with the corresponding nit level your monitor is capable of. Today, most commonly, this will be P3-D65 ST2084 (1000 nits).
Settings for SDR workflow
Settings for HDR workflow
Now we need to take care of Input Device Transform.
By default, raw files will automatically be debayered by DaVinci Resolve into ACES resulting in a normal looking image.
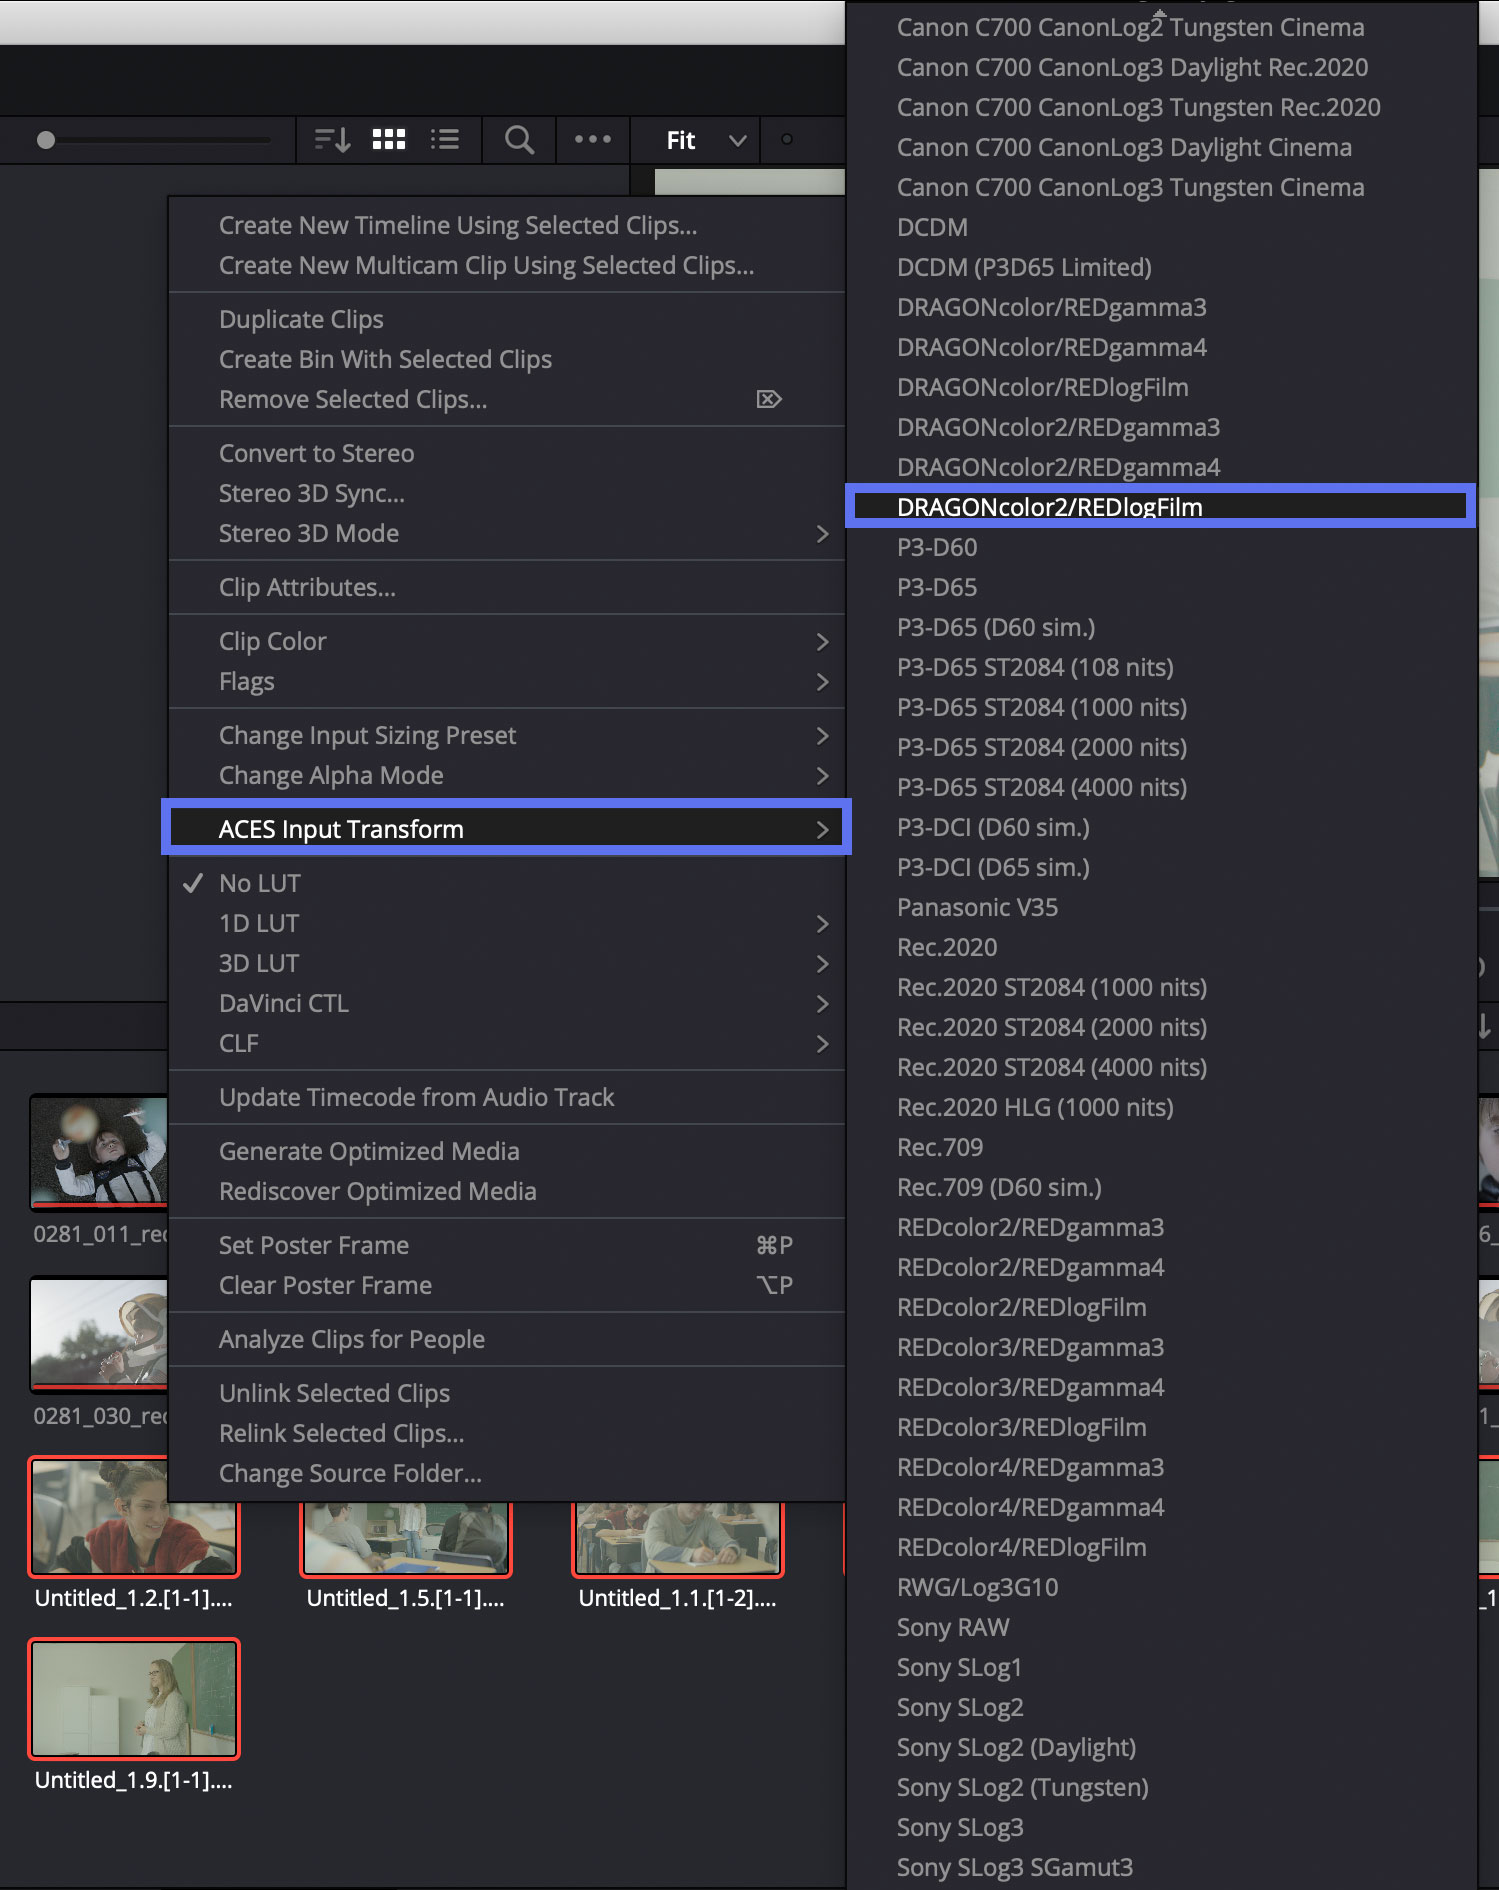
For non-RAW formats (such as DPX, ProRes, XAVC, etc), you will have to manually select the appropriate ACES Input Device Transform (IDT) for the camera used. For example, a XAVC footage shot with Sony F55 in S-Log3 using an S-Gamut3.Cine colour space would require the use of ‘Sony Slog3 SGamut3Cine’ IDT. Alternatively, a ProRes file, shot on RED camera and interpreted as DragonColor2 REDLogFilm will require the use of ‘DragonColor2/REDLogFilm‘ IDT.
The best way to apply an appropriate IDT is by right-clicking a clip in Media Pool and selecting the appropriate IDT by going to ‘ACES Input Transform‘ option. That way, if you are using several different cameras in your project, each and every one of them can have its own correct IDT. When applying an IDT you can select several clips at once, right click them and apply the IDT.
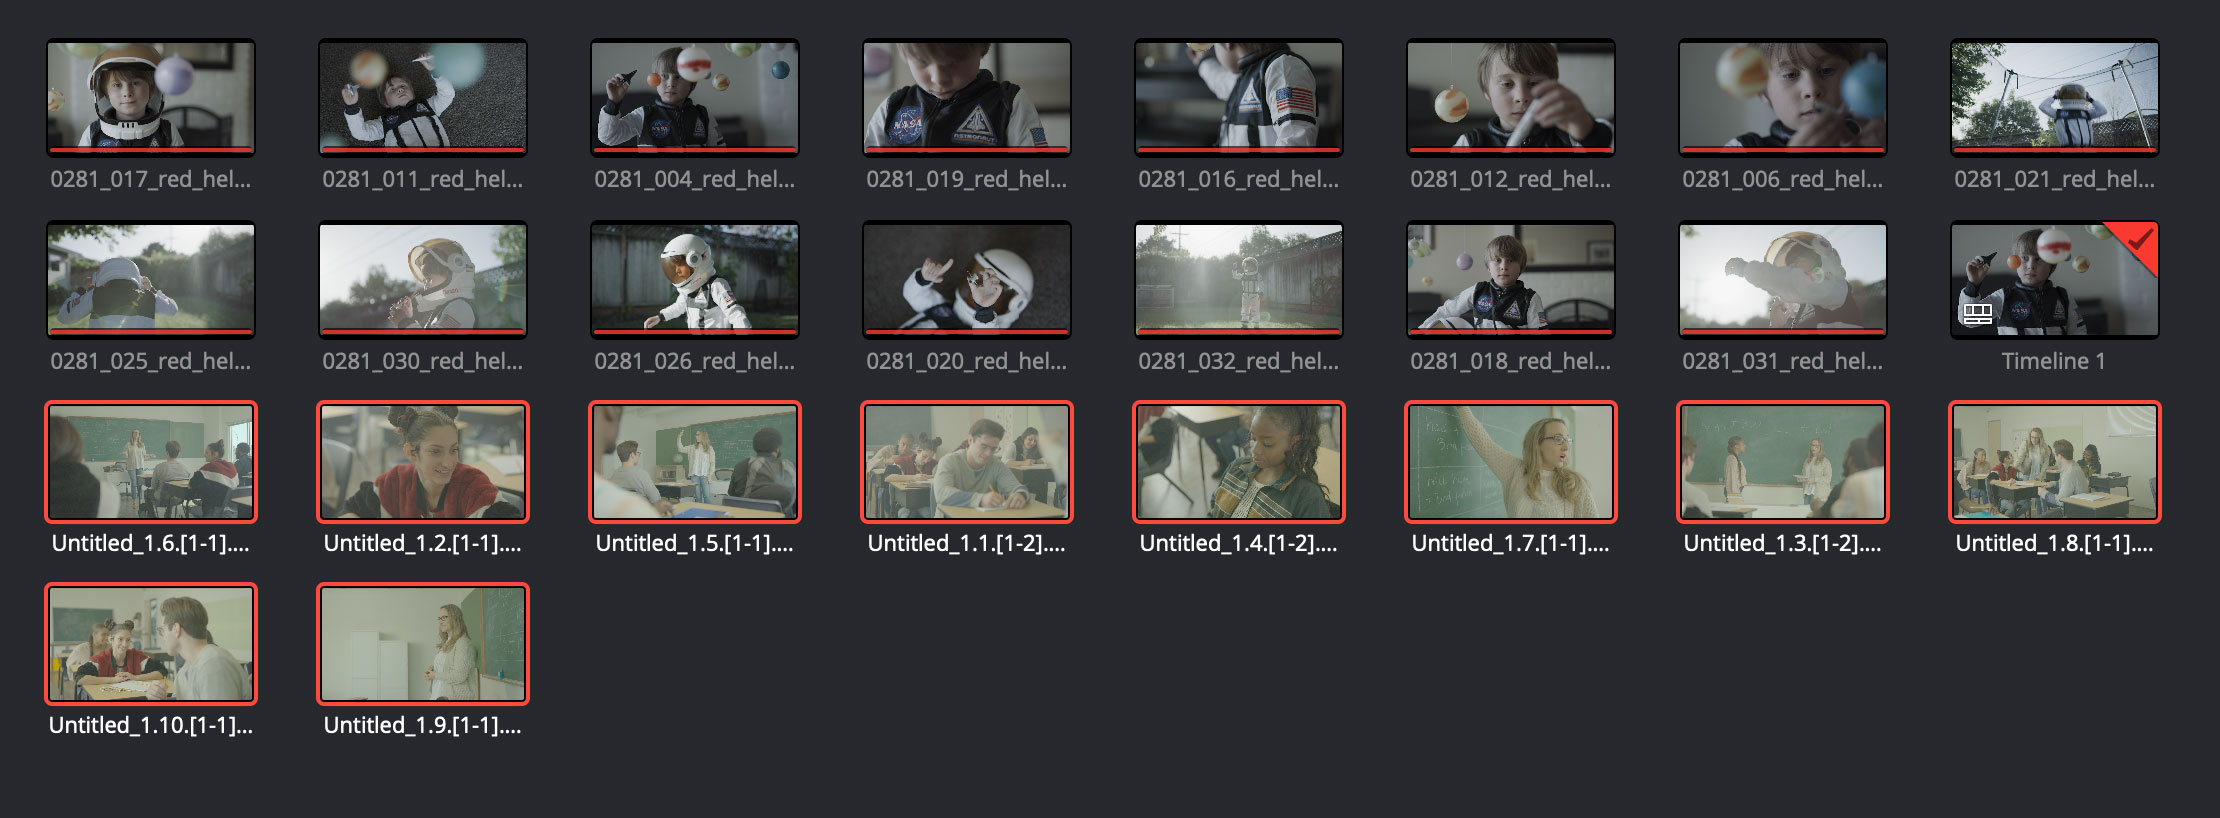
If all of the files used in your project come from one source, for example one specific type of camera, you may want to set up the Input Device Transform in the project settings.
![]()
After you have configured everything, you should see a normal looking image in DaVinci Resolve and you are ready to start colour grading and using the LUTs exported from fylm.ai. Please note that once you have configured DaVinci Resolve ACES colour managed workflow, you should export LUTs from fylm.ai without including the Input Device and Output Device Transforms as these are handled by DaVinci Resolve ACES colour management. If you need more information on LUT export options from fylm.ai please refer to this document.
Don’t be confused by the normal looking image in DaVinci Resolve with a process called ‘Log Conversion’ or ‘Log Normalisation’ you might be familiar with. By using a colour managed workflow you are not converting your footage into Rec709 or any other selected Output Device Transform. All your colour grading decisions still take place in a wide ACES colour space, which offers a great amount of “room” for all your colour edits, it’s just that what you see on your monitor has been scaled back to the colour space of your Output Device Transform.