While fylm.ai generated LUTs will usually work out of the box in Premiere Pro, we recommend performing a basic set up of Premiere Pro for most consistent results.
Display colour management
Colour management is an important aspect of colour grading as it helps you achieve consistent colour between different devices such as digital cameras and computer displays.
Please follow the instructions in LUTs in Premiere Pro and fylm.ai look different document to learn how to correctly enable display colour management in Premiere Pro.
Adding fylm.ai LUTs to Lumetri panel
Having your fylm.ai LUTs available for quick access in Lumetri panel is the easiest and quickest way to use fylm.ai LUTs in Premiere Pro.
Please follow the instructions in How to add LUTs to Lumetri panel in Premiere Pro document to learn how to quickly access fylm.ai LUTs inside Premiere Pro.
Debayering of RAW files
By default, Premiere Pro will debayer various RAW files automatically into Rec709. While this is a welcome feature offering somewhat simplified workflow, it has its shortcomings when it comes to colour grading.
Debayering the footage into Rec709 in the Master settings panel will convert the footage into Rec709 at the very beginning of your colour grading pipeline leaving you with little room for significant exposure and contrast changes later in the colour grading pipeline if required.
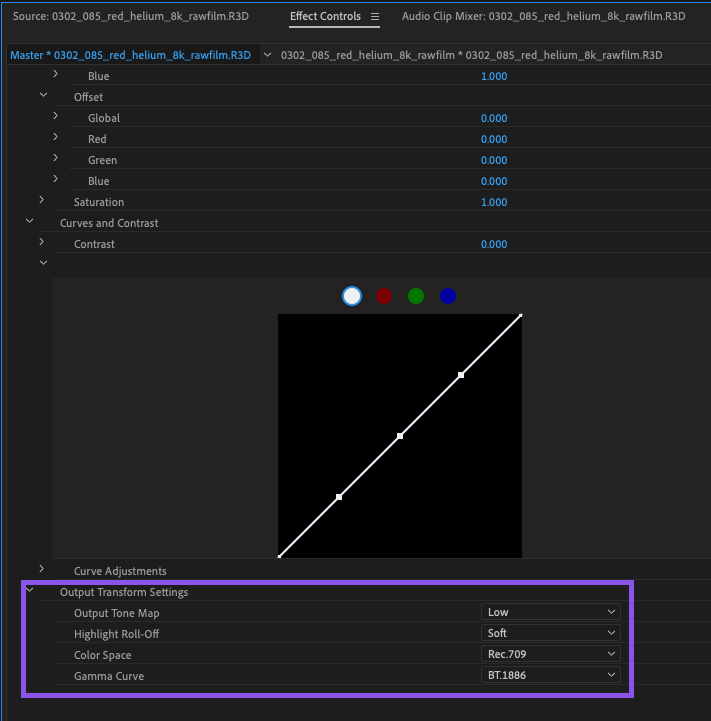
We recommend debayering the footage into camera’s native log format such as REDLogFilm or Log3G10 with wide colour gamut, such as DragonColor2 or REDWideGamutRGB.

This offers a greater flexibility as it allows for more significant exposure and contrast changes to your footage later in the colour grading pipeline if required.