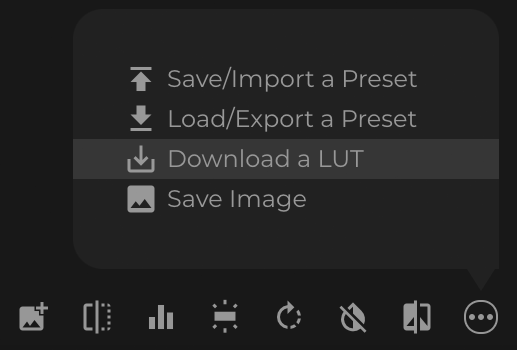
Downloading a LUT from fylm.ai app is done via the ‘Download a LUT’ option. When you download a LUT, a LUT is created from the currently active colour grade in fylm.ai. When downloading a LUT you should consider whether the software in which you will be using the LUT has an ACES colour management capabilities or not and select the appropriate export options accordingly.
Colour management capabilities of the software in which the exported LUT will be used, will determine the export options, and therefore the data contained within the exported LUT.
First, give your name a LUT. We suggest using a descriptive name so that you always remember your creative intent for the LUT.

If you have a process in place to read metadata from your LUT, or if it’s required in your workflow you may enter that metadata in the ‘Description’ field. Please note that all your colour grading decisions are always included in the LUT as a metadata for your convenience, so you may always recreate your steps by peeking into the included metadata in the LUT file. If you do not process metadata from LUT file in your workflow you can safely ignore this option.
You should pay particular attention to ‘Include ACES Input Device Transform’ and ‘Include ACES Output Device Transform’ options in the export window. Using, or not using, any of these options will significantly change the data within the exported LUT and therefore should be used correctly.
If the exported LUT will be used in a non-ACES colour managed software such as Photoshop or Premiere Pro, you will most likely want to include both options. This will result in an ‘all-in-one’ LUT which, when applied, will give you out-of-the-box nicely looking image. Also, with this LUT applied on the source data, without any additional changes, the result should 100% match the result in fylm.ai app.
While this approach offers increased simplicity, it has some disadvantages:
- Baking input and output transforms into a LUT will require replacing the used LUT throughout the project if different output transform is desired. While creating a new LUT with different output transform in fylm.ai is easy and requires a simple drop-down menu selection change, replacing the LUT in entire project can be tedious.
- If output transform is included in the LUT, any colour changes performed after the LUT is applied in your workflow are effectively performed in a narrower colour space resulting in less ‘room’ for corrections.
- All-in-one LUTs offer less flexibility in your workflow as they combine several actions into one.
- Finally, proper ACES colour management implementation, being a float point system which allows extreme values, offers a great amount of precision, exceeding that possible with the use of LUTs and should therefore always be preferred when possible.
If the exported LUT will be used in an ACES colour managed software such as DaVinci Resolve you should deselect both transform options, and set the colour management to ACEScct in your software. For information on how to setup DaVinci Resolve ACES colour managed workflow for use with fylm.ai please refer to this document.
For more information on all export options and suitable uses please refer to this document.
Finally, after selecting the appropriate options, click on ‘Export’ button. The downloaded LUT will be saved in the folder defined in your browser as default folder used for downloaded files. Usually that will be a ‘Downloads’ folder.
Once you have downloaded a LUT it is ready to be used in your software of choice. If you are not sure how to apply a LUT in your software, please refer to the appropriate document.