fylm.ai permanently displays some buttons in the bottom part of the main viewer area which add important functionality to fylm.ai. Let’s explore these buttons from left to right.
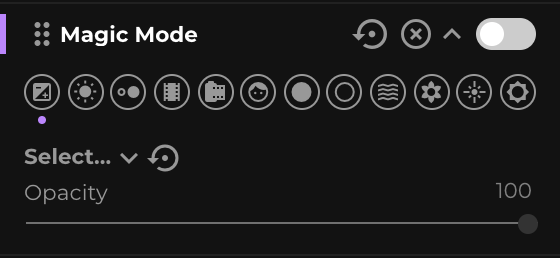
Magic Mode
Magic Mode allows you to colour grade your image by simply selecting the best looking option from the Previews tab in a series of steps presented to you when you select the Magic Mode.
To enter the Magic Mode, simply click on the Magic Mode button in the lower left corner of fylm.ai.

When you add Magic Mode, it is added just like any other tool to the Tools tab.
For detailed instructions on using Magic Mode please see this document.
Add as a Candidate
When using fylm.ai to colour grade your work you may create several different looks for one particular image. These are Candidates. To save a look as a Candidate use the Add as a Candidate button.
For detailed instructions on using Candidates please see this document.
Add as a Match
When using fylm.ai to colour grade your work you will usually create different looks for different shots. If you want to see how seamless the transition from one shot to the other would be you would use the Matches option. To save a look as a Match use the Add as a Match button.
For detailed instructions on using Matches please see this document.
Scopes
Judging a colour grade with your naked eye may be misleading in some cases. Scopes are a crucial tool for consistent colour corrections, balancing of the image and for fixing some issues with skin tones, white balance and exposure. Additionally, Scopes allow you to match different images more easily. To open up the Scopes panel click on the Scopes button.
For detailed instructions on using Scopes please see this document.
Fix Blue Light Artifacts
Under certain circumstances it is possible for highly saturated blue light sources to exhibit some artifacts, especially around the edges of the light source. To fix the issue simply click on the the Fix Blue Light Artifacts button.
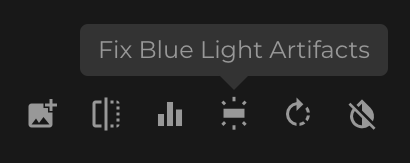
For detailed instructions on using the Fix Blue Light Artifacts option please see this document.
Rotate Image
If for some reason your image does not include correct metadata on image’s rotation or if the image is rotated incorrectly click on the Rotate Image button to rotate the image 90 degrees clockwise.
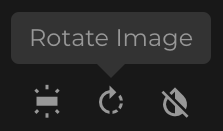
Each click on the Rotate Image button rotates the image further 90 degrees clockwise.
Reset All
Reset All button allows you to reset all of the changes for a particular image quickly.
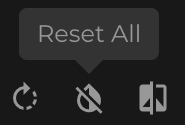
When you use the Reset All button, all of the colour grading tools you have added to the image are removed and therefore the look you have created is reset. Additionally, Input and Output Device Transforms are also reset. If you have saved Candidates for a particular image and then use the Reset All button, these Candidates are not removed.
Split View
When a Match is superimposed over the main image, a Split View mode is turned on and indicates an active Match. You can click the Split View icon to turn the Split view off, deselect a Match and get back to normal view.
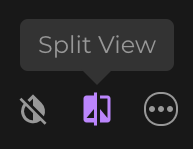
For detailed instructions on using Matches please see this document.
Contextual Menu
Contextual menu allows you to save, load, import and export Presets. It also allows you to download a LUT from the look that you have created.
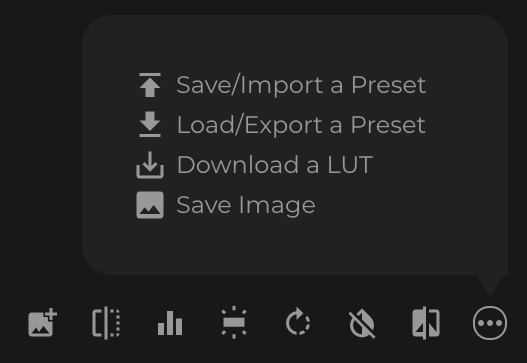
To save a full-sized graded version of your image click on the Save Image option.
For detailed instructions on Downloading a LUT from fylm.ai, please see this document.
For detailed instructions on using and managing Presets, please see this document.